The short answer
A restaurant or cafe interior design presentation should cover the operational brief, the brand concept, the guest journey from entrance to table, a floor plan showing seating capacity, table mix and back-of-house flow, the bar or counter design coordinated with equipment, lighting and acoustic strategy, materials chosen for durability and cleaning, and a drawing set with plans, elevations, sections and millwork details. Show how the design supports covers, service speed, accessibility and the brand, not only how it looks, because operators judge the design on how it trades.
Start from the operation, not the look
 Open template
Hospitality design is judged by operators on covers, table turns and service flow, and by guests on atmosphere. Before the mood board, capture the operational brief and get the operator to confirm it in writing. Every design decision should trace back to it, and many design arguments later in the project are settled by reopening this page.
- Format and price point: specialty coffee, quick service, casual dining, fine dining, bar.
- Target covers: number of seats inside and outside, and the mix of table sizes.
- Service style: counter, table service or both; takeaway and delivery share.
- Opening hours and dayparts: breakfast, lunch, dinner, late night.
- Kitchen type and equipment list, extraction route, deliveries and waste.
- Brand assets: logo, colours, tone, signature products, competitors.
- Budget, programme and target opening date.
Layout, flow and seating
 Open template
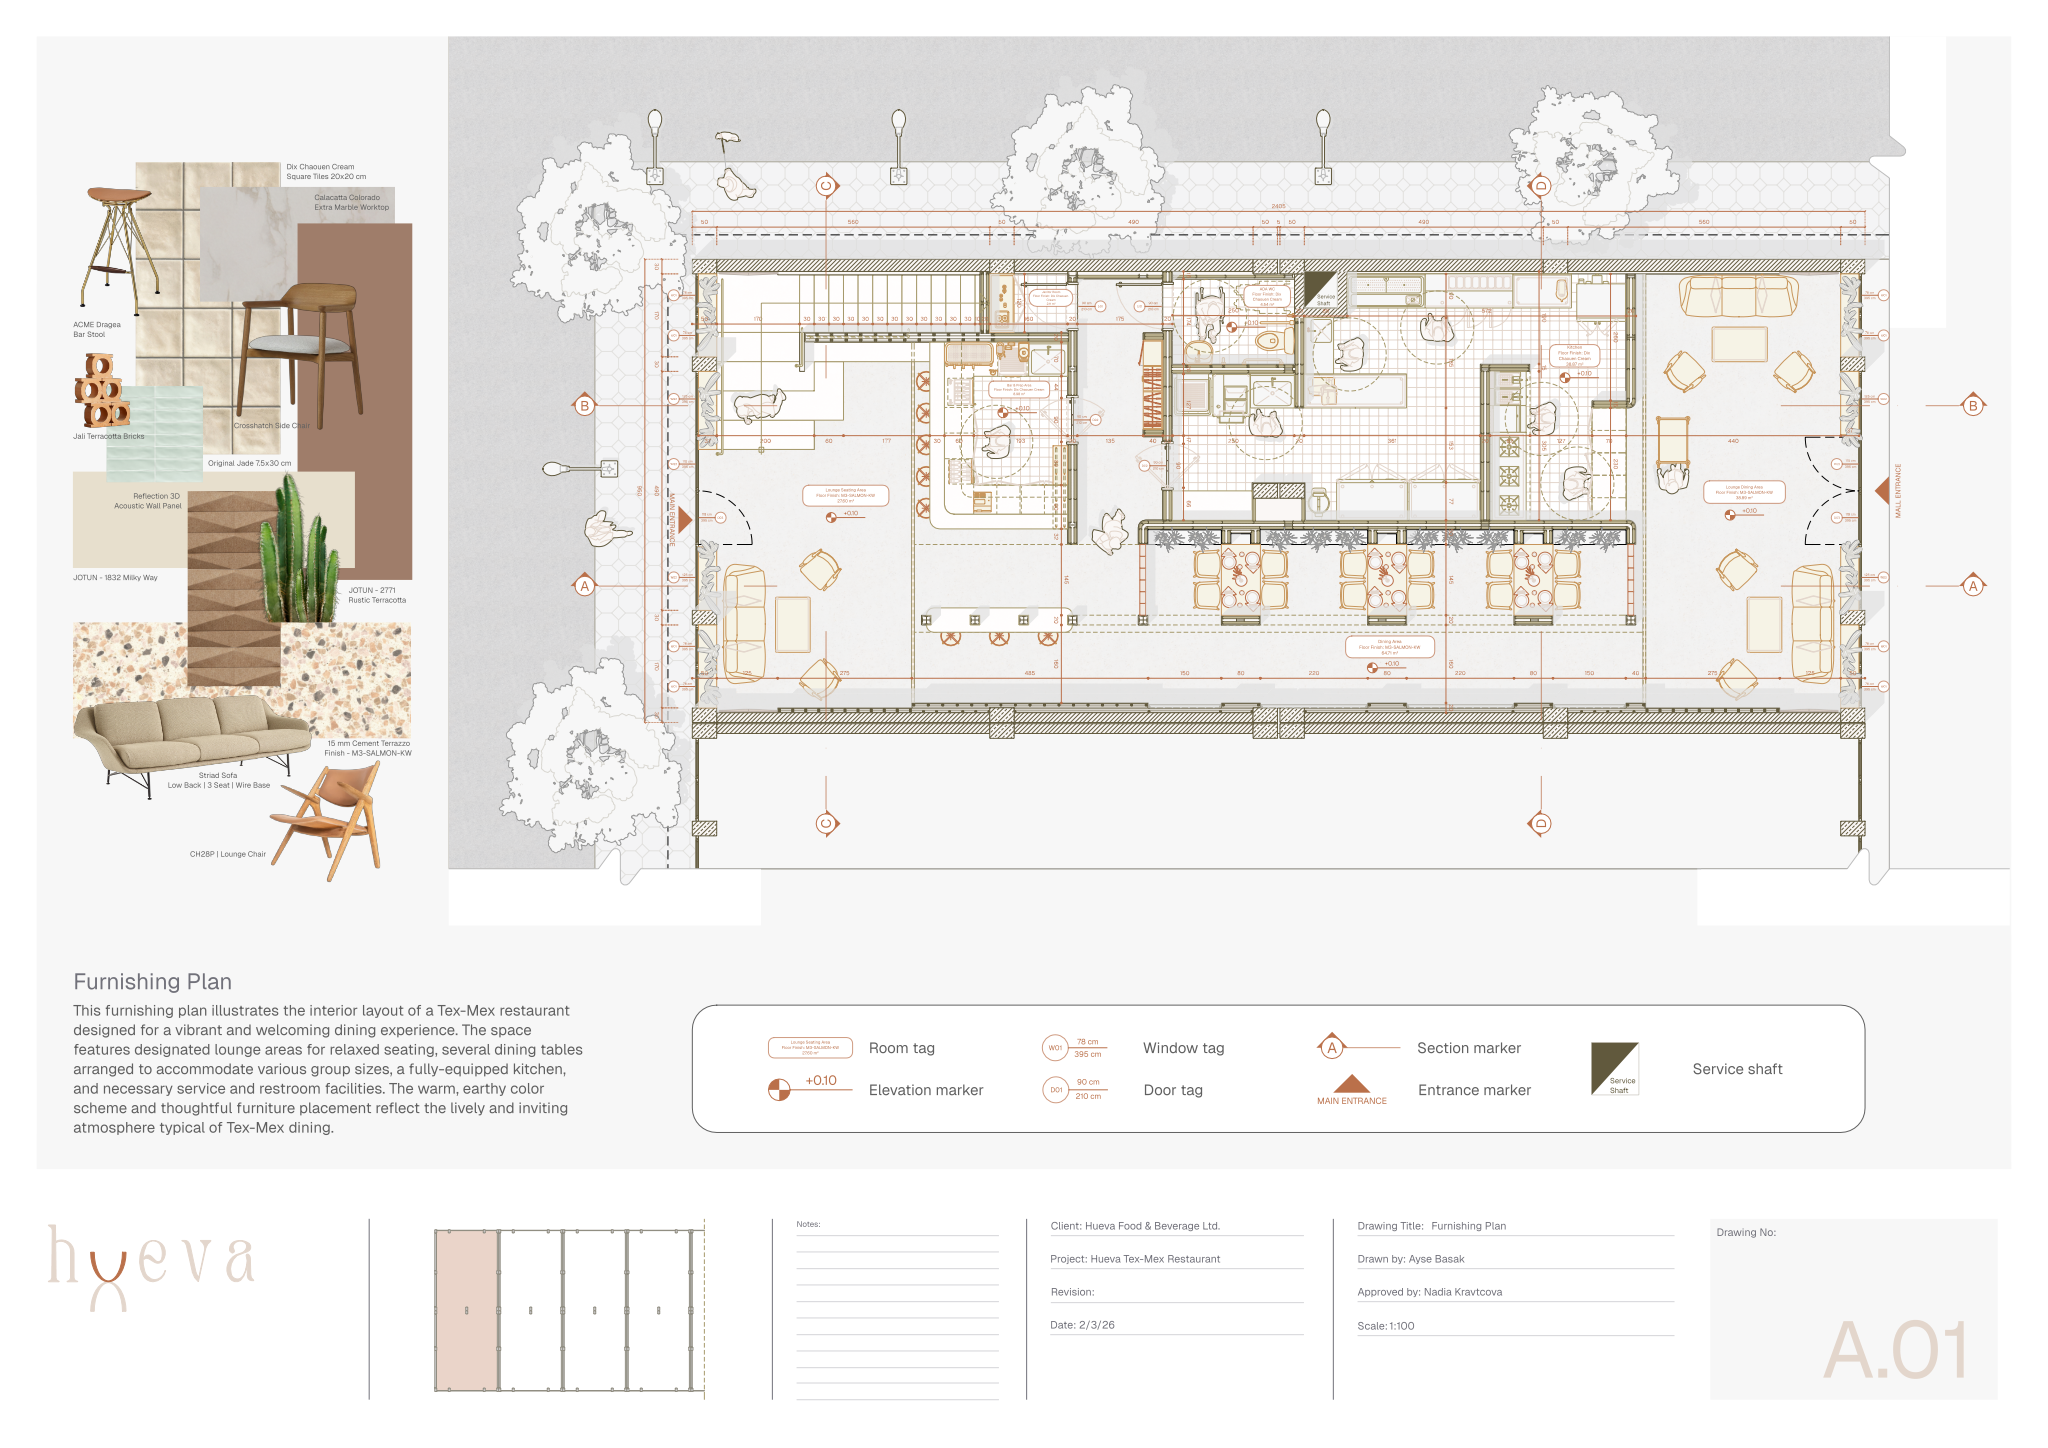
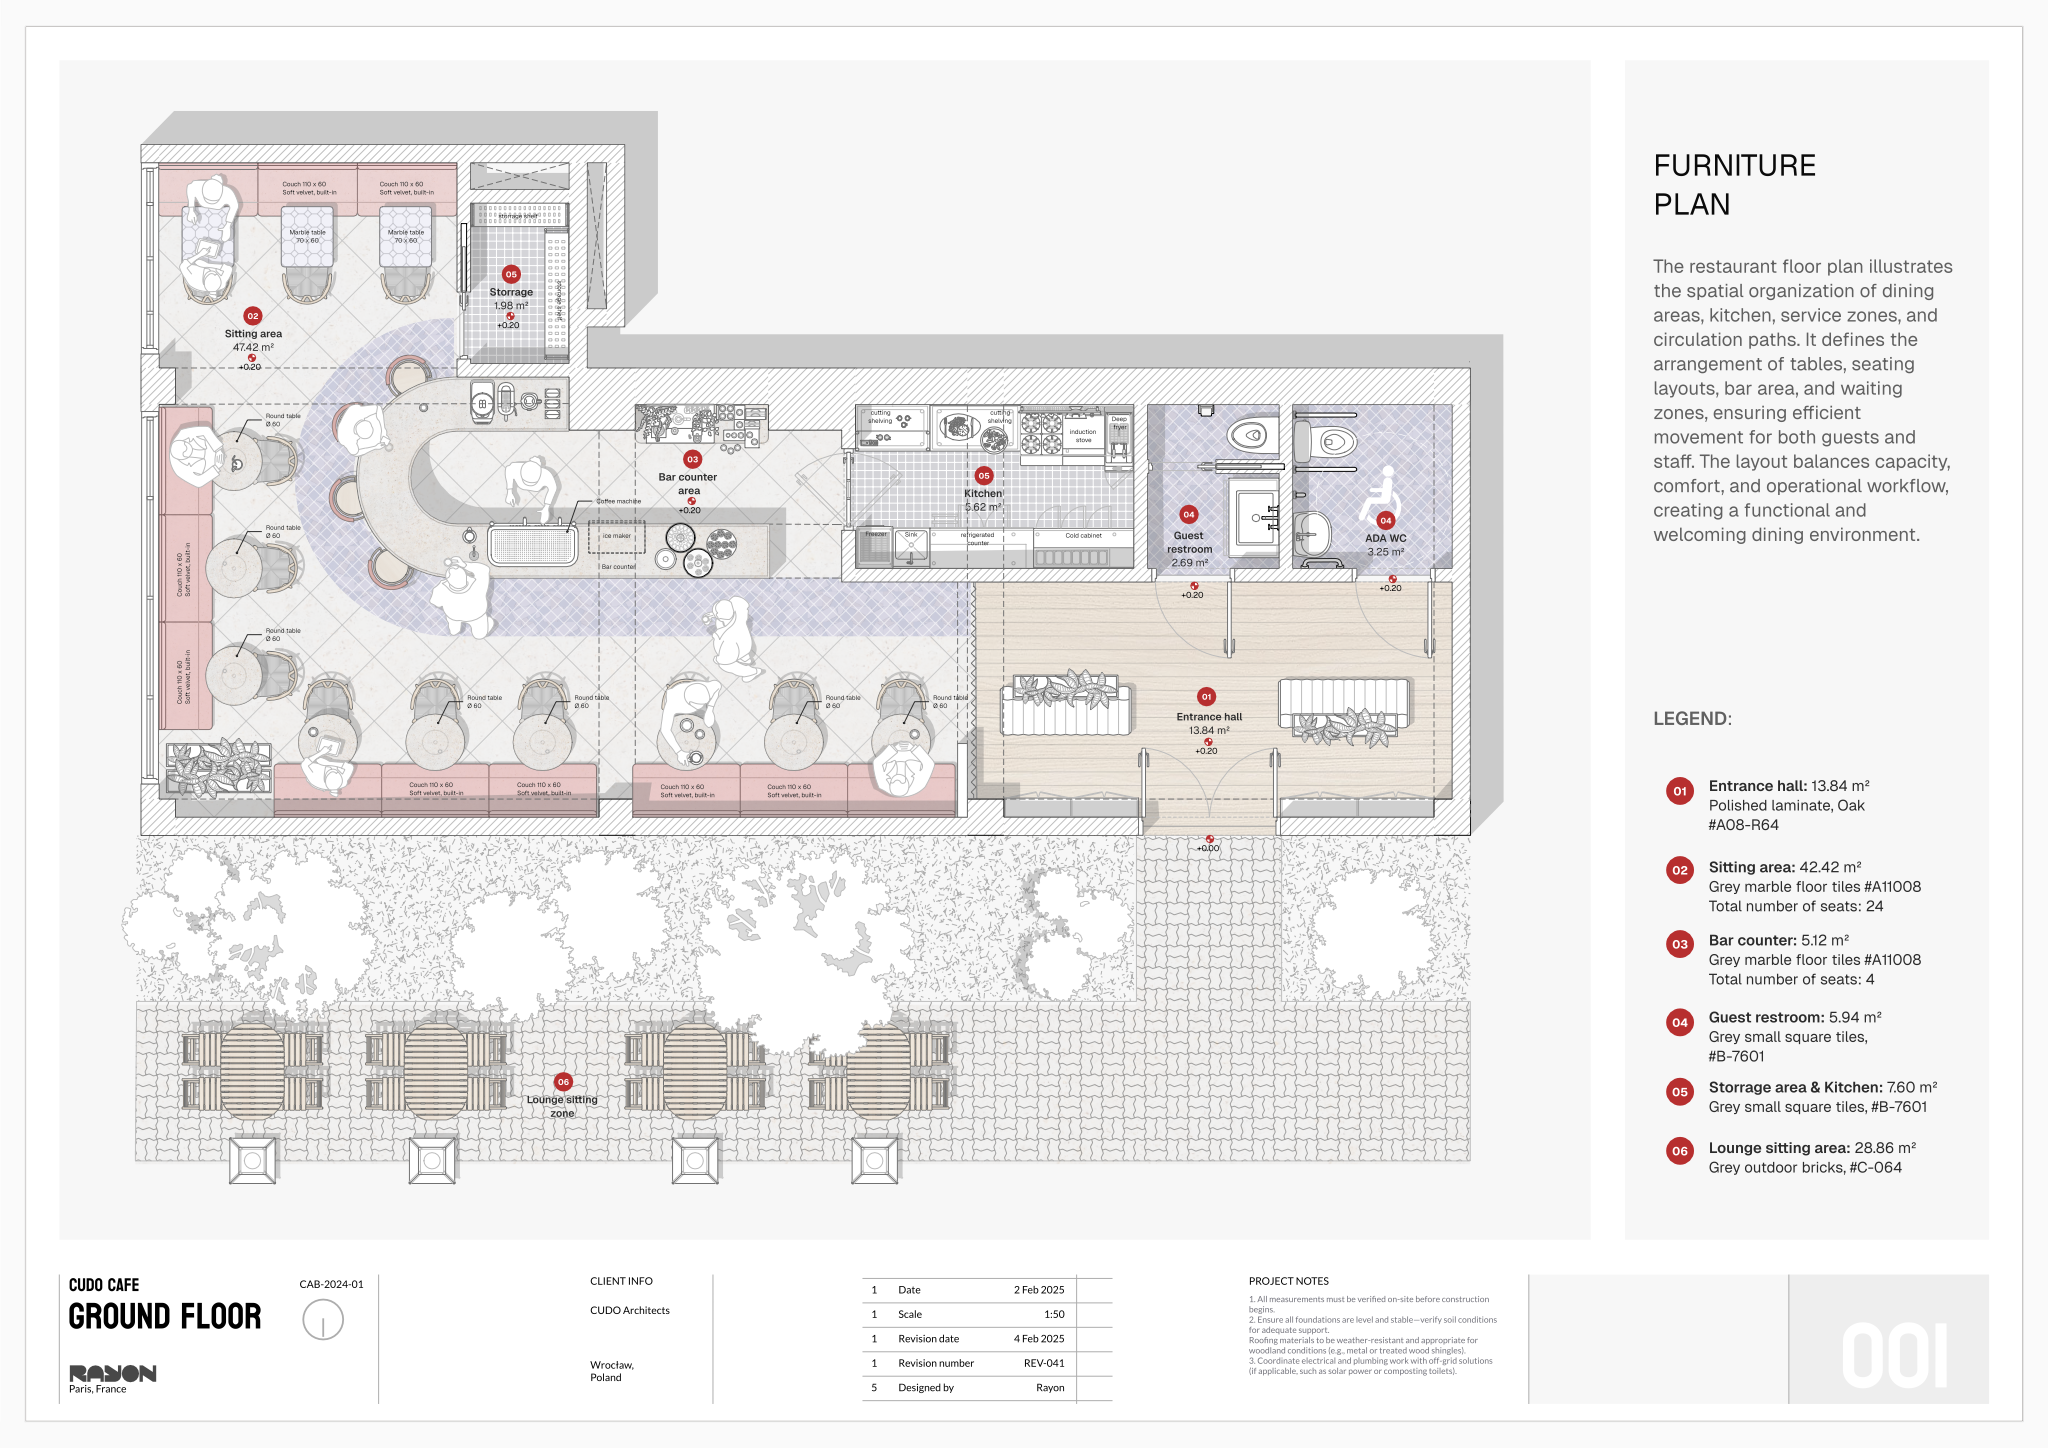
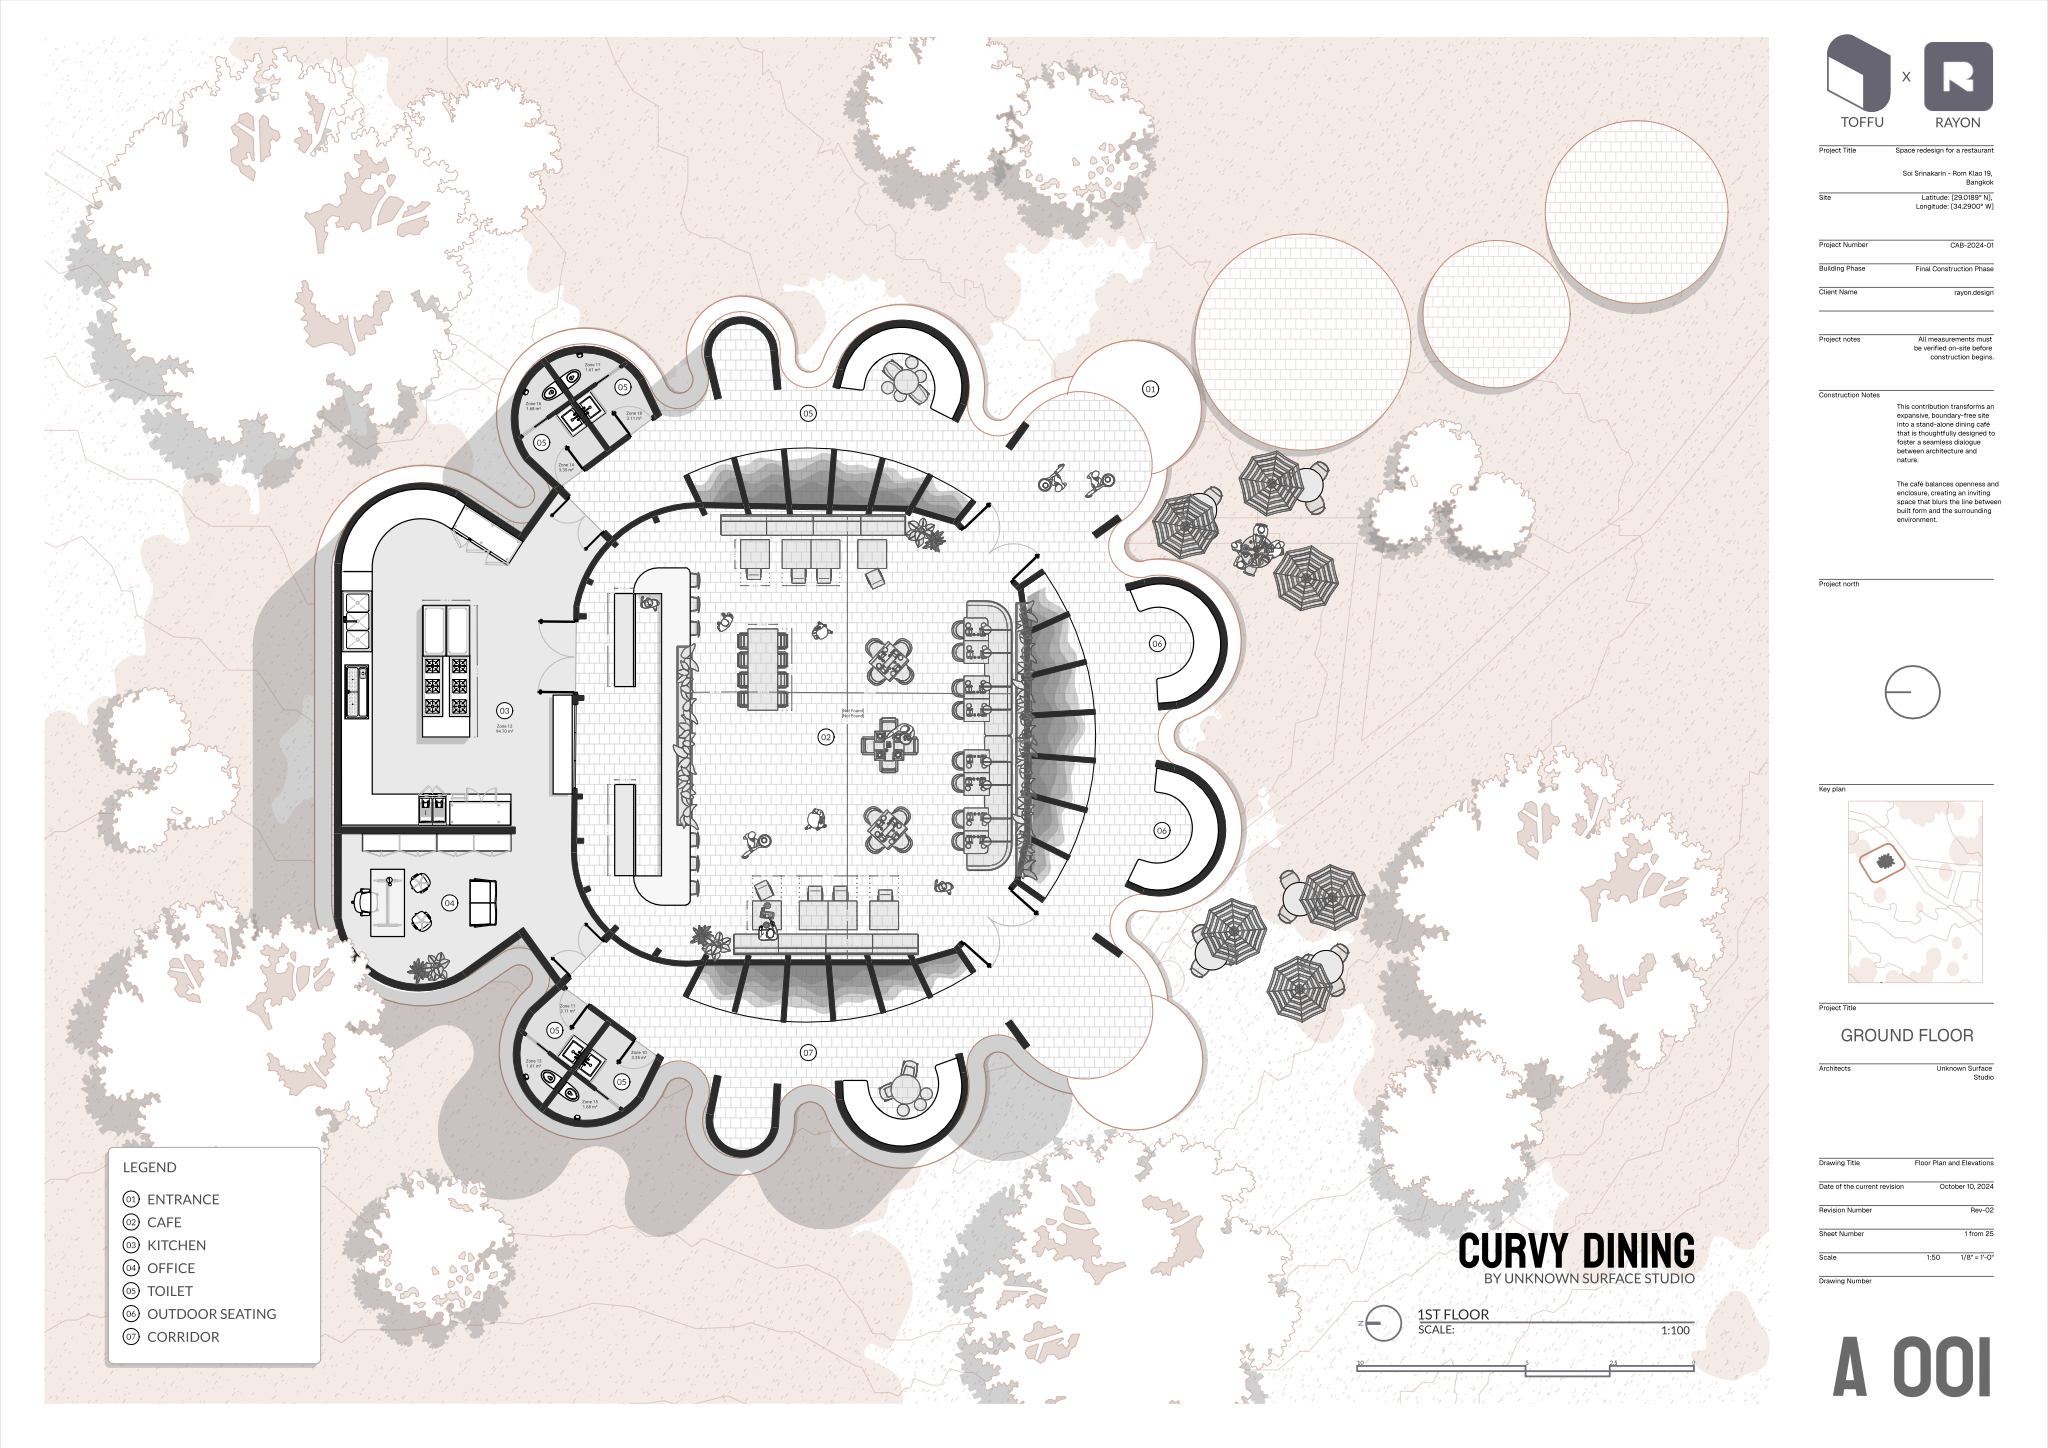
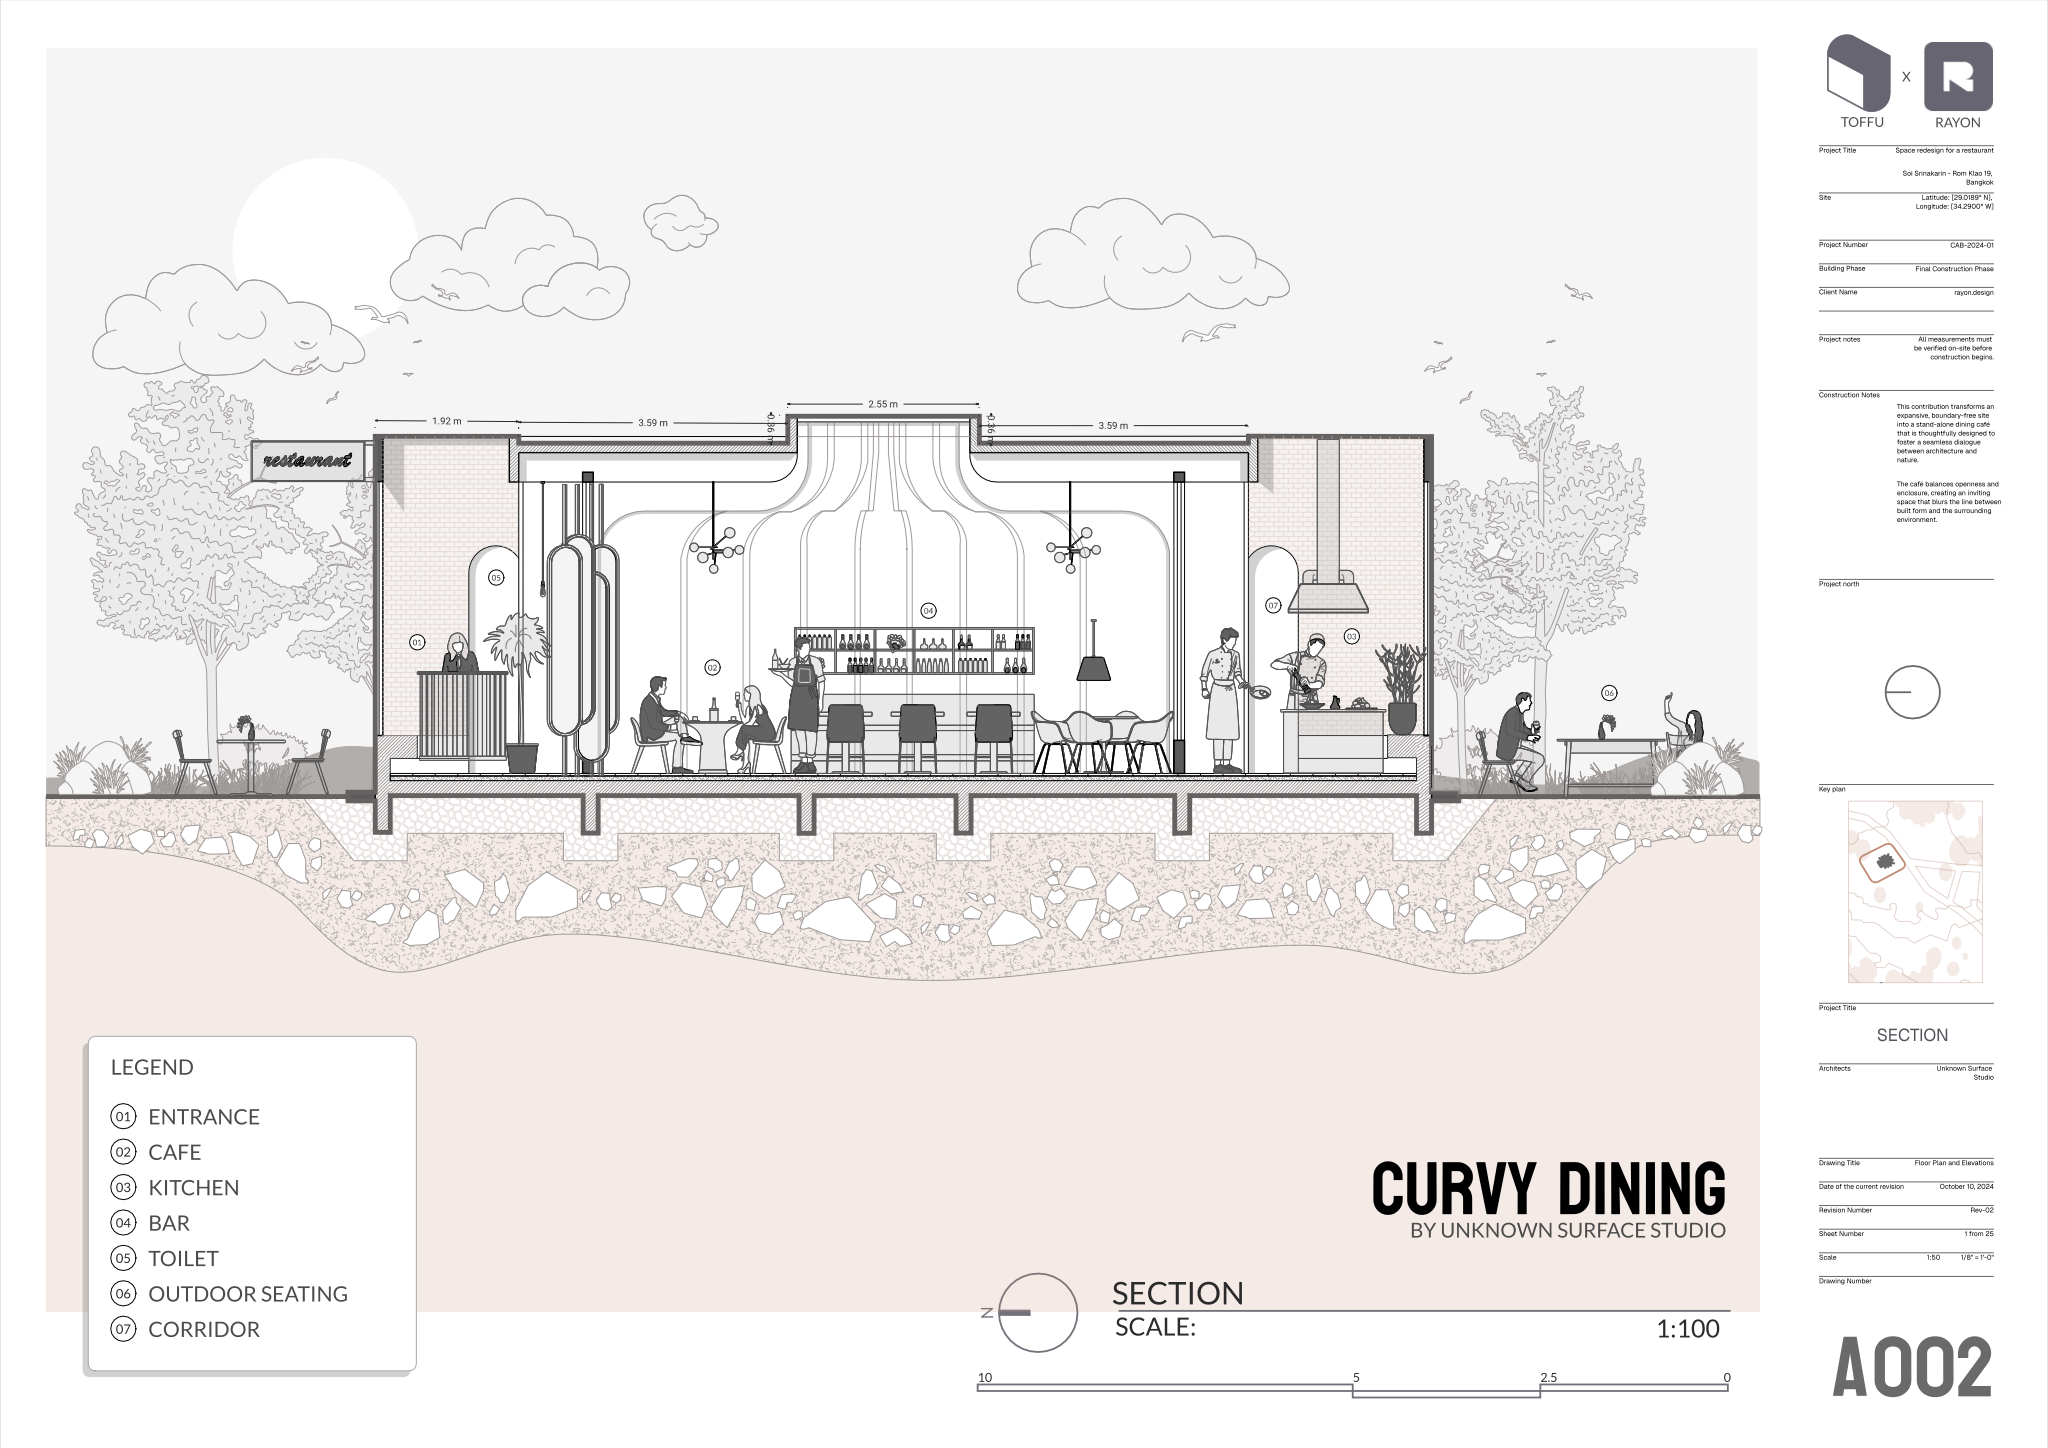
The layout decides how many people the restaurant can serve, how fast staff can work and how comfortable guests feel, so operators read it before anything else. Start with the two flows, guests and staff, and fit the seating around them rather than the other way round. These are the points every layout presentation should make clear.
- Show front-of-house and back-of-house zones on one diagram, with the kitchen and bar positions fixed early.
- Trace the guest path: entrance, queue or host stand, seating, toilets, exit.
- Trace the staff path: kitchen to pass to tables, bar restocking, dirty dish return, deliveries in and waste out; keep it from crossing guests where possible.
- Label seat counts per zone and in total; operators read this first.
- Mix seating types (banquettes, two-tops that combine into fours, bar stools, communal tables) for flexibility across the day.
- Check clearances, accessible routes, accessible toilets and exit widths against local codes, and confirm occupancy limits with the fire strategy.
| Planning check | Typical range to test a layout |
|---|---|
| Dining table height | 720–760 mm |
| Width per place setting | about 600 mm, 550 mm minimum |
| Behind a chair to stand up | 750 mm minimum, 900 mm or more where someone walks behind |
| Main circulation route | 900 mm minimum, 1200 mm where two people pass or trays are carried |
| Bar or counter stool seat | about 600–800 mm high, matched to the counter |
| Wheelchair turning space | 1500 mm circle |
Floor area per seat varies widely with format: quick-service and coffee formats pack seats far more densely than fine dining, where generous spacing is part of what guests pay for. Test the layout with real furniture blocks rather than an area ratio, and remember that local codes set the legal occupancy, which can be lower than what fits.
The bar and counter
 Open template
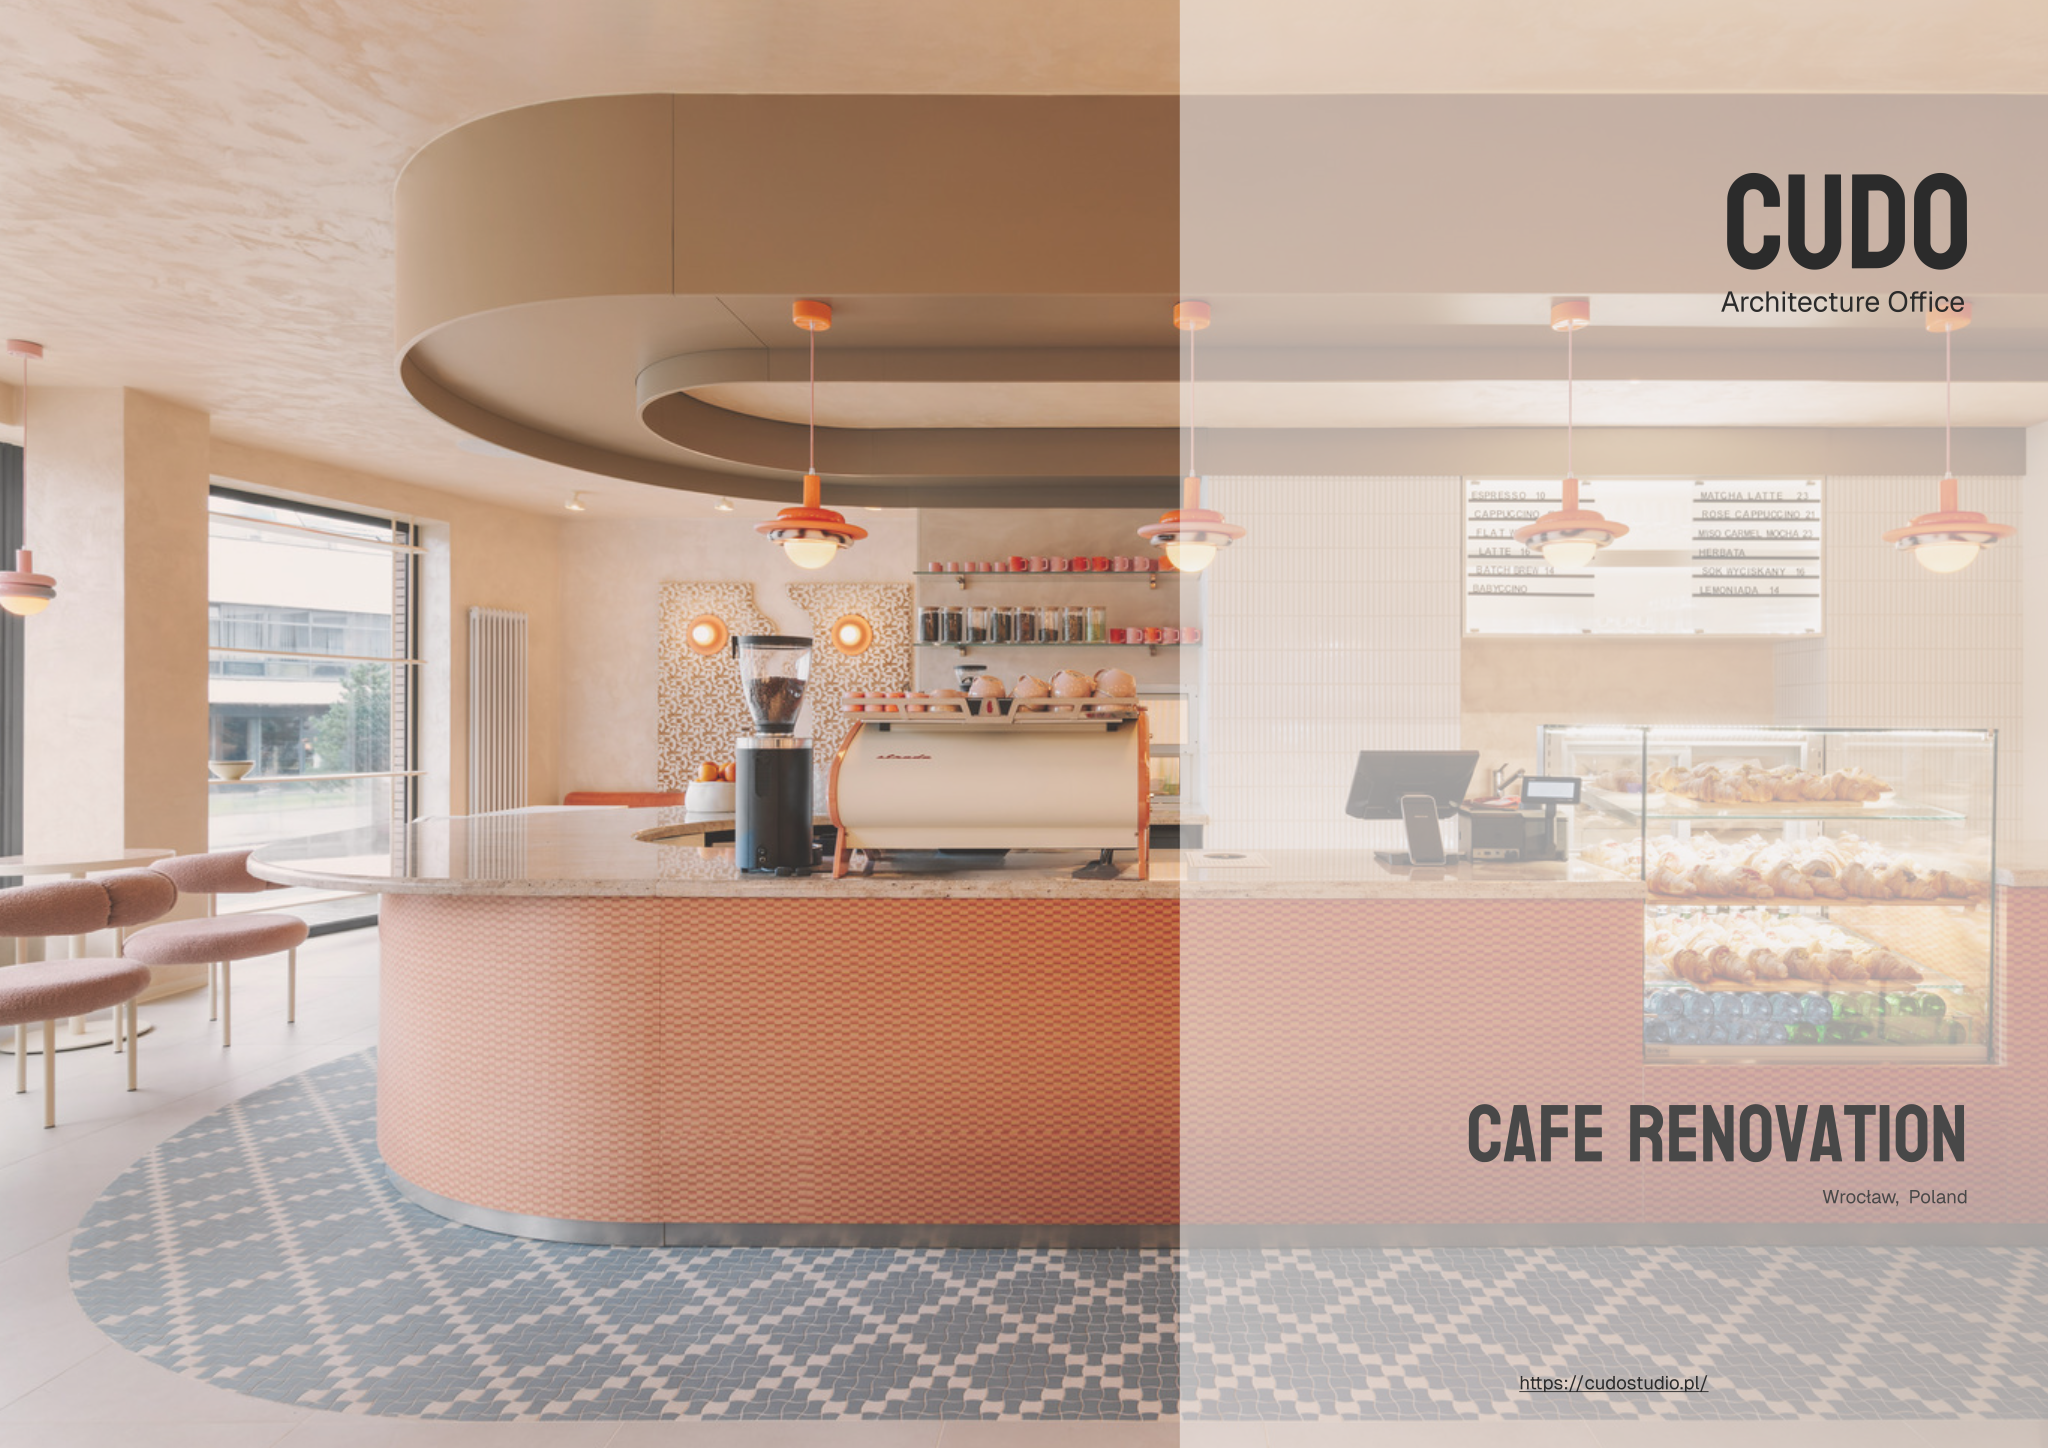
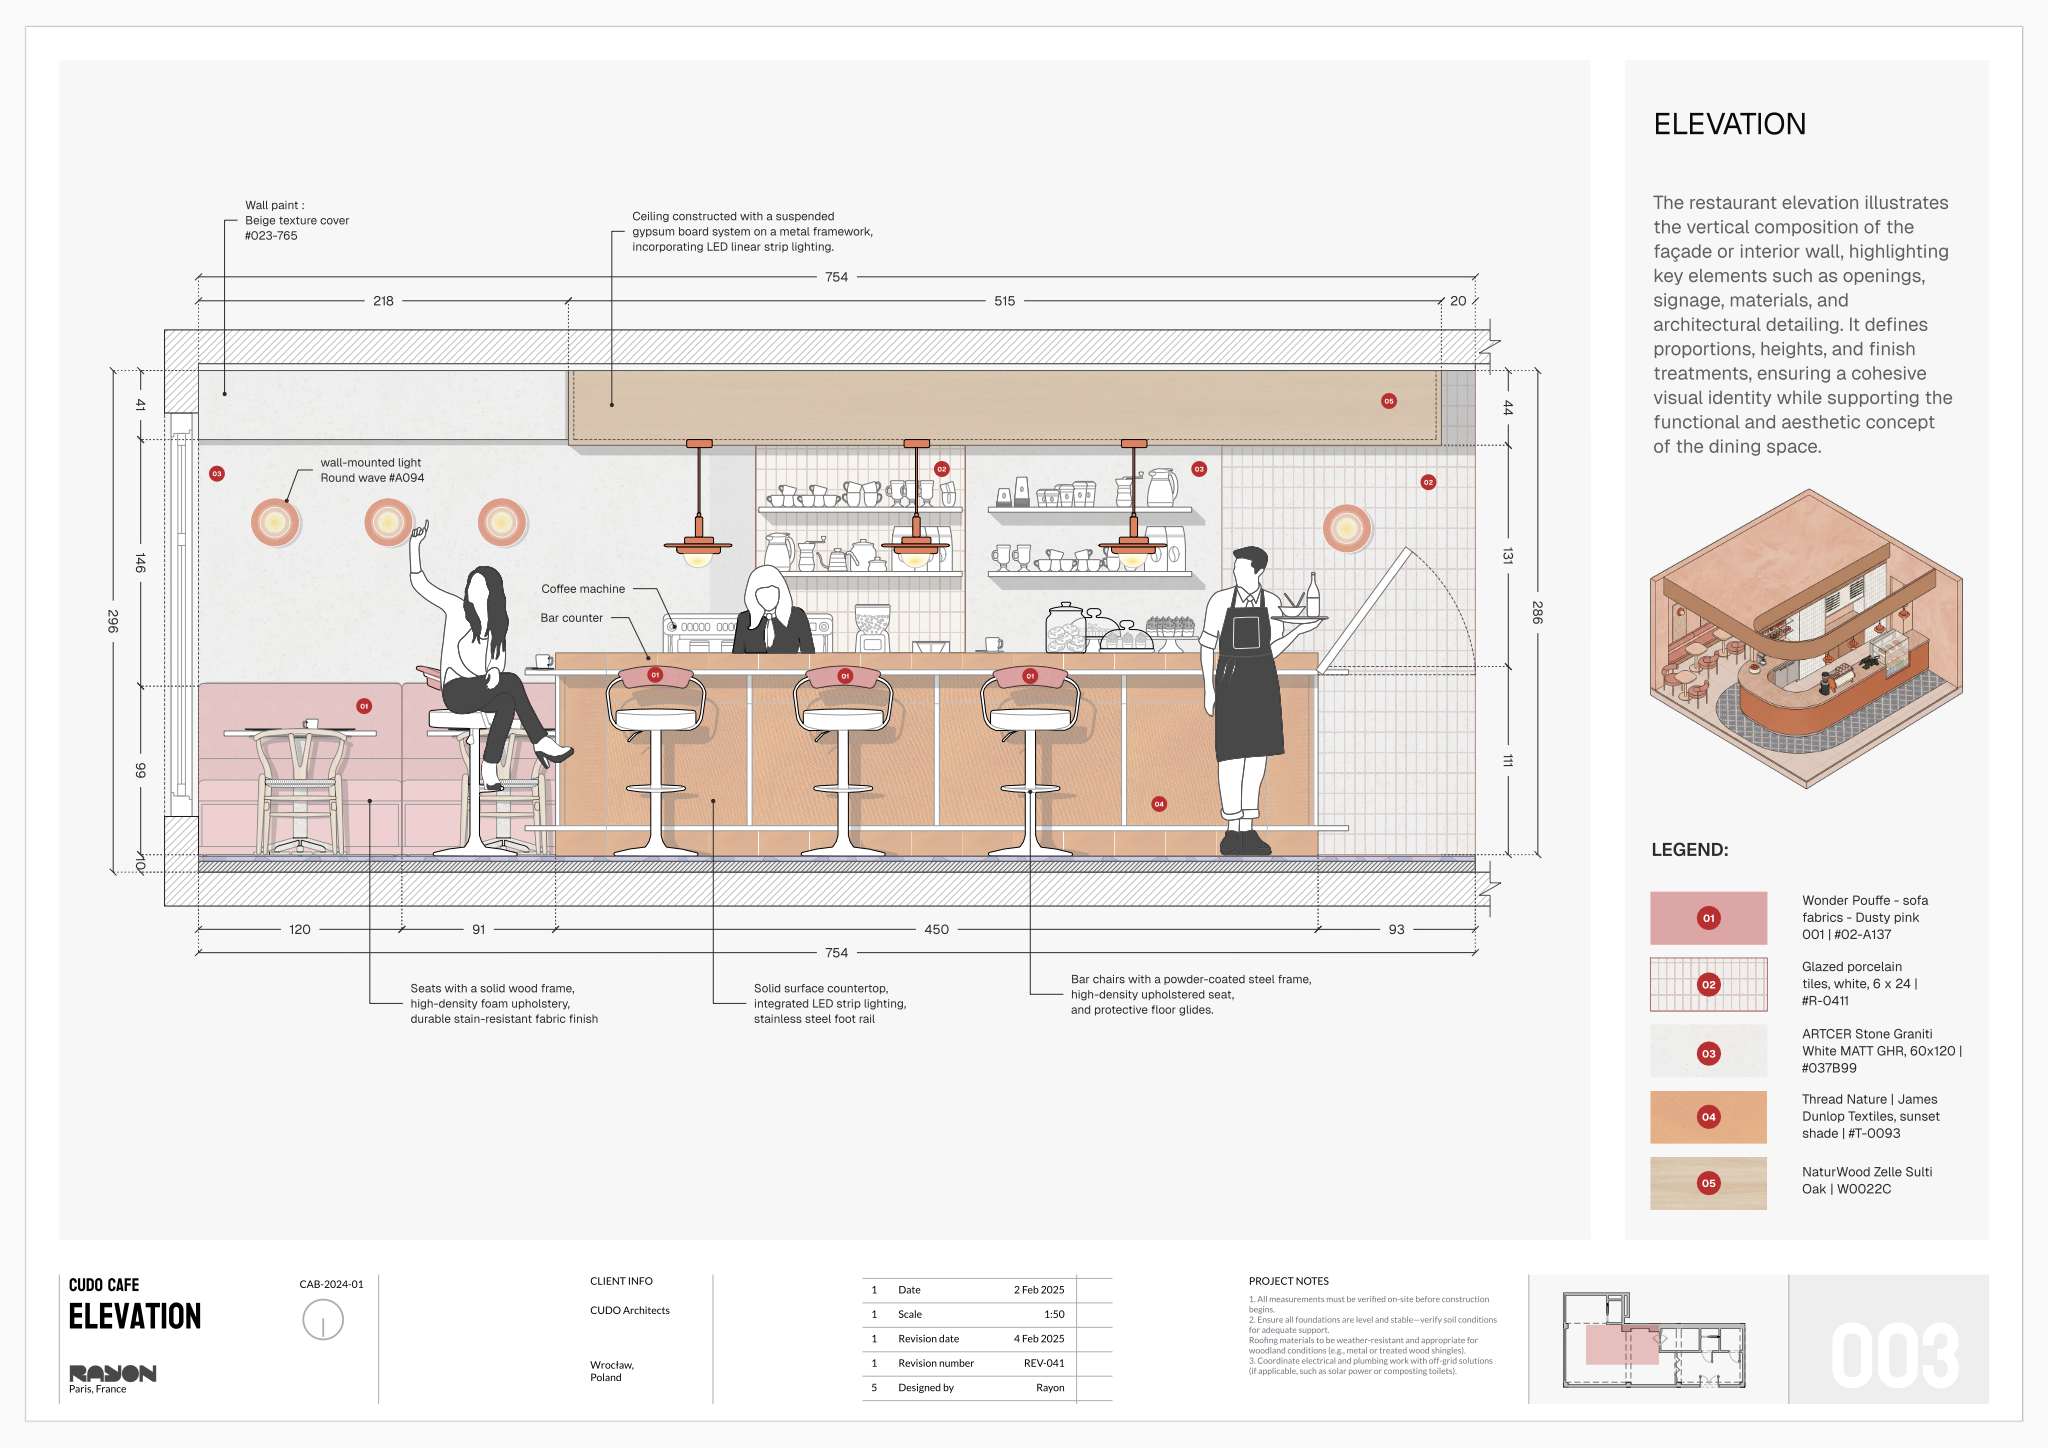
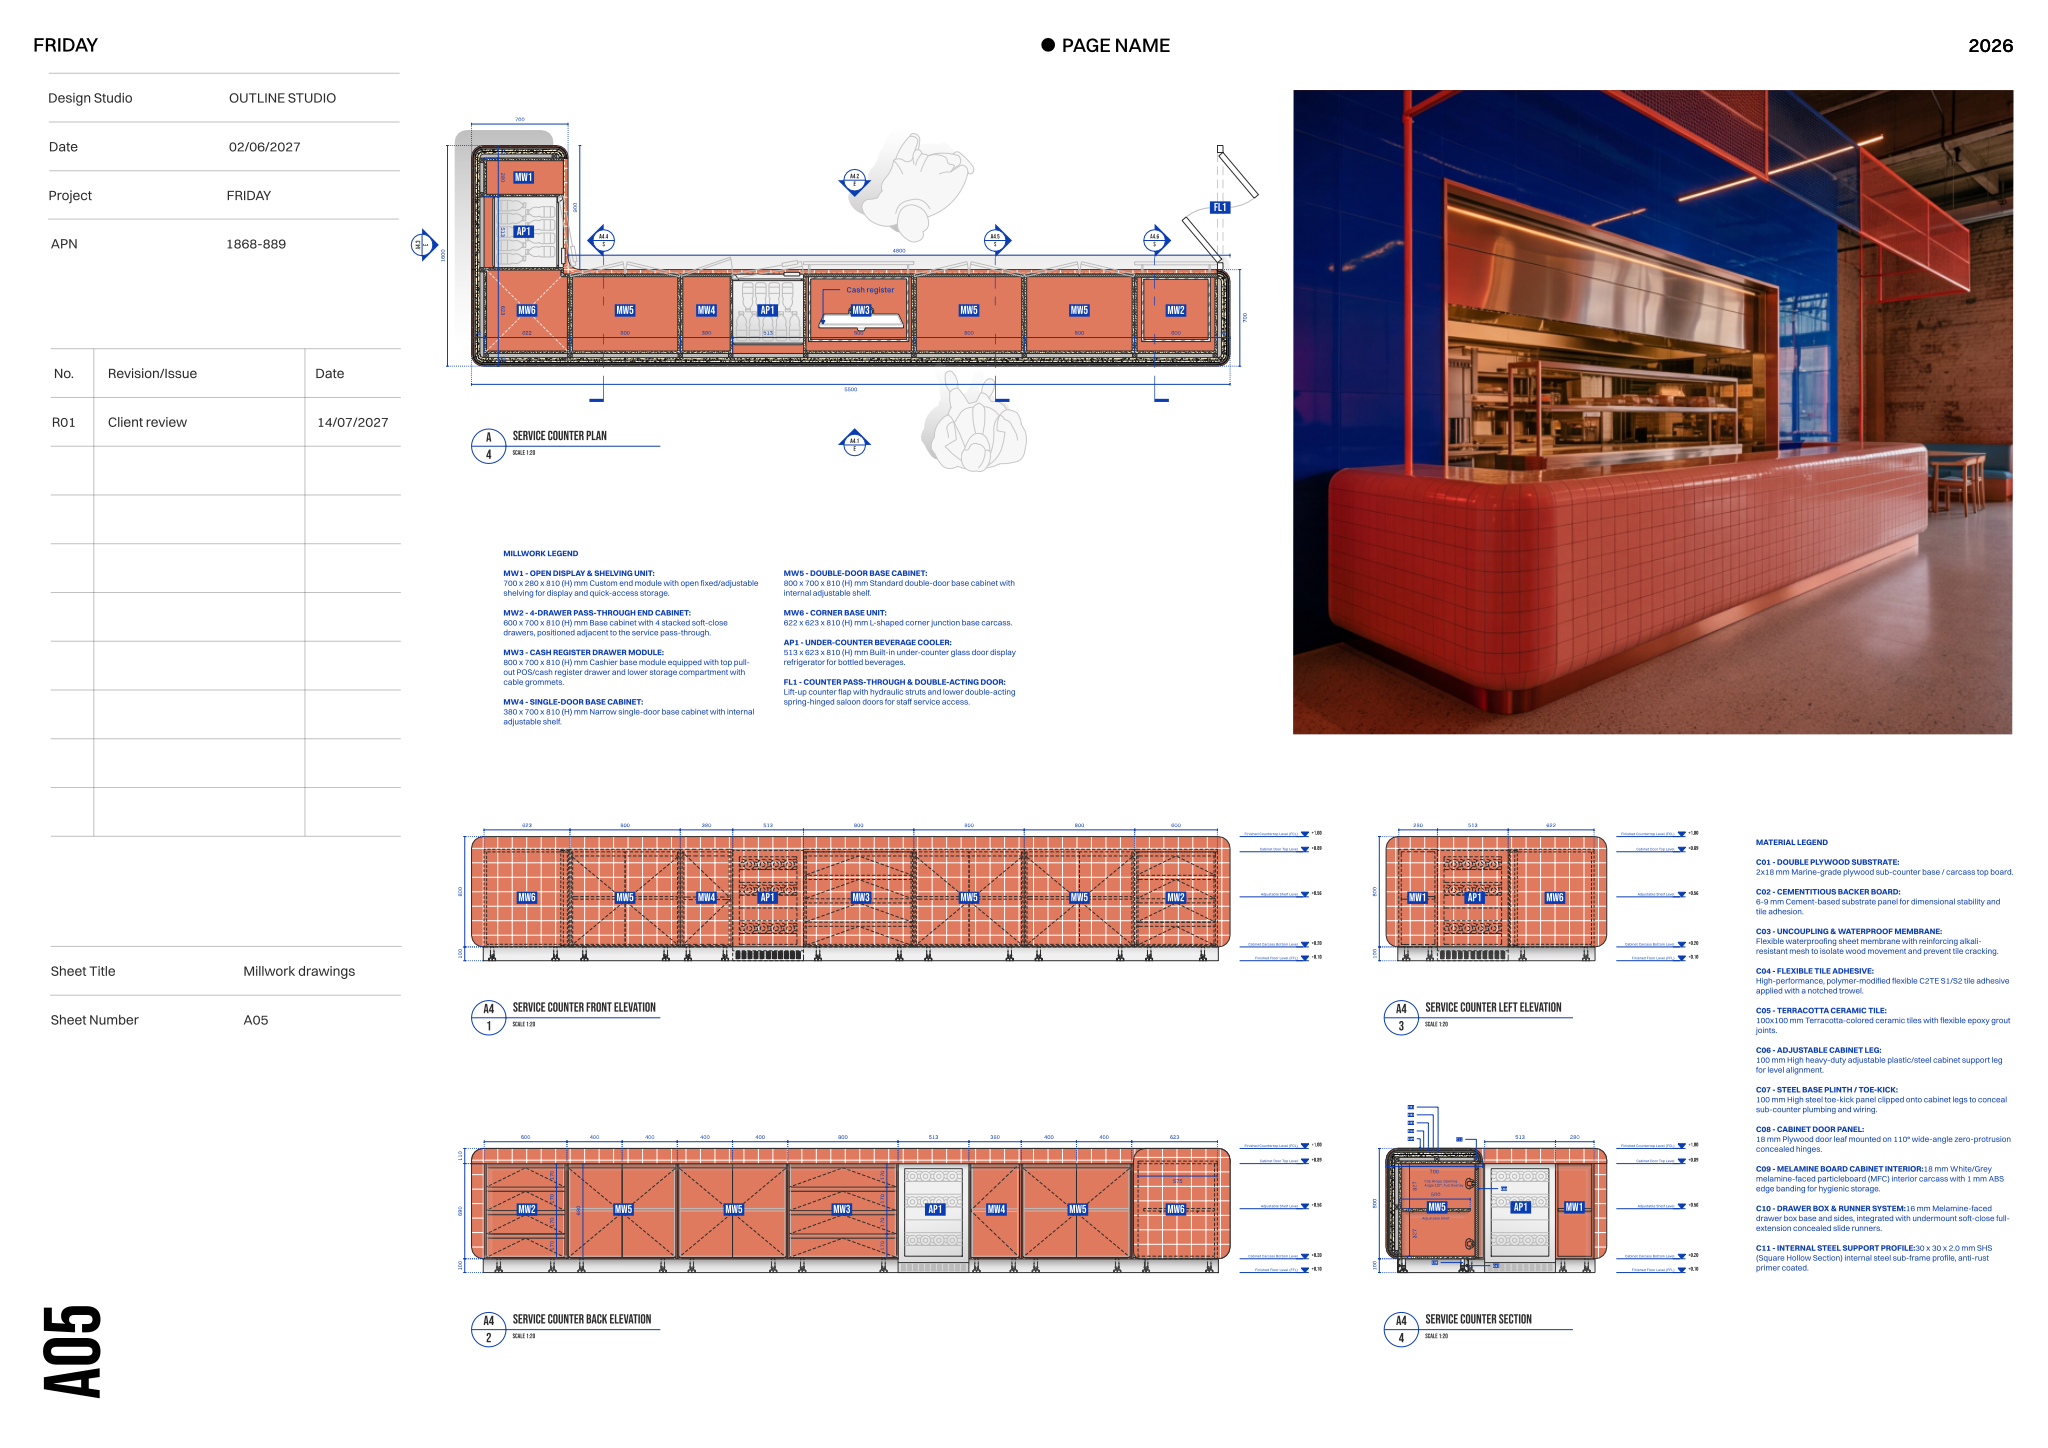
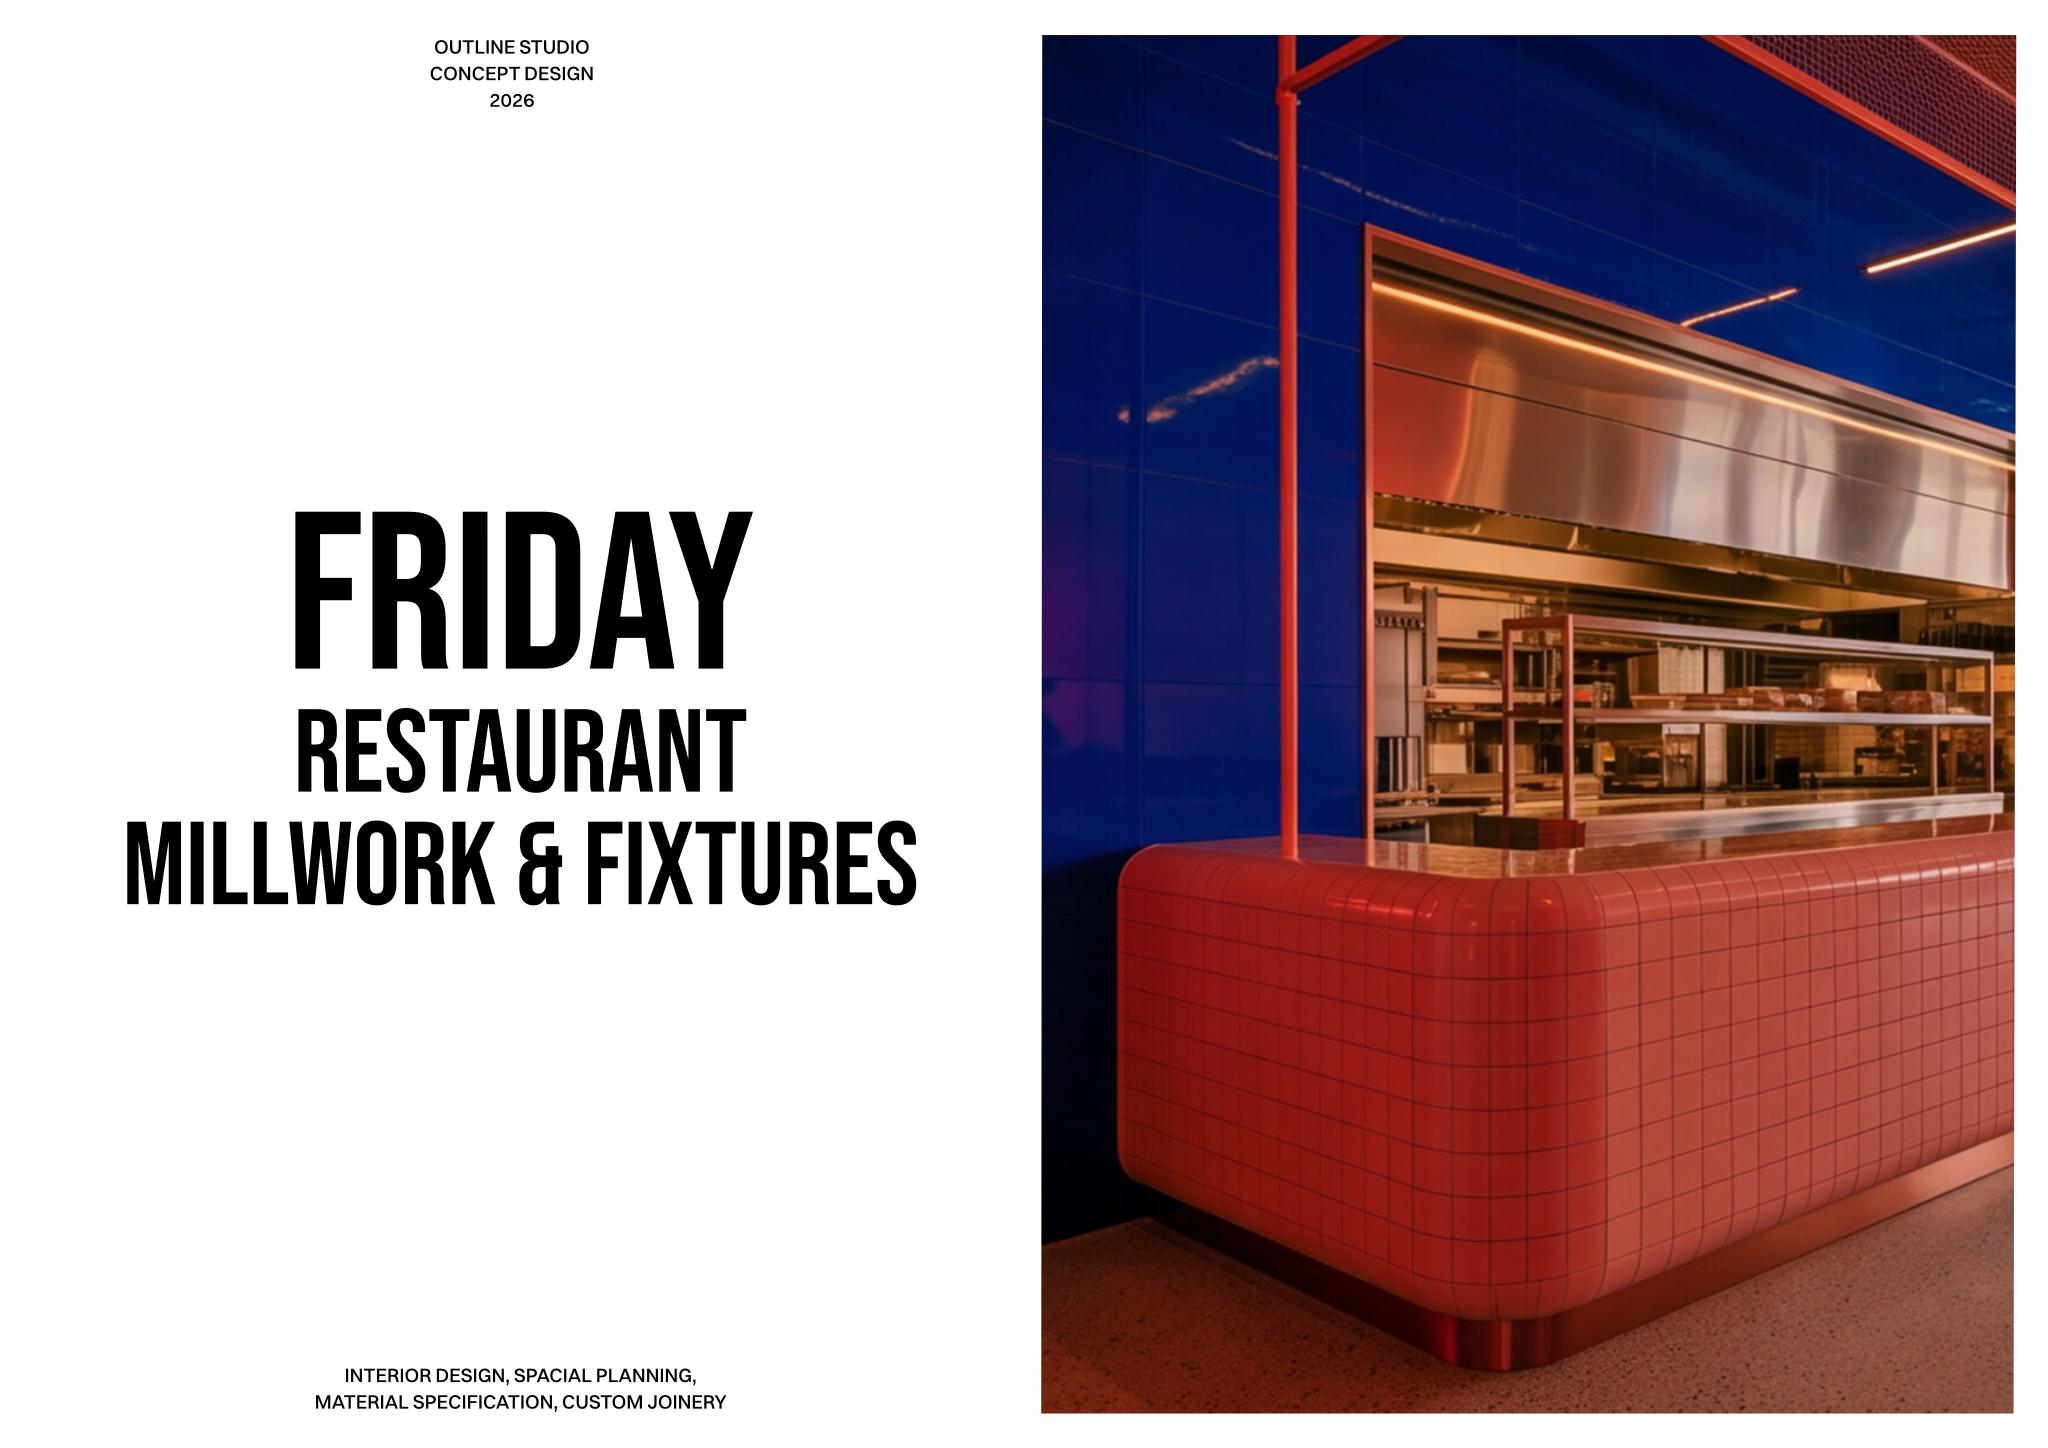
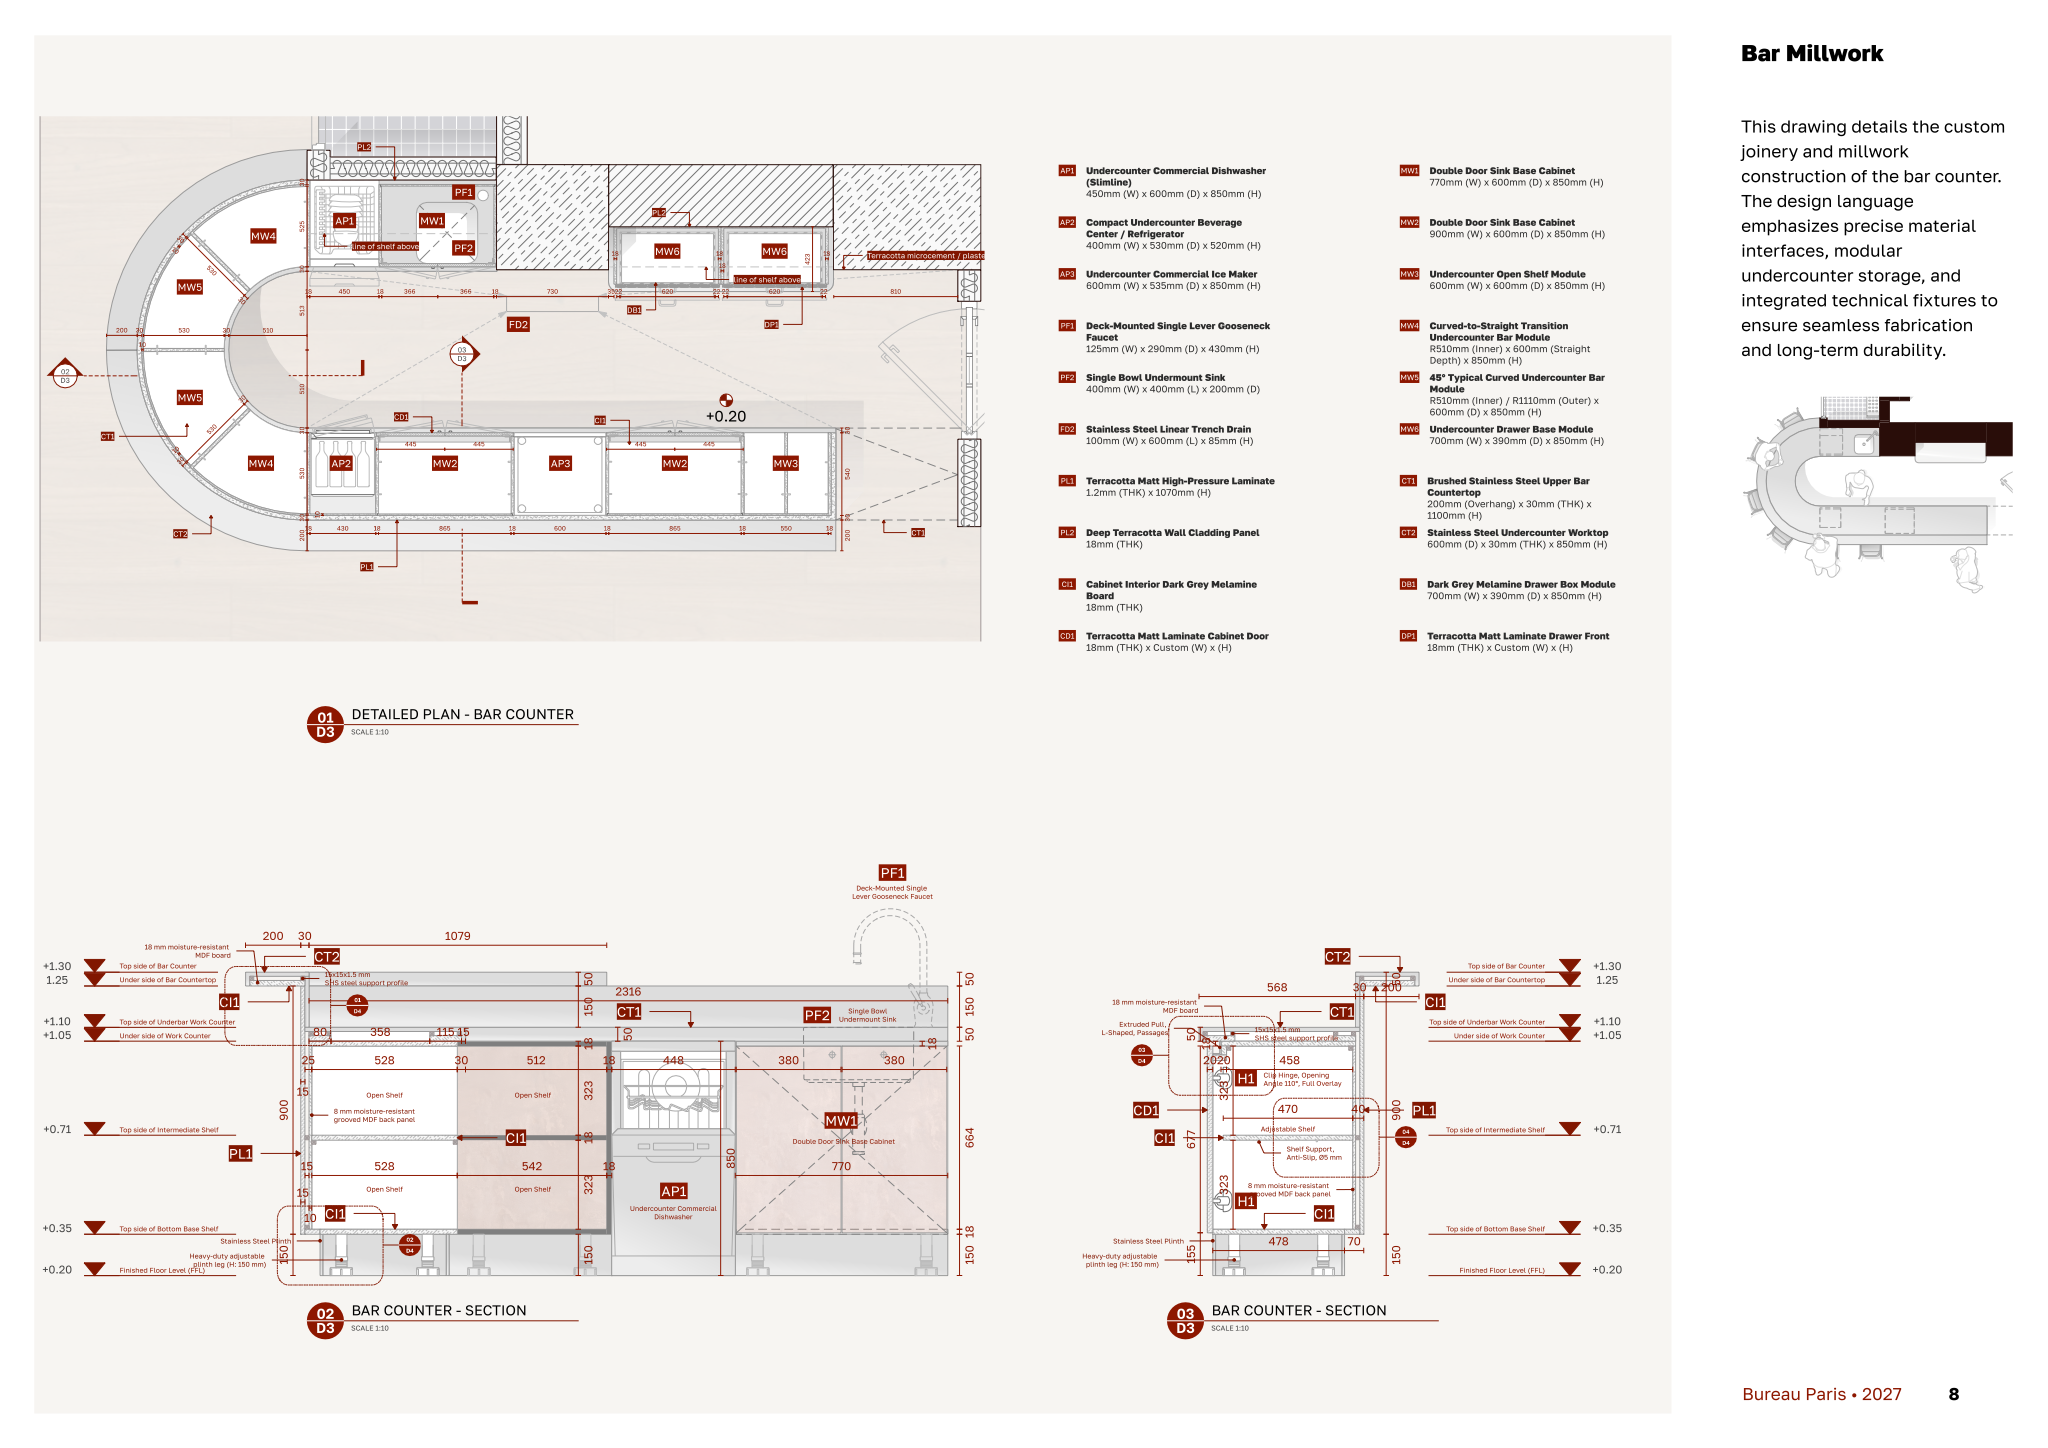
The bar or coffee counter is usually the most expensive and most photographed piece in the room. Present it with its own sheets: a plan with every piece of equipment located, front and back elevations, sections showing worktop heights on the service side and the guest side, footrests, under-counter fridges and ice wells, and all services. Coordinate early with the equipment supplier and the head barista or bar manager, who know how the station is actually worked.
- Working height on the service side, often around 900 mm, and a raised guest-side top, often around 1050–1150 mm.
- An accessible, lower section of counter where guests order or pay, as required by local accessibility rules.
- Depth for equipment: espresso machines, grinders, glass washers and under-counter fridges have fixed footprints and need ventilation.
- Water supply, waste, floor drains, electrical loads and data for the POS, all located and dimensioned.
- Durable edges and tops: stone, stainless steel or solid surfaces at the points that are leaned on, wiped and knocked.
- Back bar storage, display and lighting, and access panels for maintenance.
Mock up the counter at full size with tape on the floor and cardboard boxes before fixing the drawings. Ten minutes of the barista “working” the mock-up will reveal reach and spacing problems no plan shows.
Lighting, acoustics and materials
 Open template
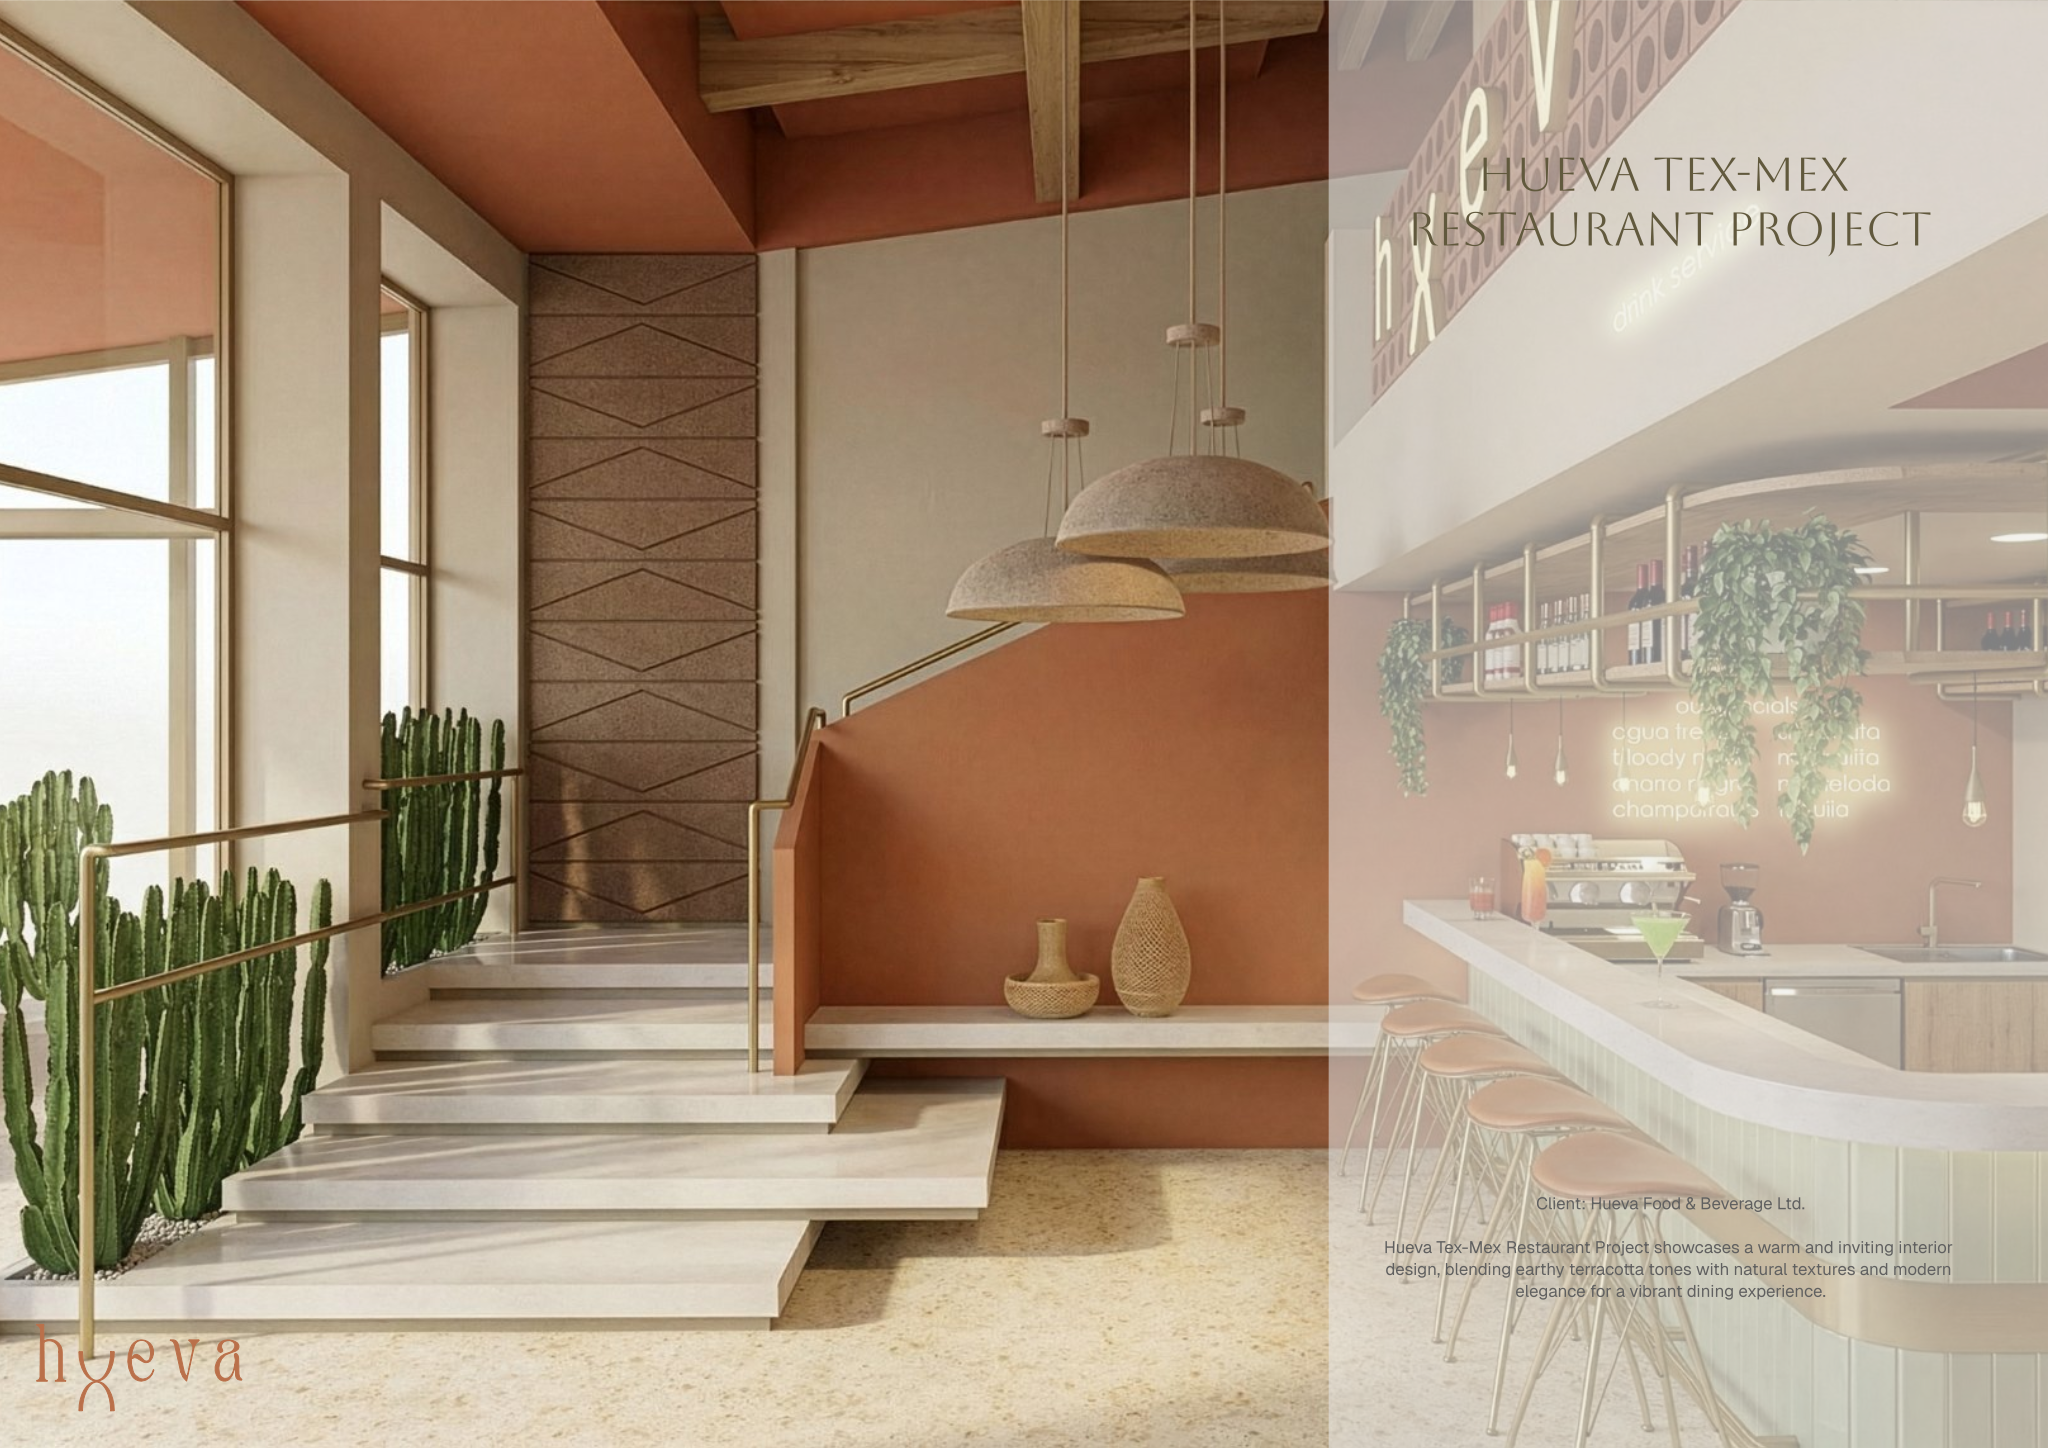
Atmosphere is what guests remember and what brings them back, and in restaurants it comes mostly from three things: light, sound and touch. Each has to work through a whole service day and survive heavy use and daily cleaning. Plan them together from concept stage rather than adding them at the end.
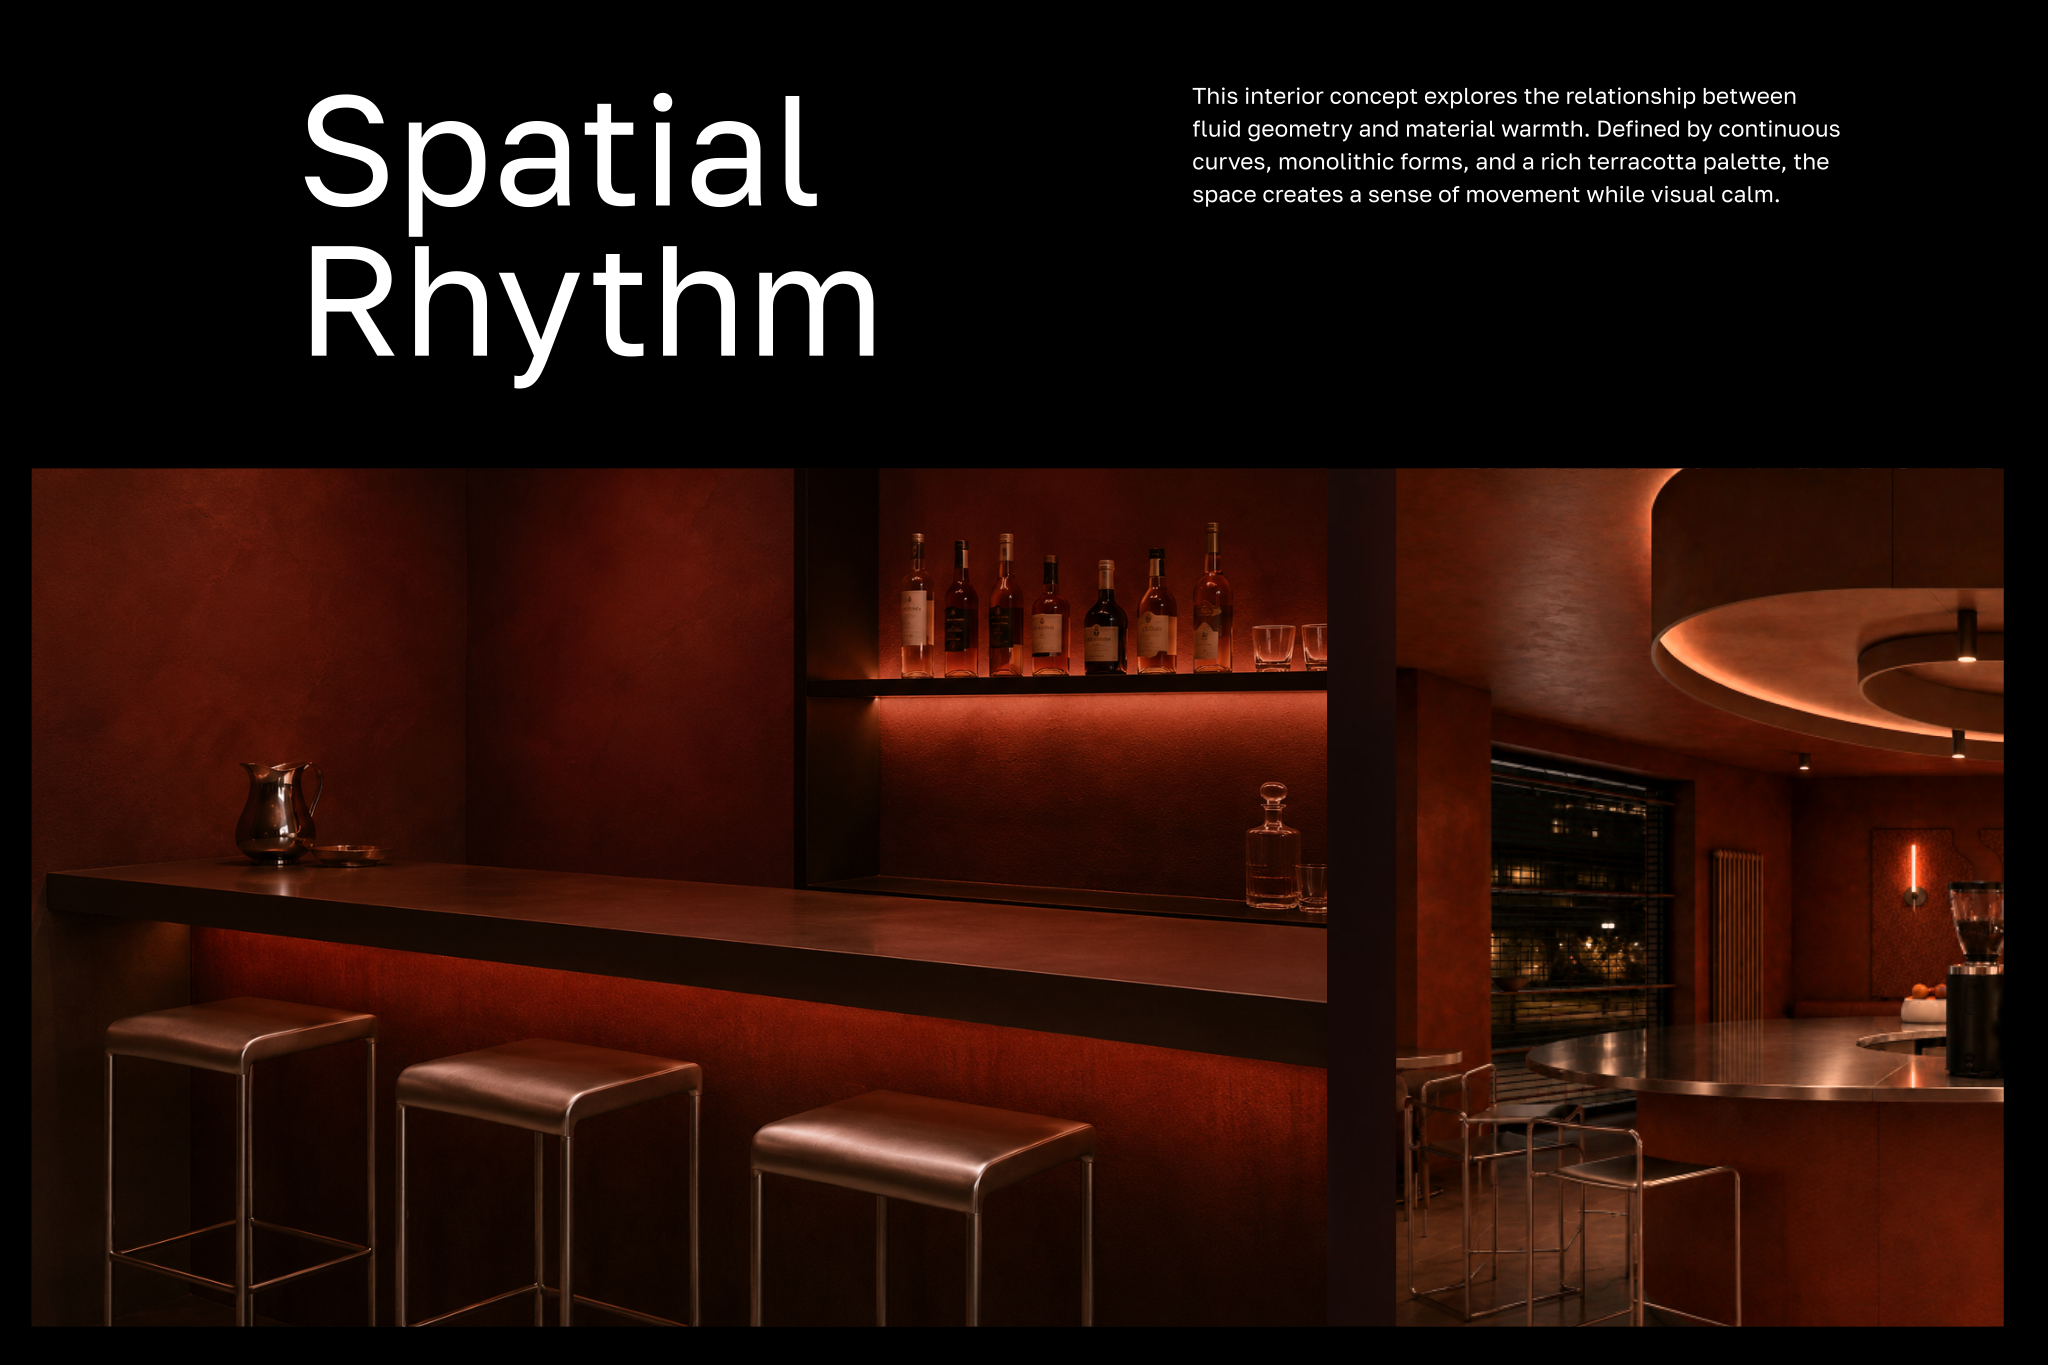
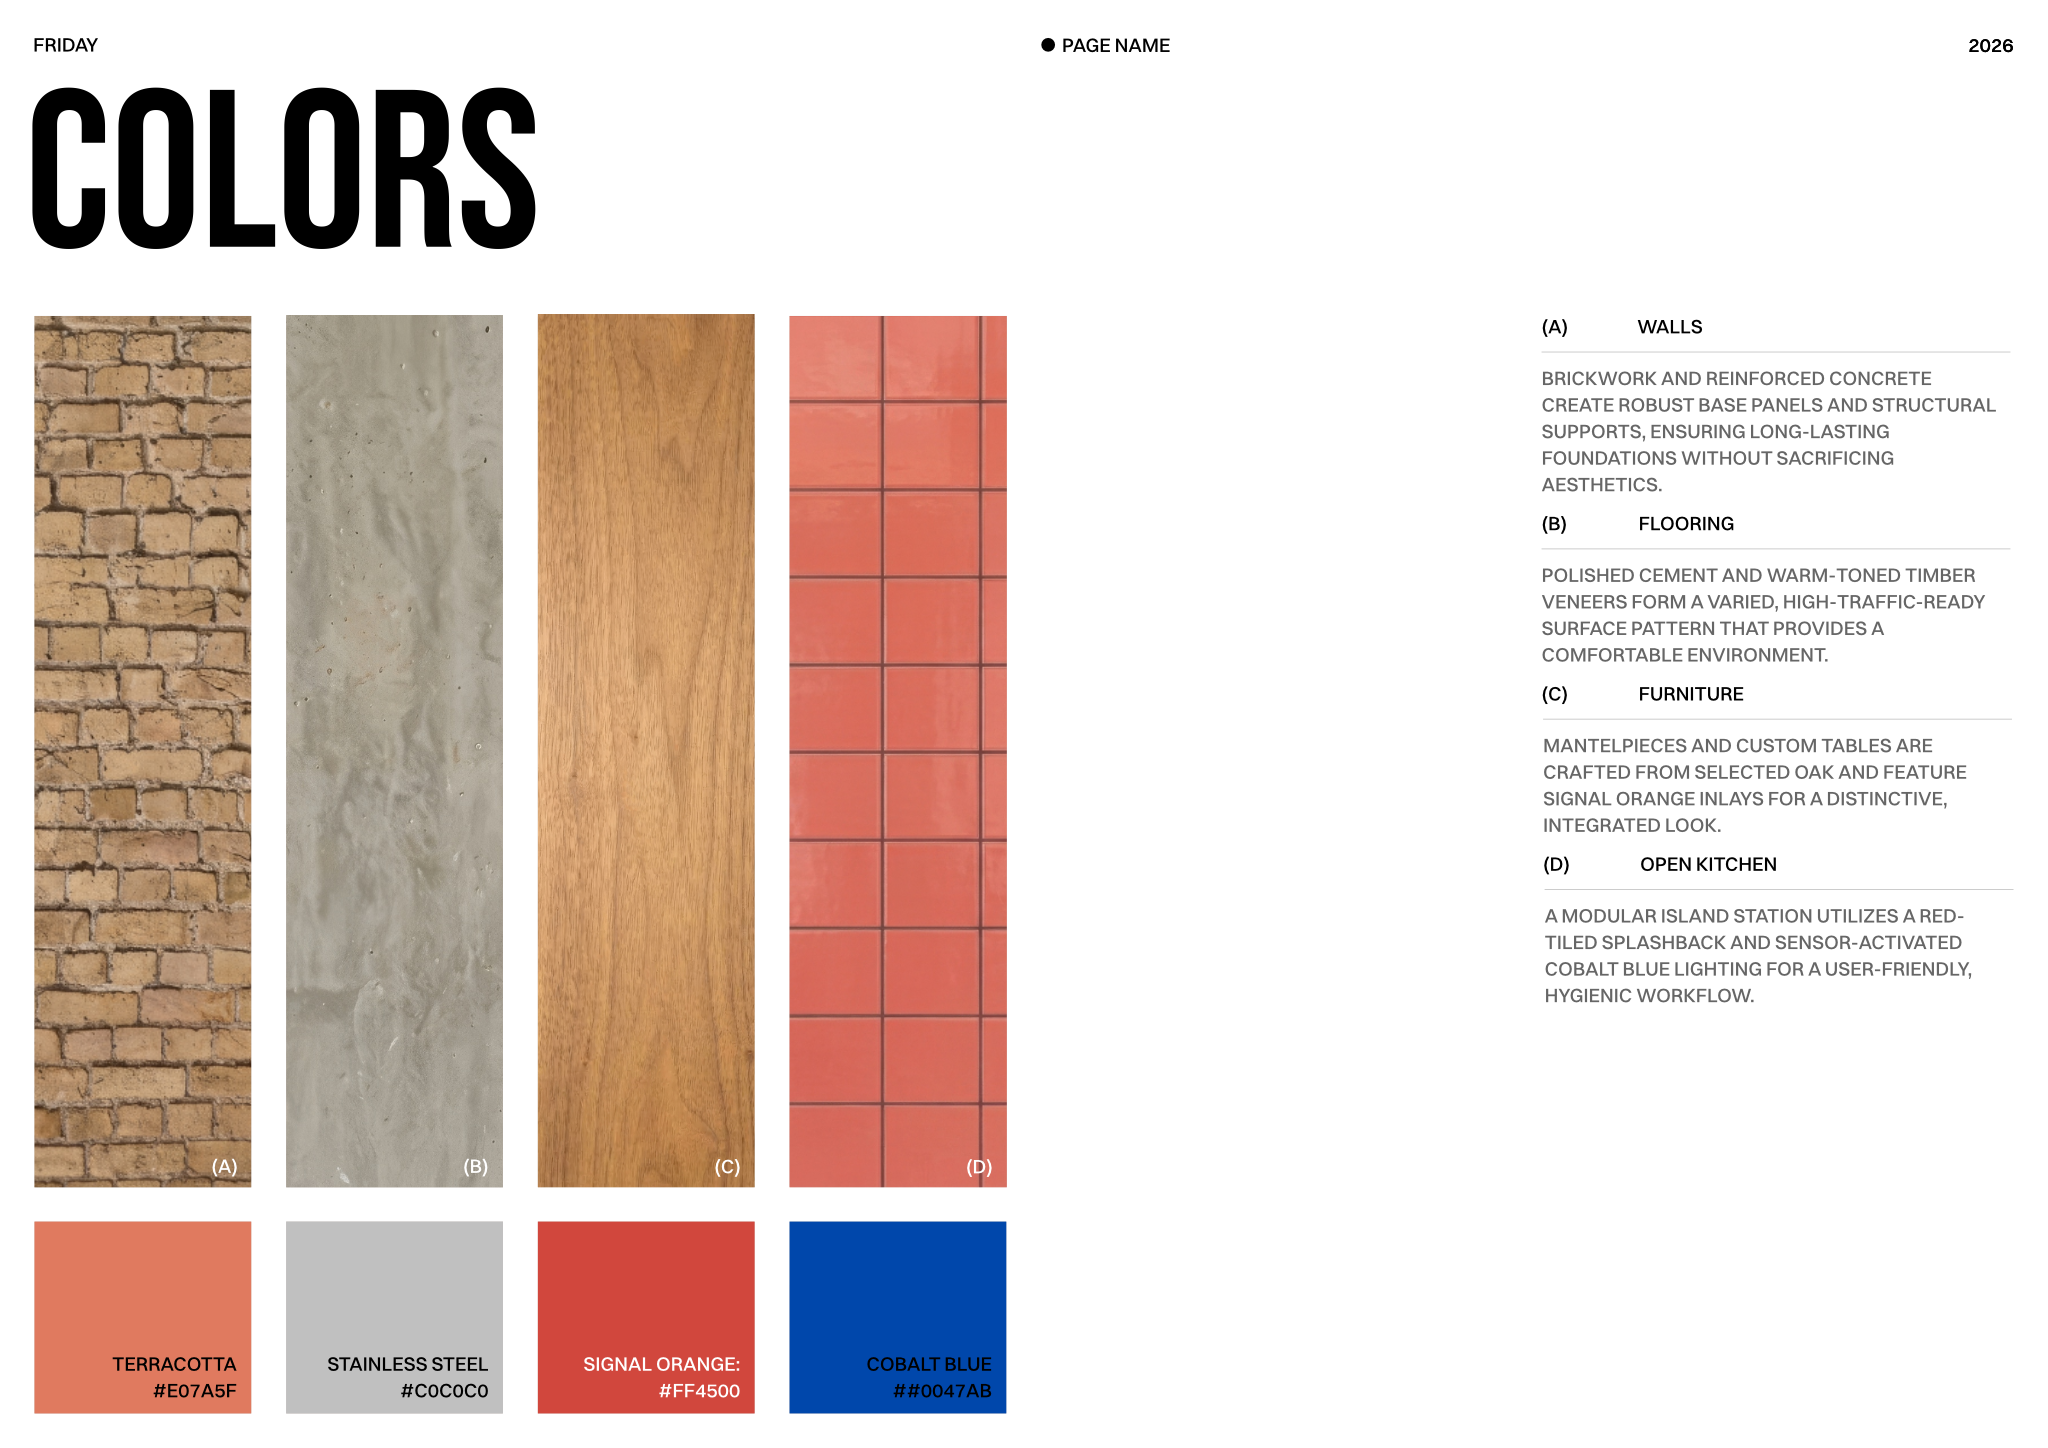
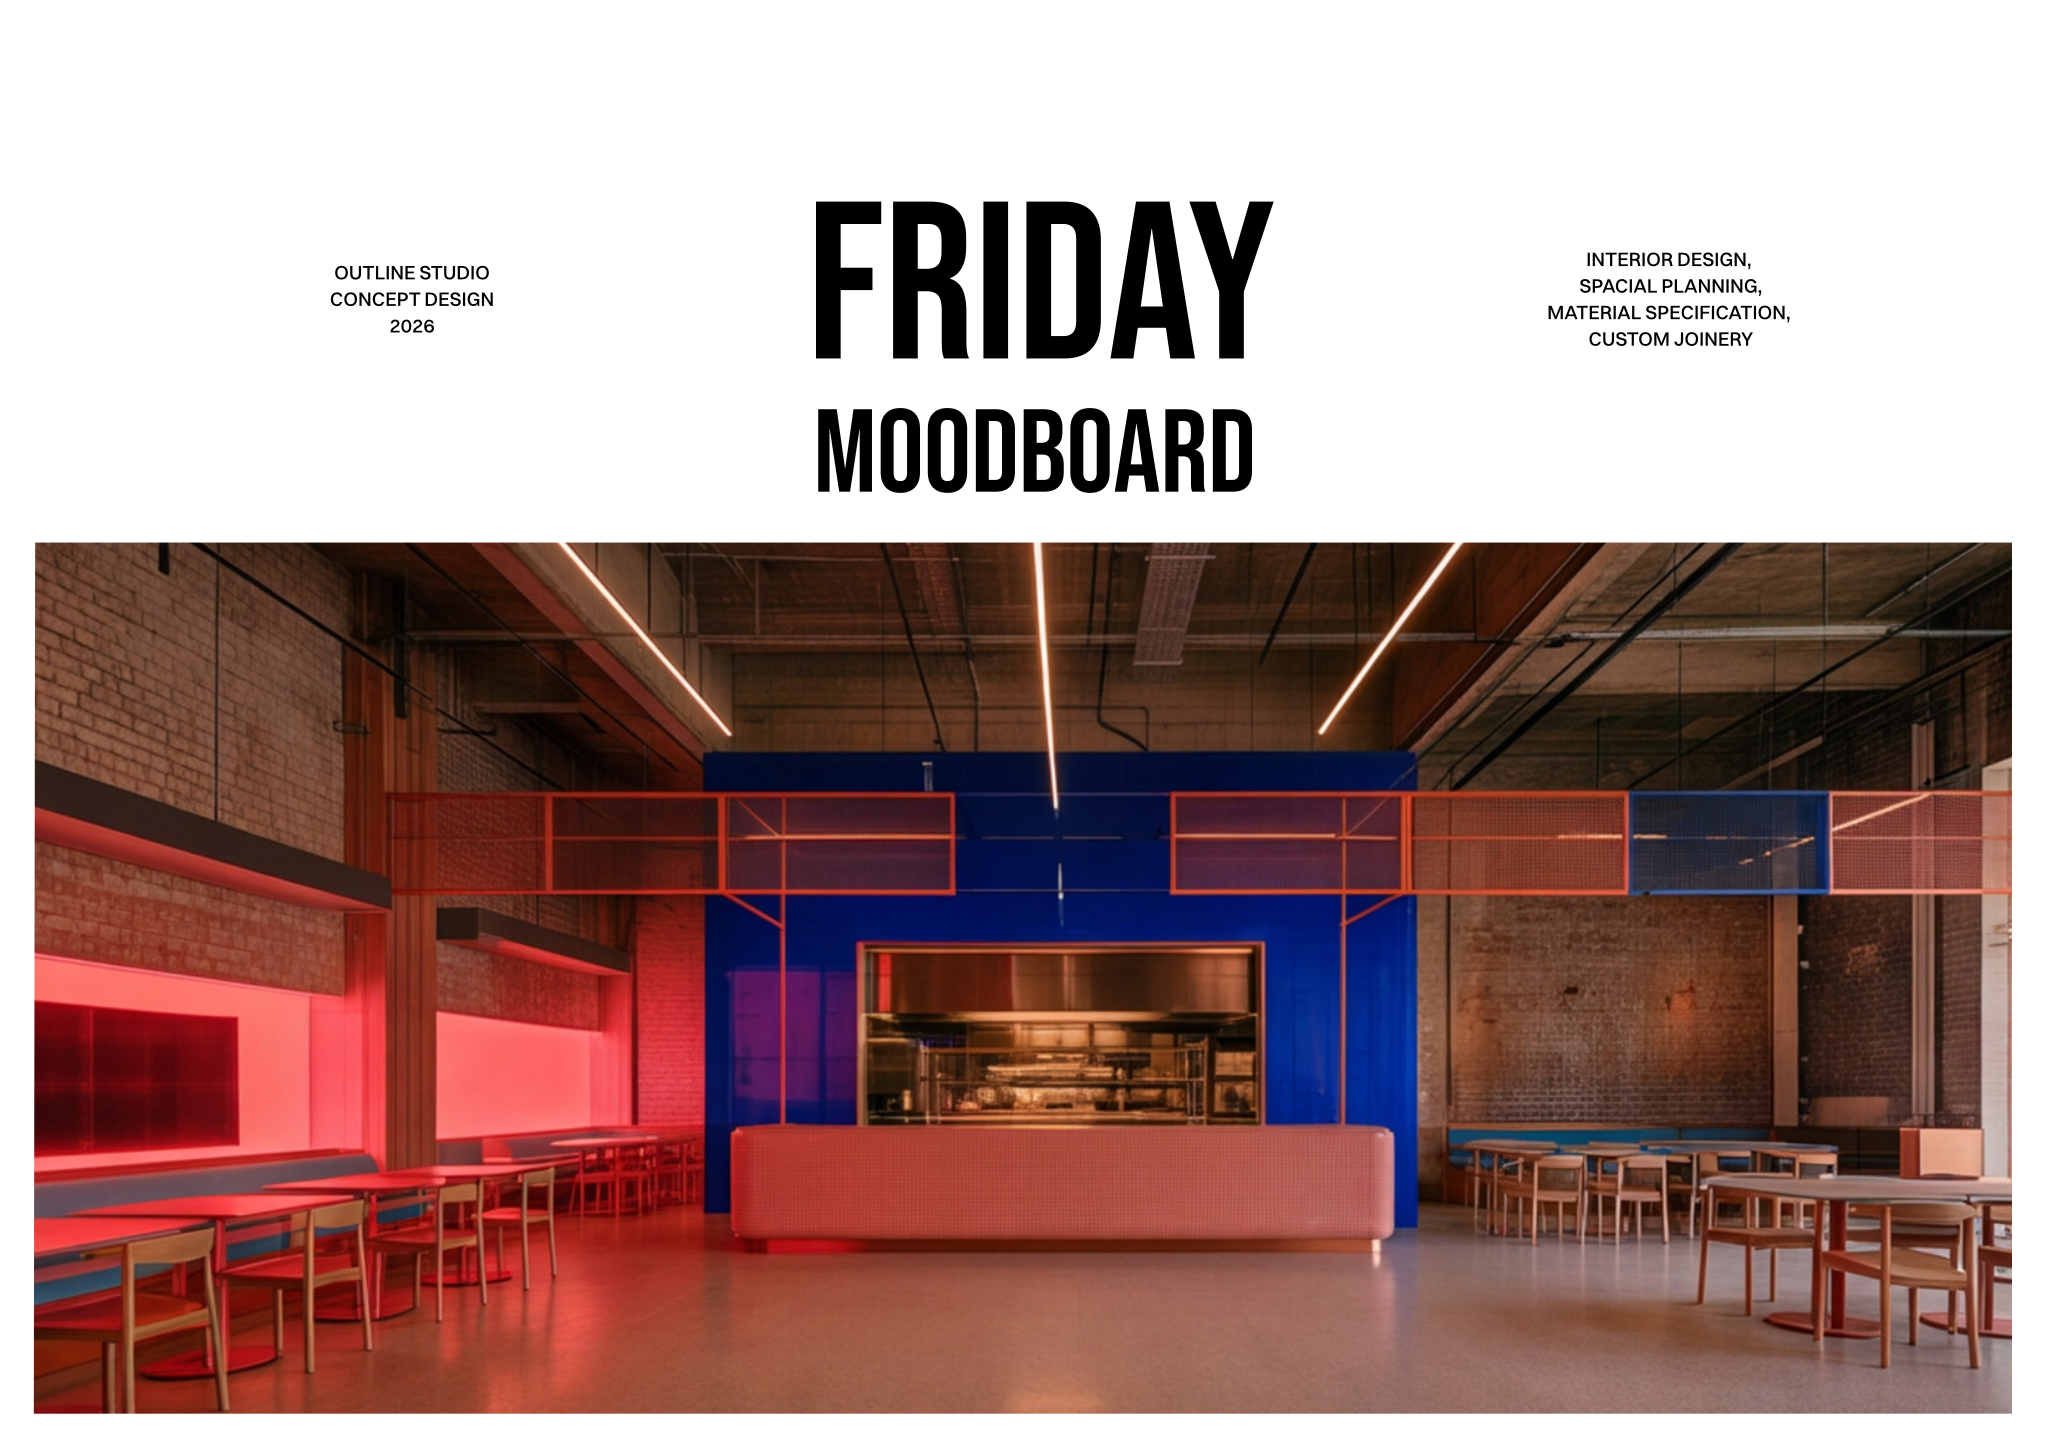
- Lighting: layered and dimmable, brighter for breakfast and lunch, warmer and lower for dinner. Light the table and the faces, not the floor, and use warm colour temperatures with good colour rendering so food and people look good.
- Control: put lighting on scenes the staff can switch easily (morning, day, evening, cleaning) so the atmosphere is set by design, not by whoever reaches the switch.
- Acoustics: hard, beautiful surfaces make rooms loud and tiring. Plan absorptive ceilings, upholstered banquettes, curtains or wall panels from the start, and treat the ceiling first because it is the largest free surface.
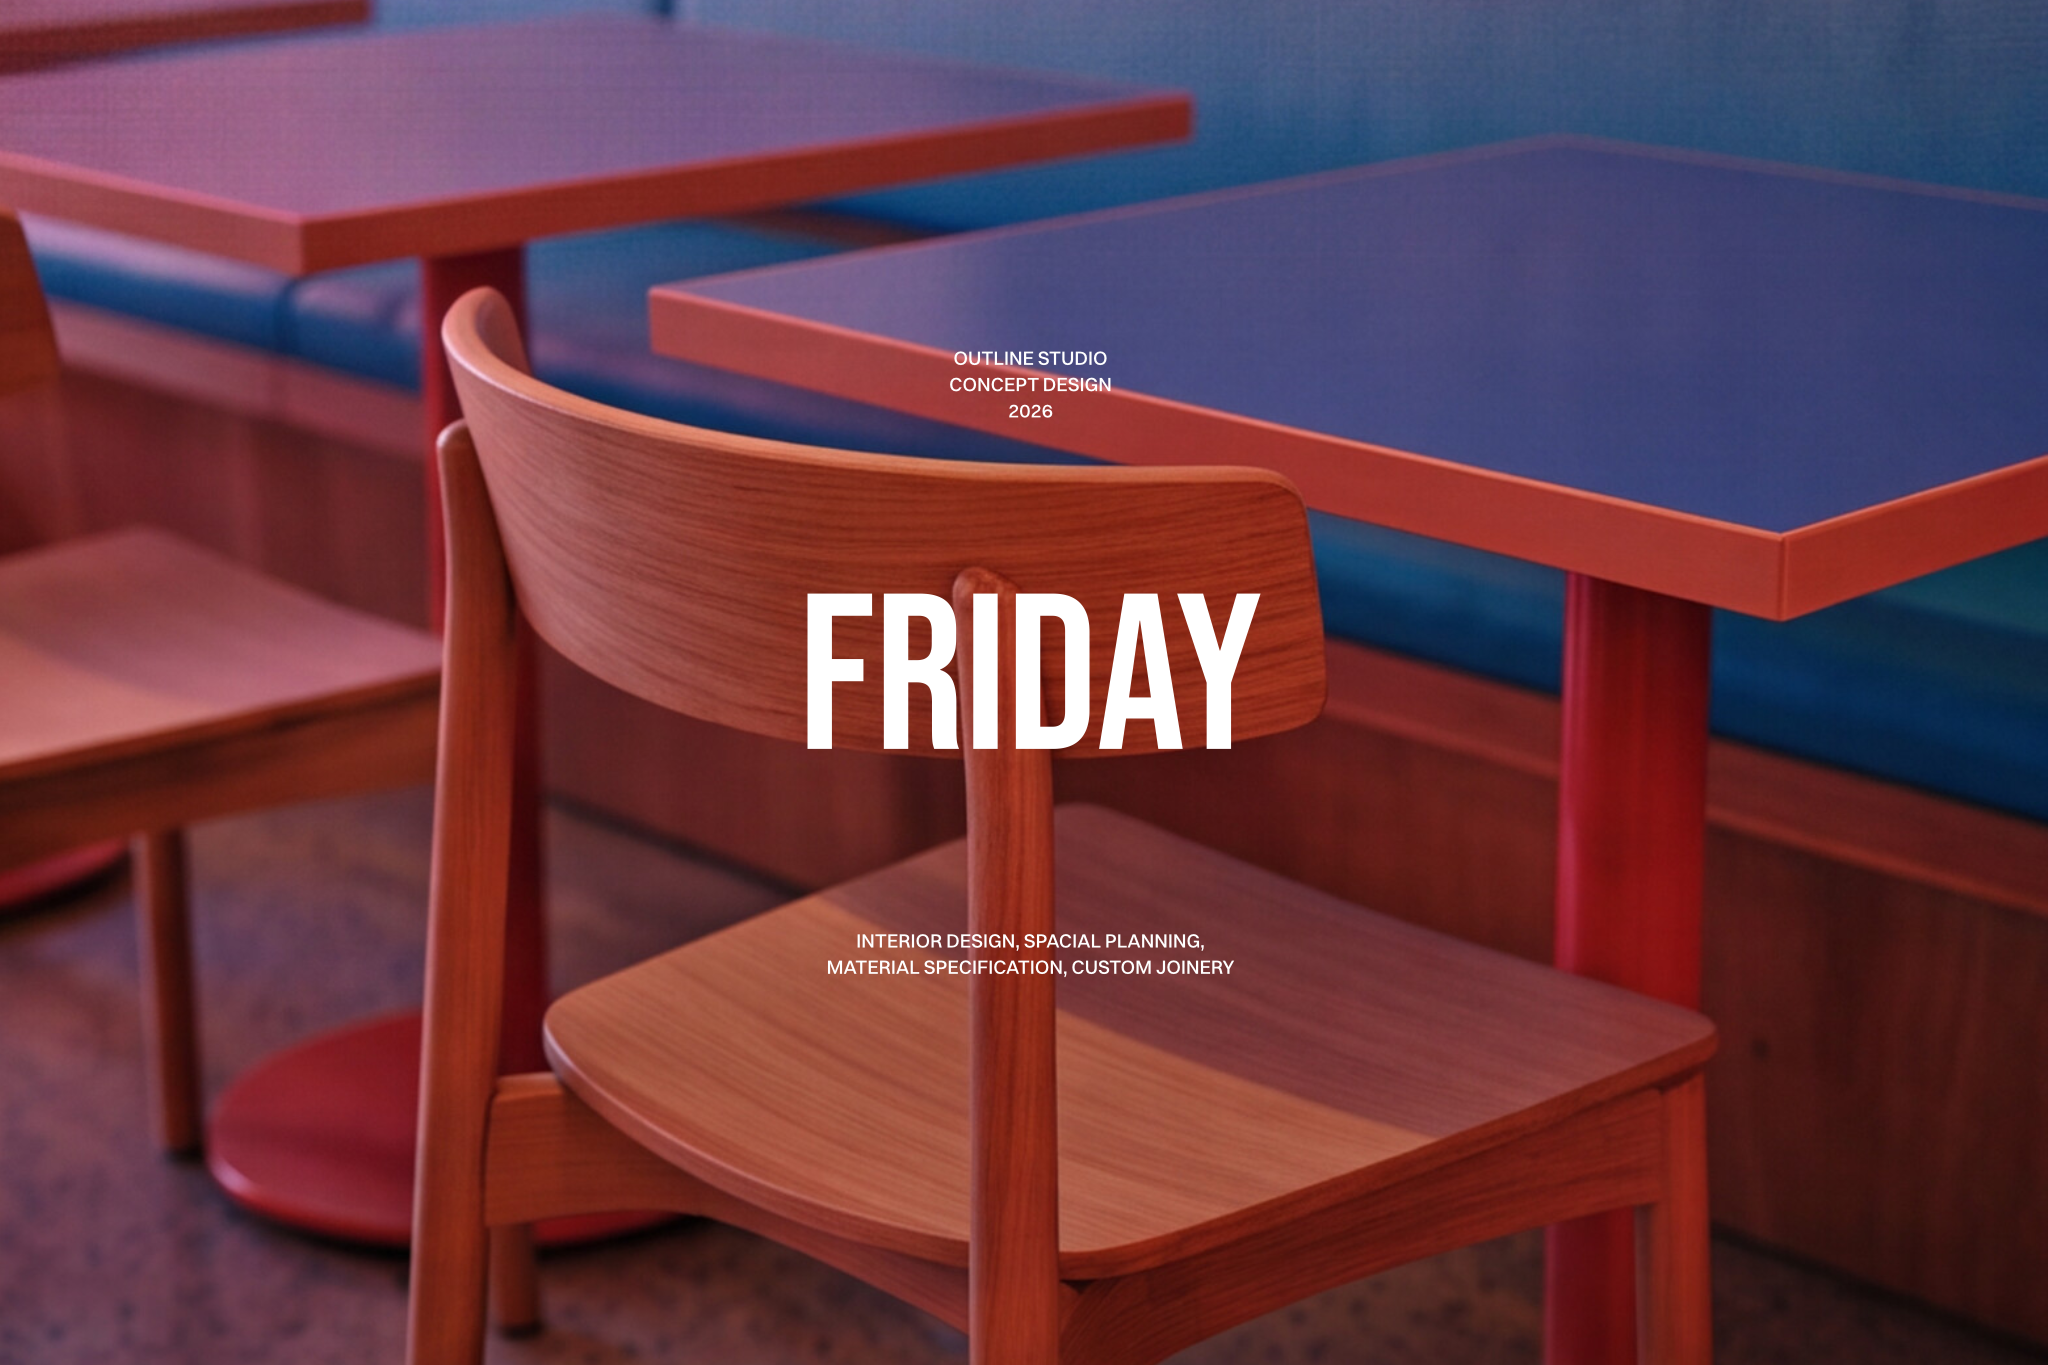
- Materials: specify for spills, cleaning chemicals and heavy use: sealed stone, commercial-grade upholstery with a contract abrasion rating, durable table tops, and slip-resistant floors near the bar, kitchen and toilets.
- Brand: repeat a few signature elements (a colour, a material, a light, a graphic) so the space is recognisable in photos shared online.
Noise is one of the most common complaints in restaurants. The target is a room where conversation stays easy at a full house; that means a shorter reverberation time than a typical living room, which usually requires dedicated absorption. Put acoustic treatment in the budget at concept stage, because it is expensive to add after opening.
Designing for multiple sites
 Open template
For chains, separate what is fixed (brand elements, counter modules, signature lights, material palette) from what adapts to each site (layout, seat count, storefront, local character). A design kit of standard millwork modules and a clear material schedule keeps every location consistent and cheaper to build.
- A brand design manual: concept, palette, materials, lighting principles, graphics and do's and don'ts.
- A library of standard modules: counter units, banquettes, shelving and display, each with drawings and a fixed specification.
- Approved suppliers and alternatives for every finish and furniture item.
- Typical layouts for small, medium and large sites, with target covers.
- A site adaptation process: survey, test fit, design adjustments, approval.
Review the first site three to six months after opening with the operator: which seats stay empty, which finishes have worn, where staff lose time. Feed the answers into the kit before the next site.
Watch it on Rayon Academy
Common questions
What should a restaurant interior design presentation include?
The operational brief, brand concept, layout with seating capacity and service flow, bar or counter design, lighting and acoustic strategy, materials, and the drawings needed to build it.
How much space per seat in a restaurant?
It depends on the format and local codes; fine dining needs noticeably more room per seat than a quick-service cafe. Test the layout with real furniture and clearances, and check your local regulations and the operator's targets before finalising.
What's the most important drawing in a cafe project?
Usually the counter: plan, elevations and sections coordinated with the coffee equipment, because it drives both service speed and the look of the space.
How do I make a restaurant less noisy?
Add absorption early: an acoustic ceiling or baffles, upholstered seating, curtains and wall panels. Treat the ceiling first, and avoid rooms where every surface is hard.
What lighting is best for a restaurant?
Layered, dimmable, warm light with good colour rendering, focused on tables and faces, with preset scenes for different times of day.