The short answer
A retail store design presentation should explain the brand concept, map the customer journey from storefront through the decompression zone and main circulation loop to the checkout, show the store layout with zoning, fixture positions and sightlines, detail the display fixtures and millwork with capacities and loads, and set out lighting and materials. The aim is to prove the design sells product: a strong first impression from the street, clear sightlines to the back of the store, flexible merchandising that changes with the seasons, and a memorable brand moment customers want to photograph.
Brand first
 Open template
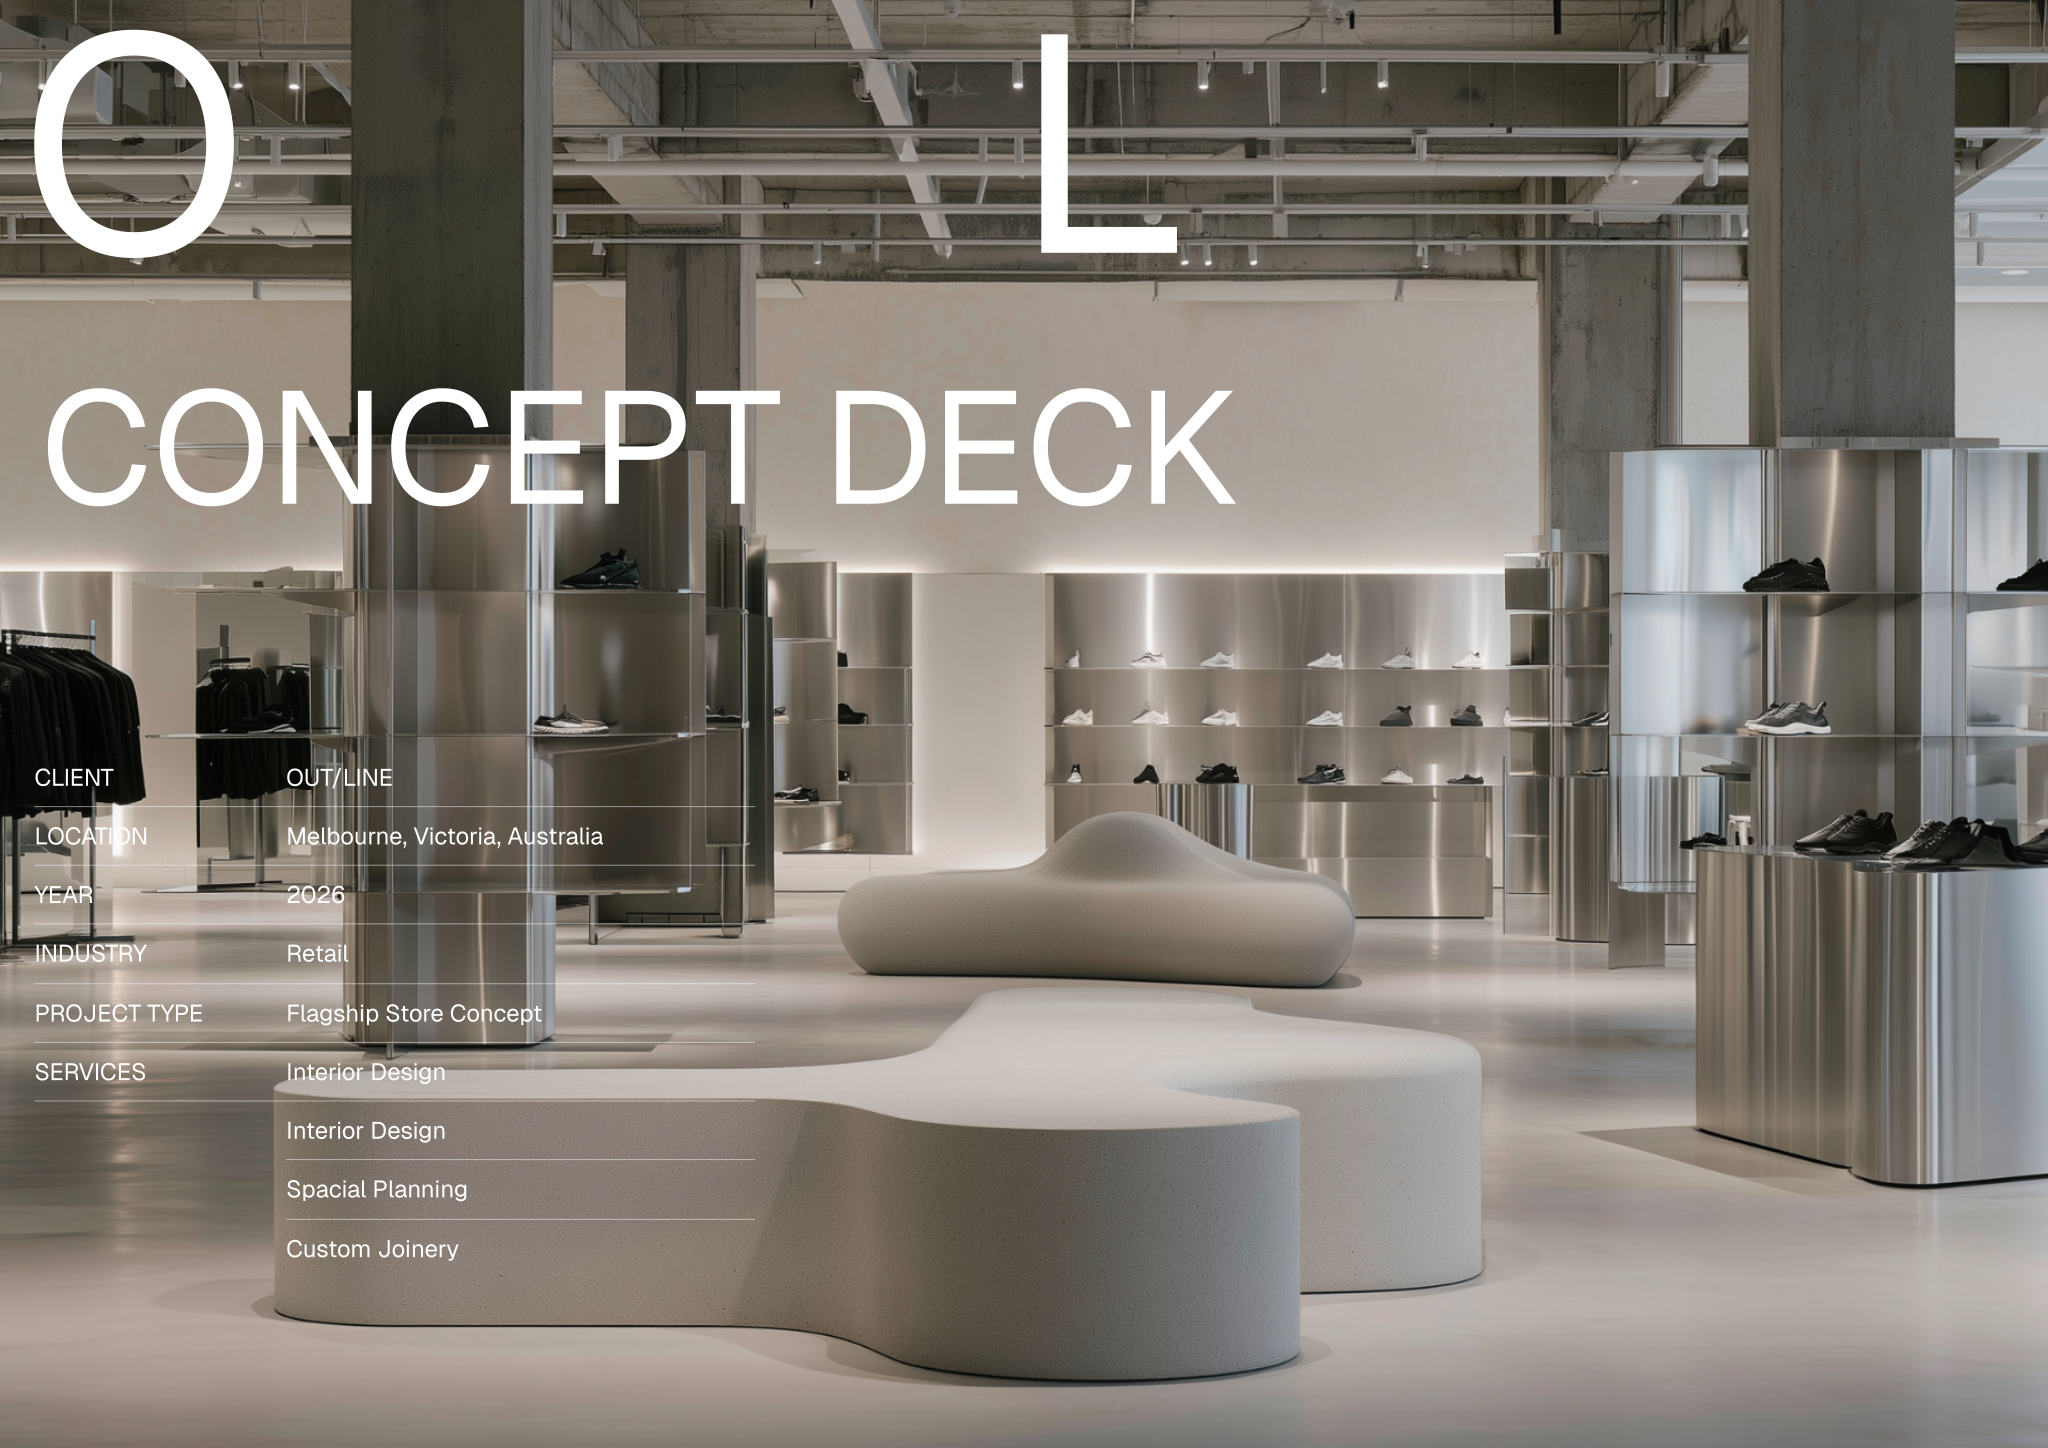
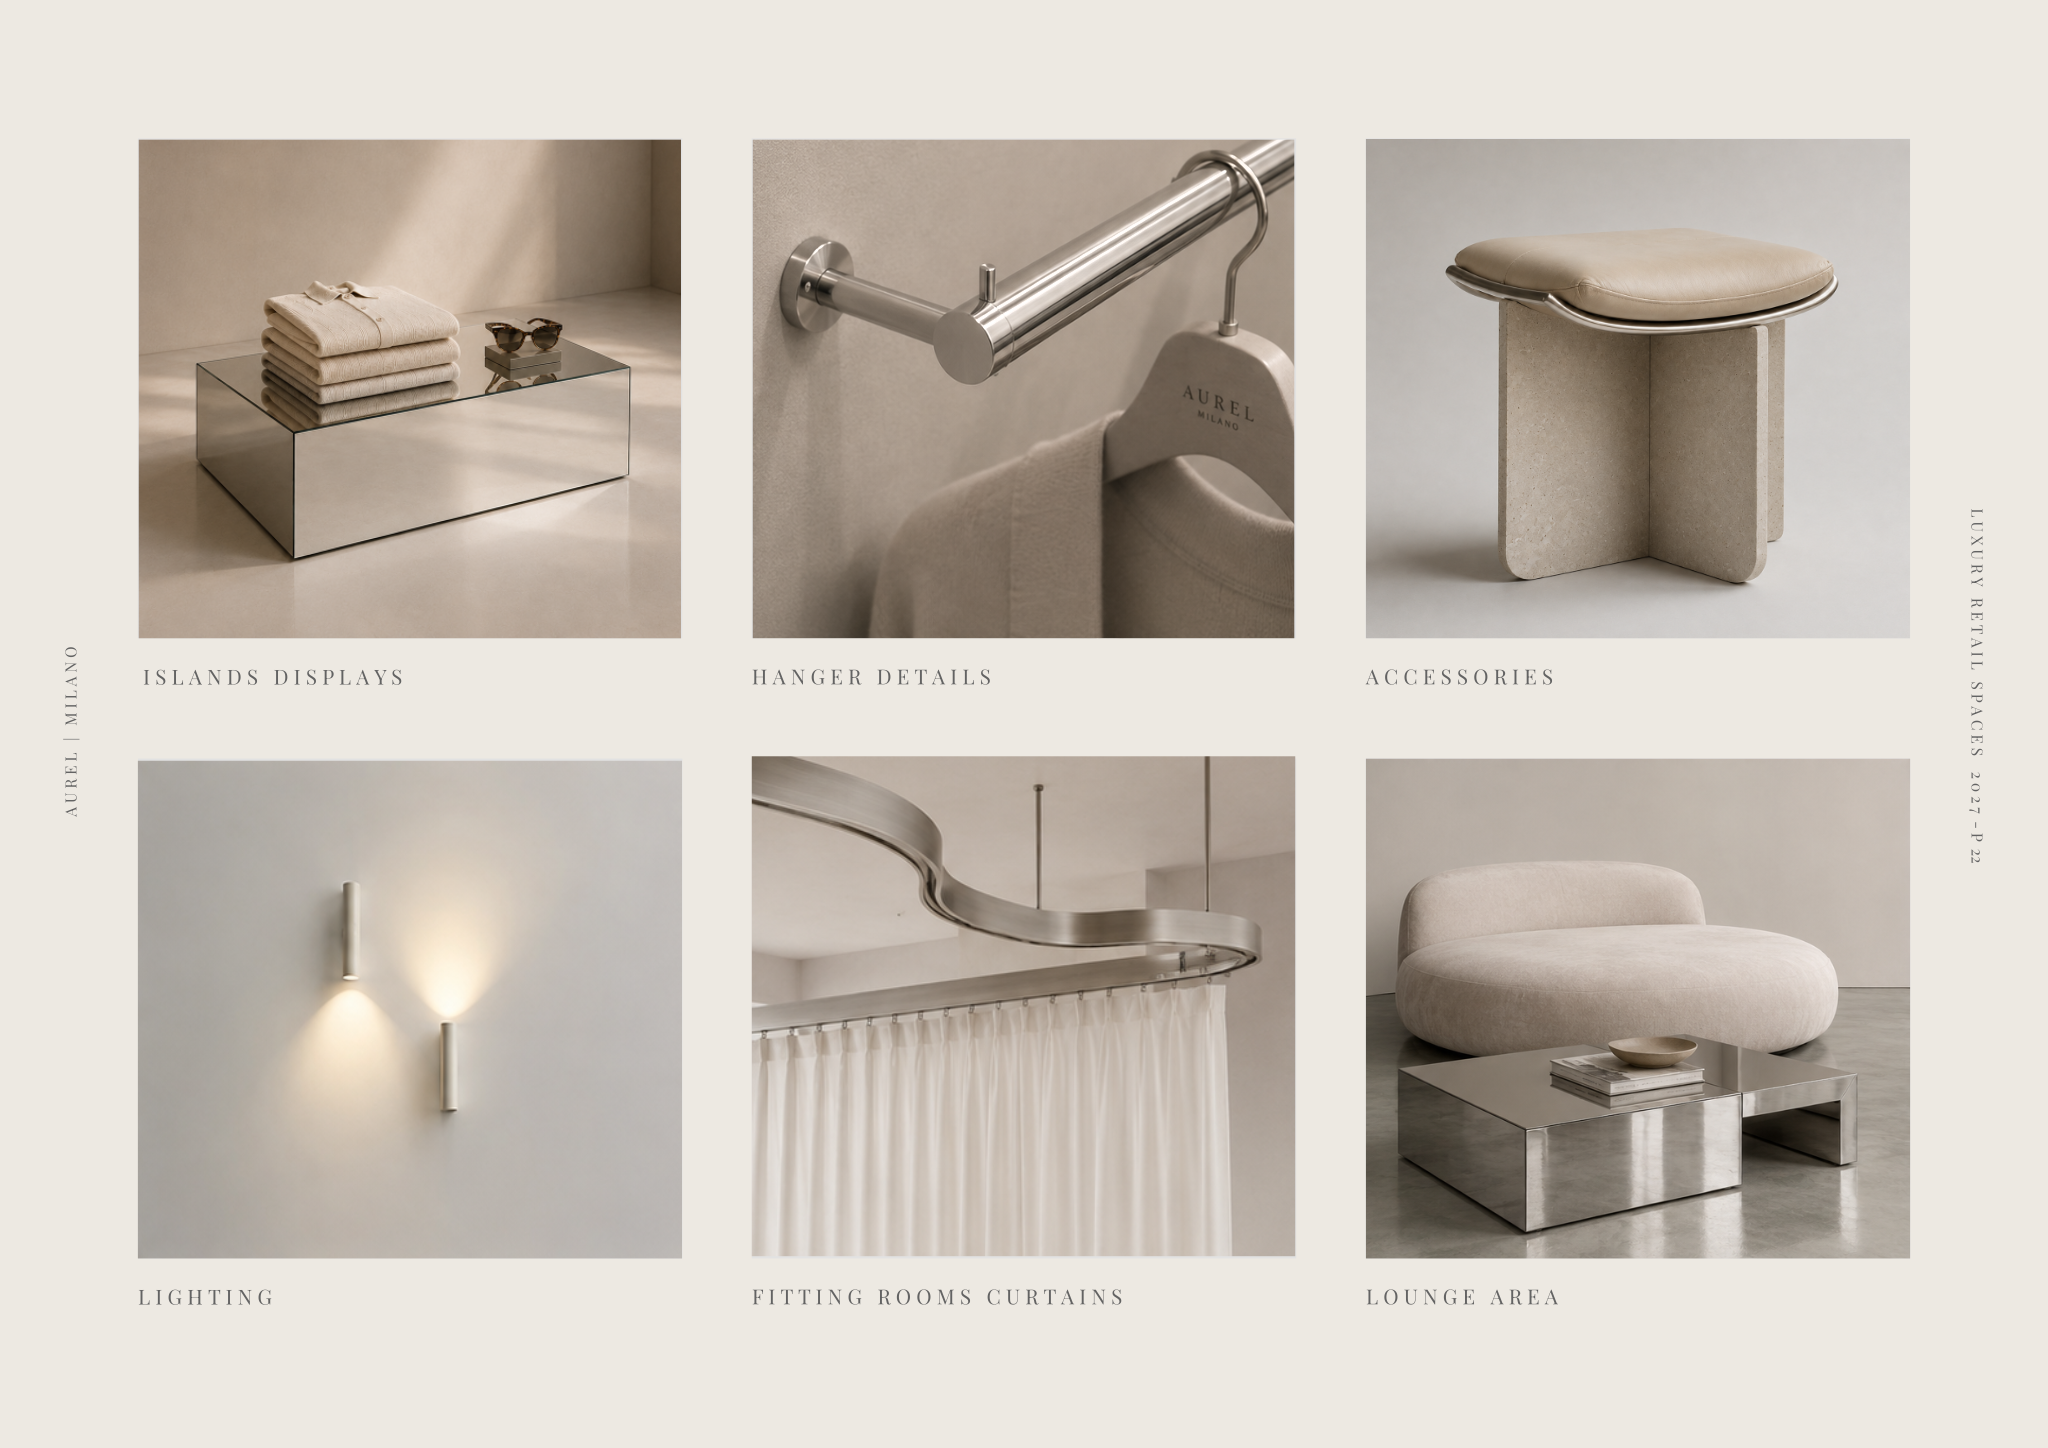
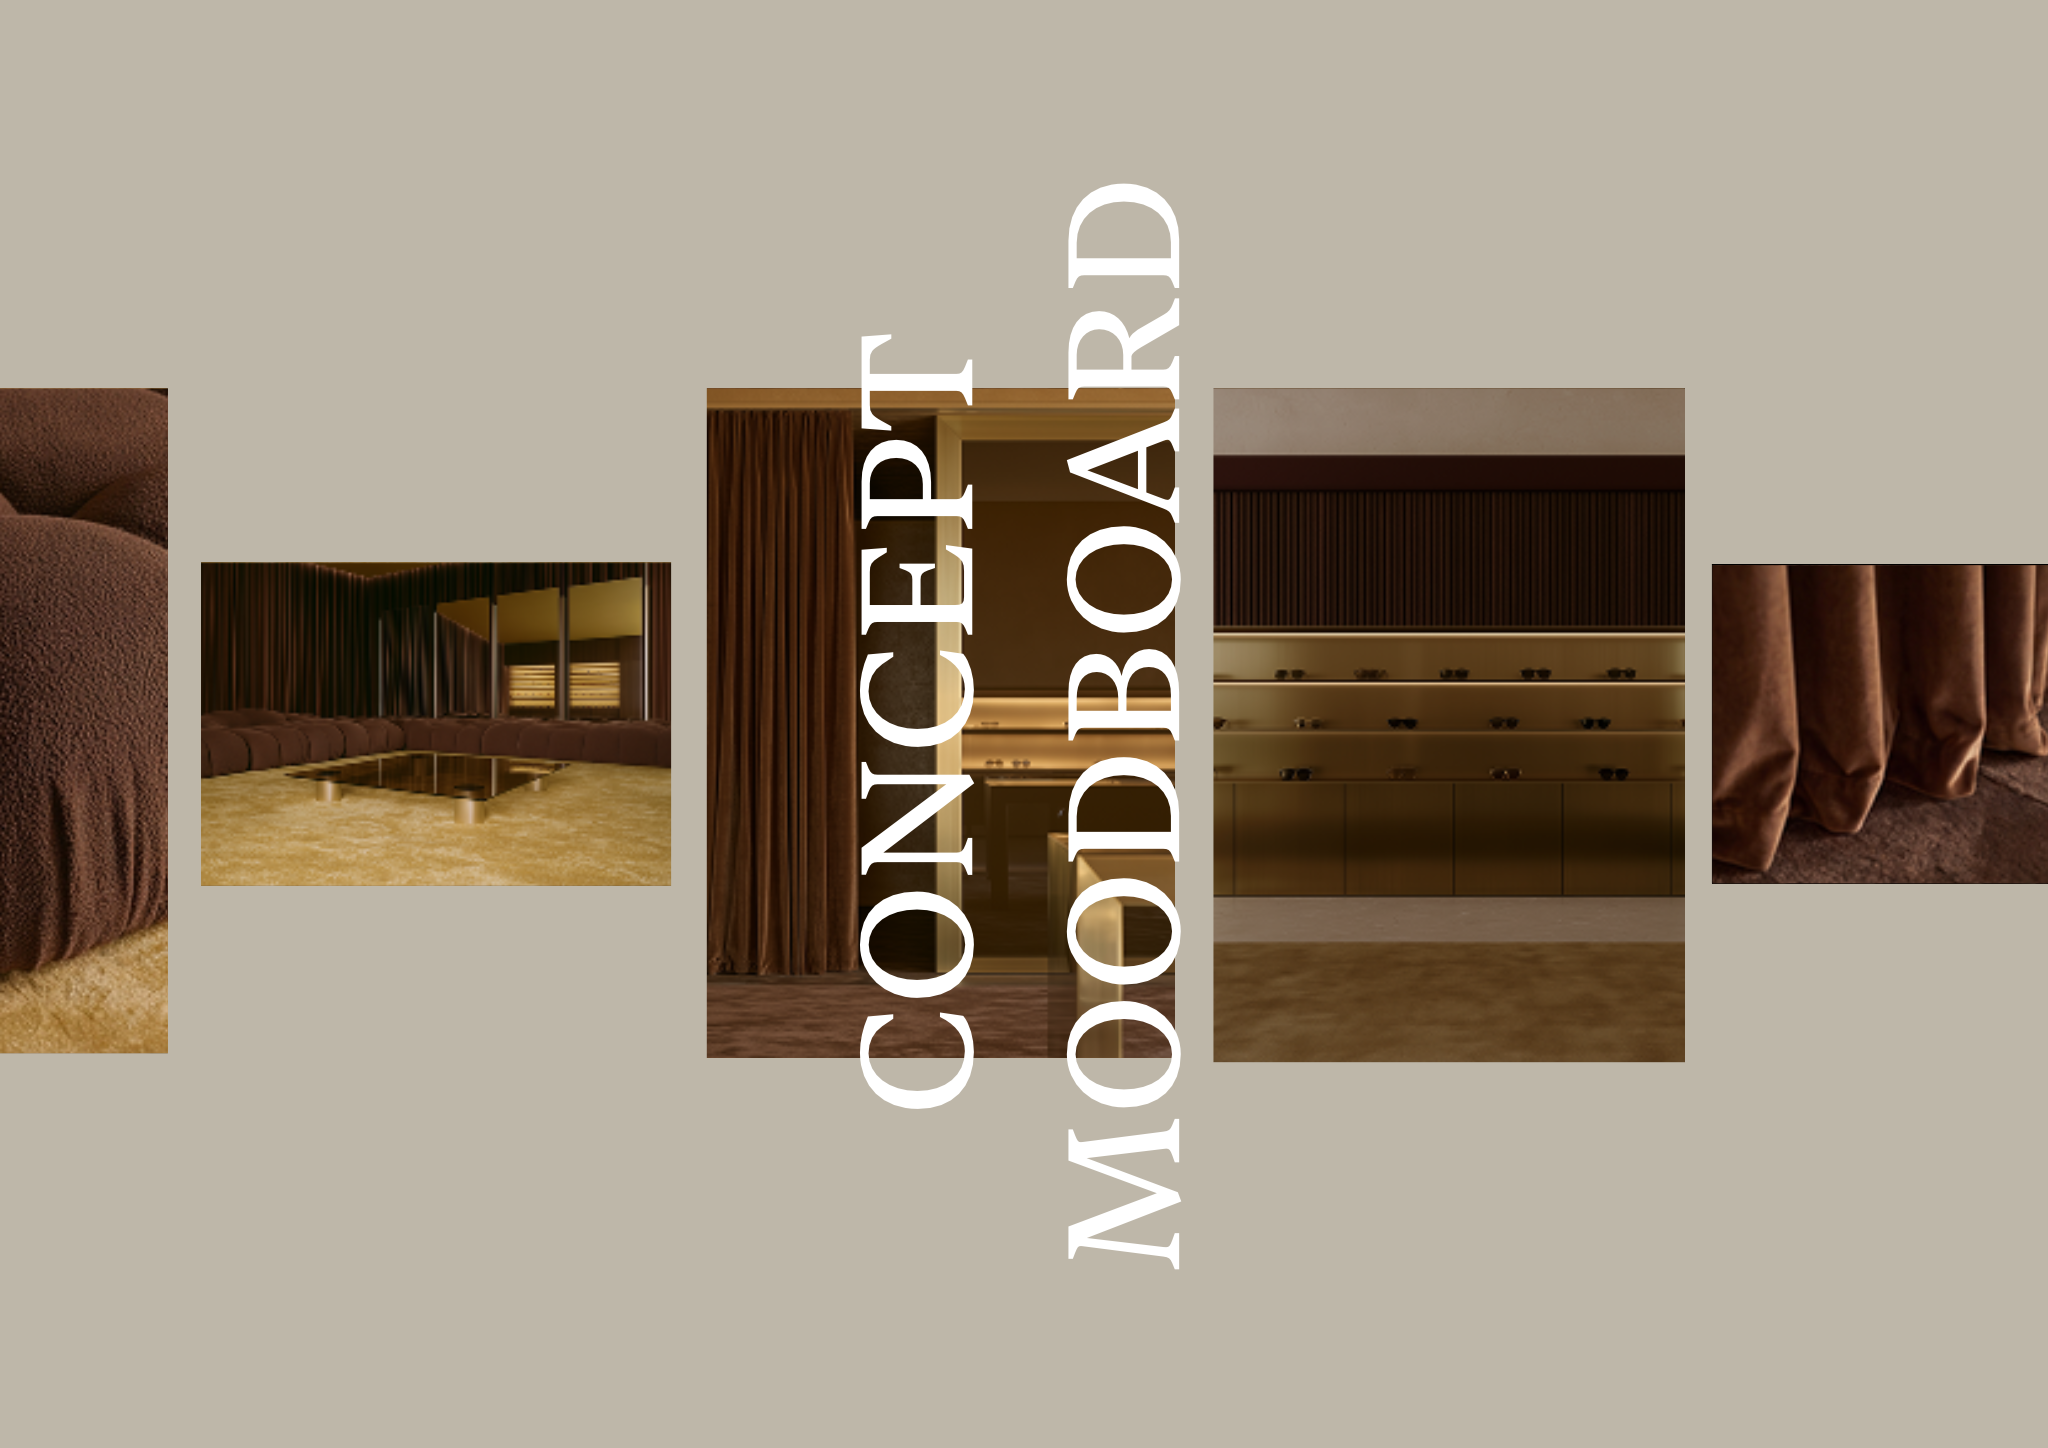
In retail the interior is part of the brand. Start the presentation with the brand's identity (values, customer, price point, product range, competitors) and show how the space expresses it. A mood board and a short concept statement anchor the rest of the deck.
- Who is the customer, and how long do they stay: a quick convenience visit or a slow, considered purchase?
- How is the product sold: self-service, assisted, by appointment, online pick-up?
- What does the brand do that competitors do not, and how can the space show it?
- What must the store do commercially: sales per m², stock held on the floor, events, services?
- What must stay flexible: seasonal changes, campaigns, new product categories?
Customer journey and layout
 Open template
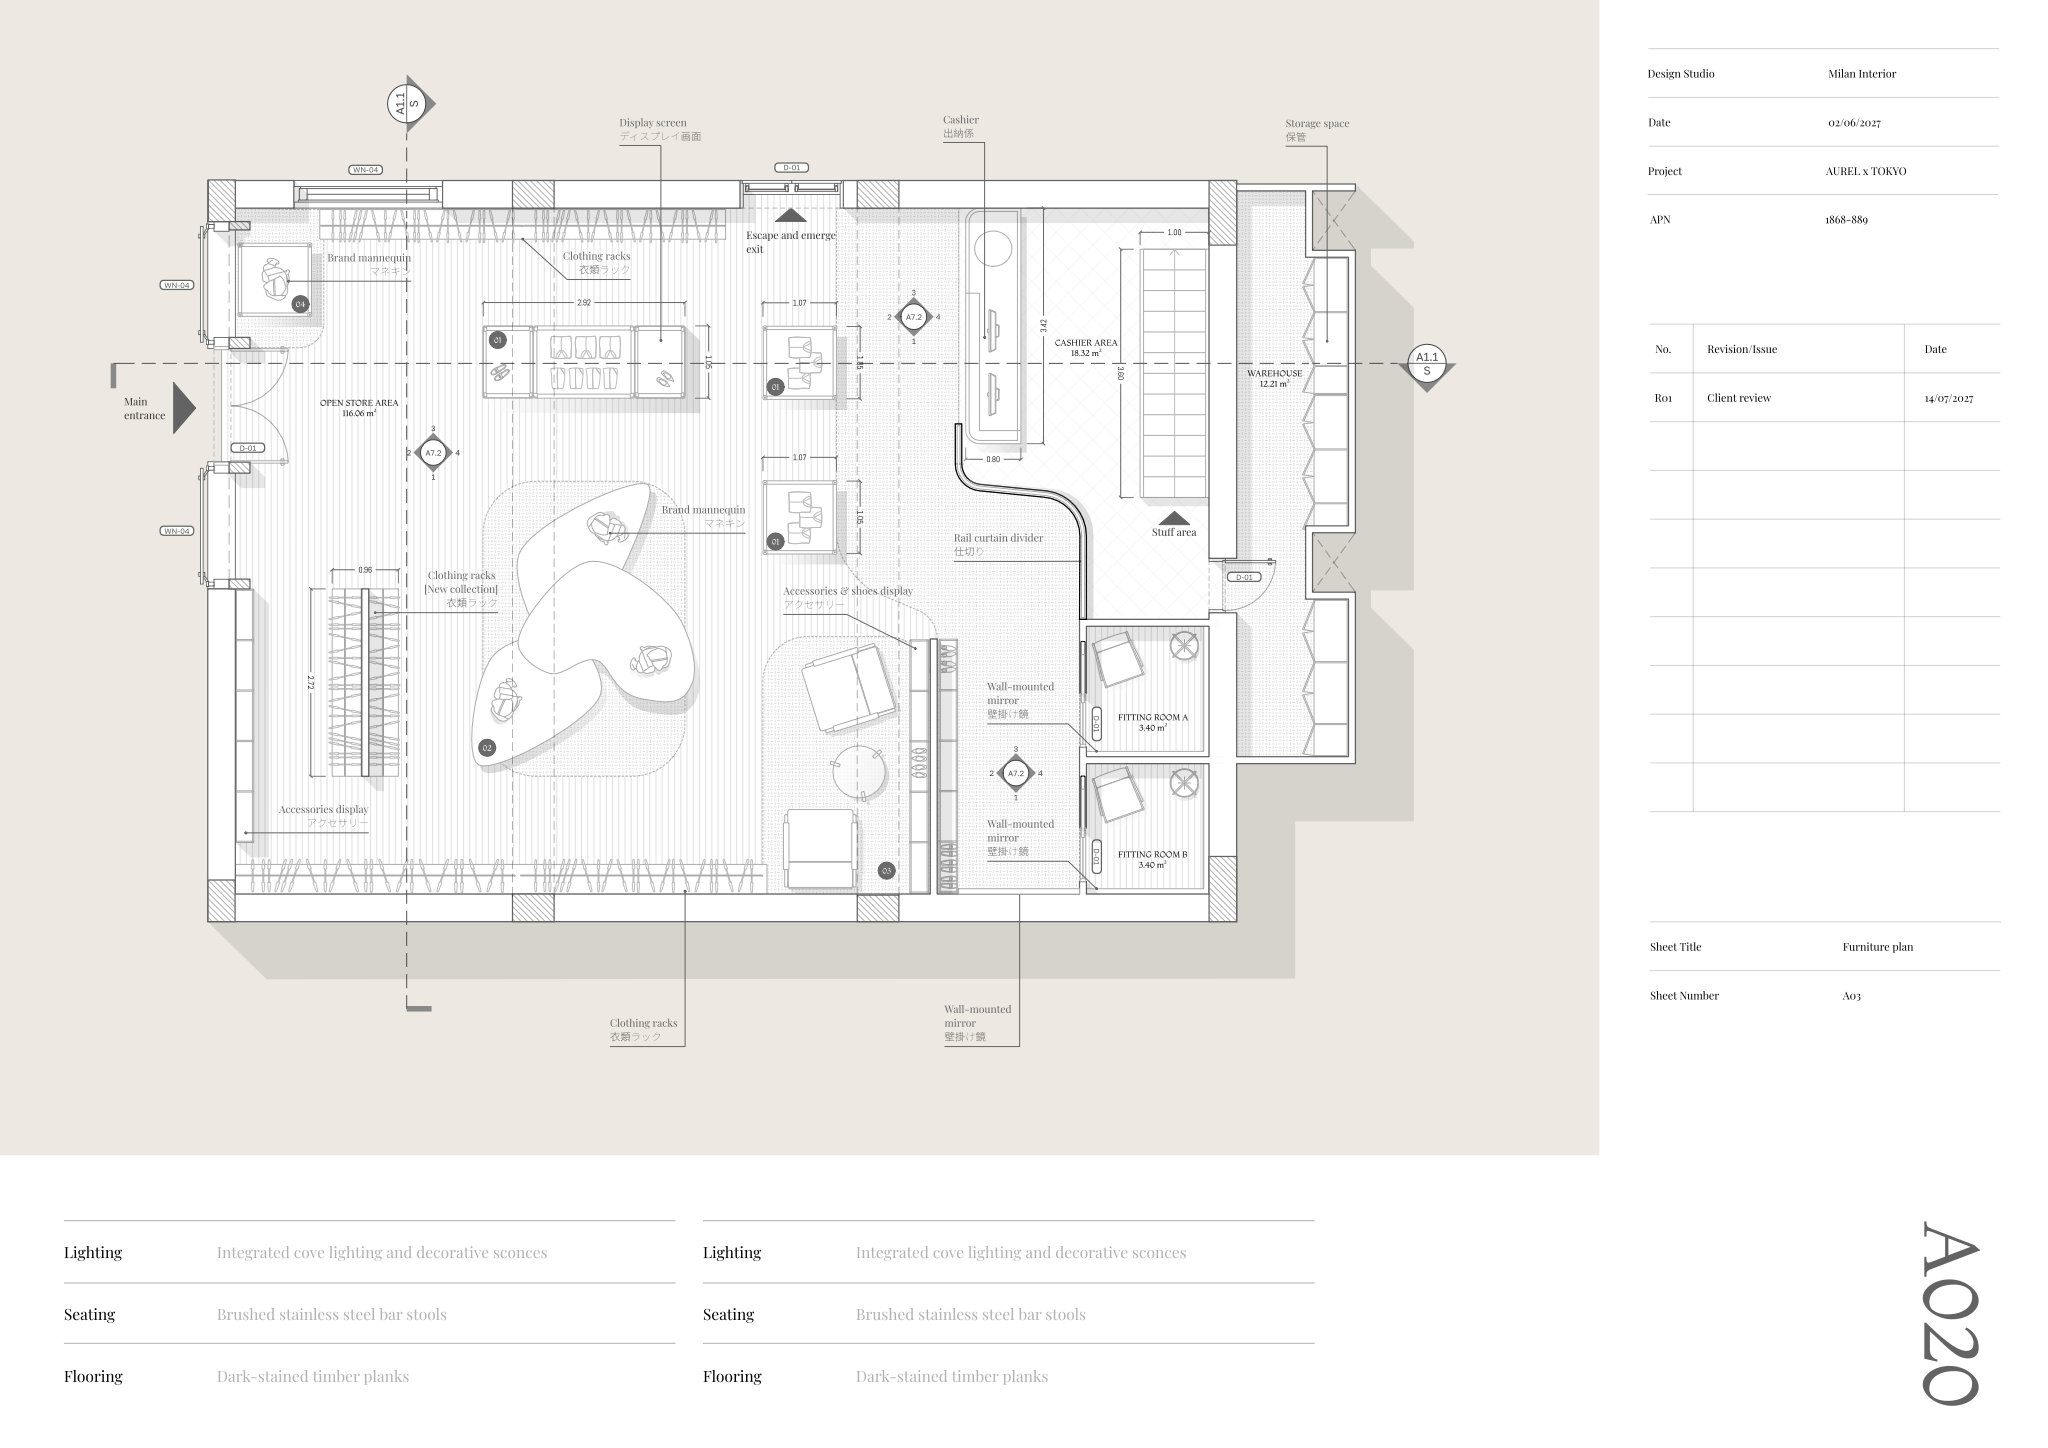
A store layout is a route. Customers should be drawn in from the street, led past the full range at a comfortable pace and arrive at the checkout having seen what the brand wants them to see. Present the plan as a journey through these zones, in the order customers experience them:
- Storefront and threshold: what passers-by see and the first few metres inside, the decompression zone, where customers adjust to the space and rarely notice product.
- Hero zone: the first display after the threshold that sets the tone with new collections or signature product.
- Main circulation loop: a clear path that leads customers past the full range; many shoppers naturally turn one way on entering, so test the direction with the brand.
- Destination zone at the back, to pull people through the store.
- Fitting rooms, service or consultation areas, placed where they can be supervised.
- Checkout with impulse displays and clear queuing, sized for peak hours.
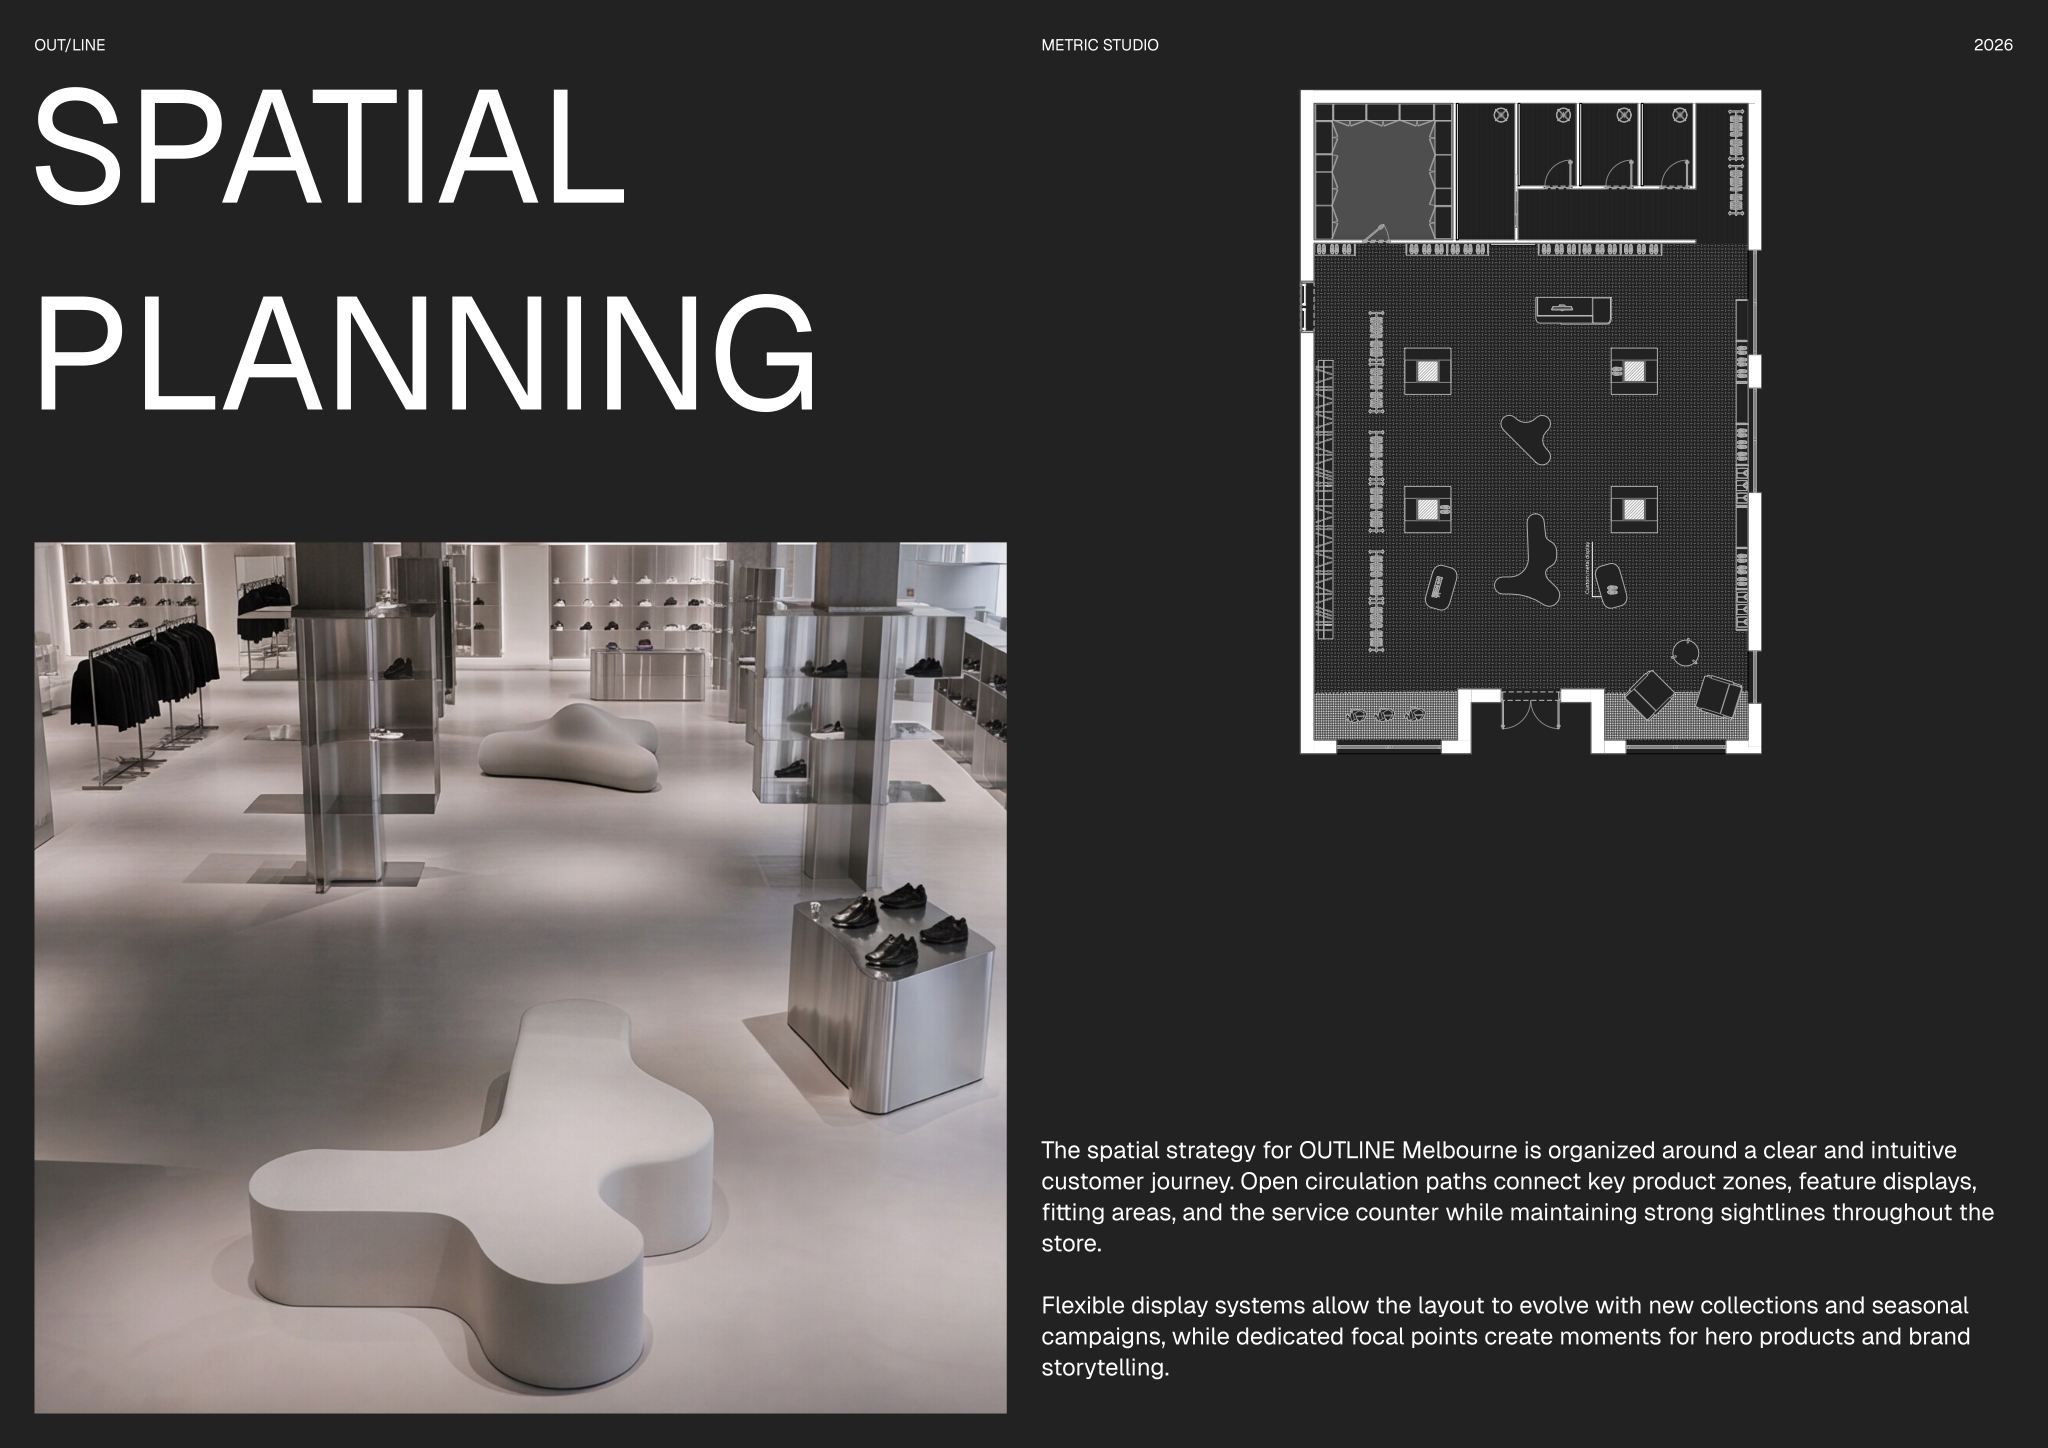
Present the layout in two plans: a zoning plan that explains the journey with arrows and zones, and a fixture plan that locates every fixture with its code and the product it holds. Add the sales area and back-of-house area, and the number of fixtures by type, because those figures drive the brand's stock and budget planning.
Draw sightlines on the plan from the entrance. If the back wall and a key display are not visible from the door, customers are less likely to walk in. Keep fixtures lower in the centre and taller on the perimeter.
Display fixtures and millwork
 Open template
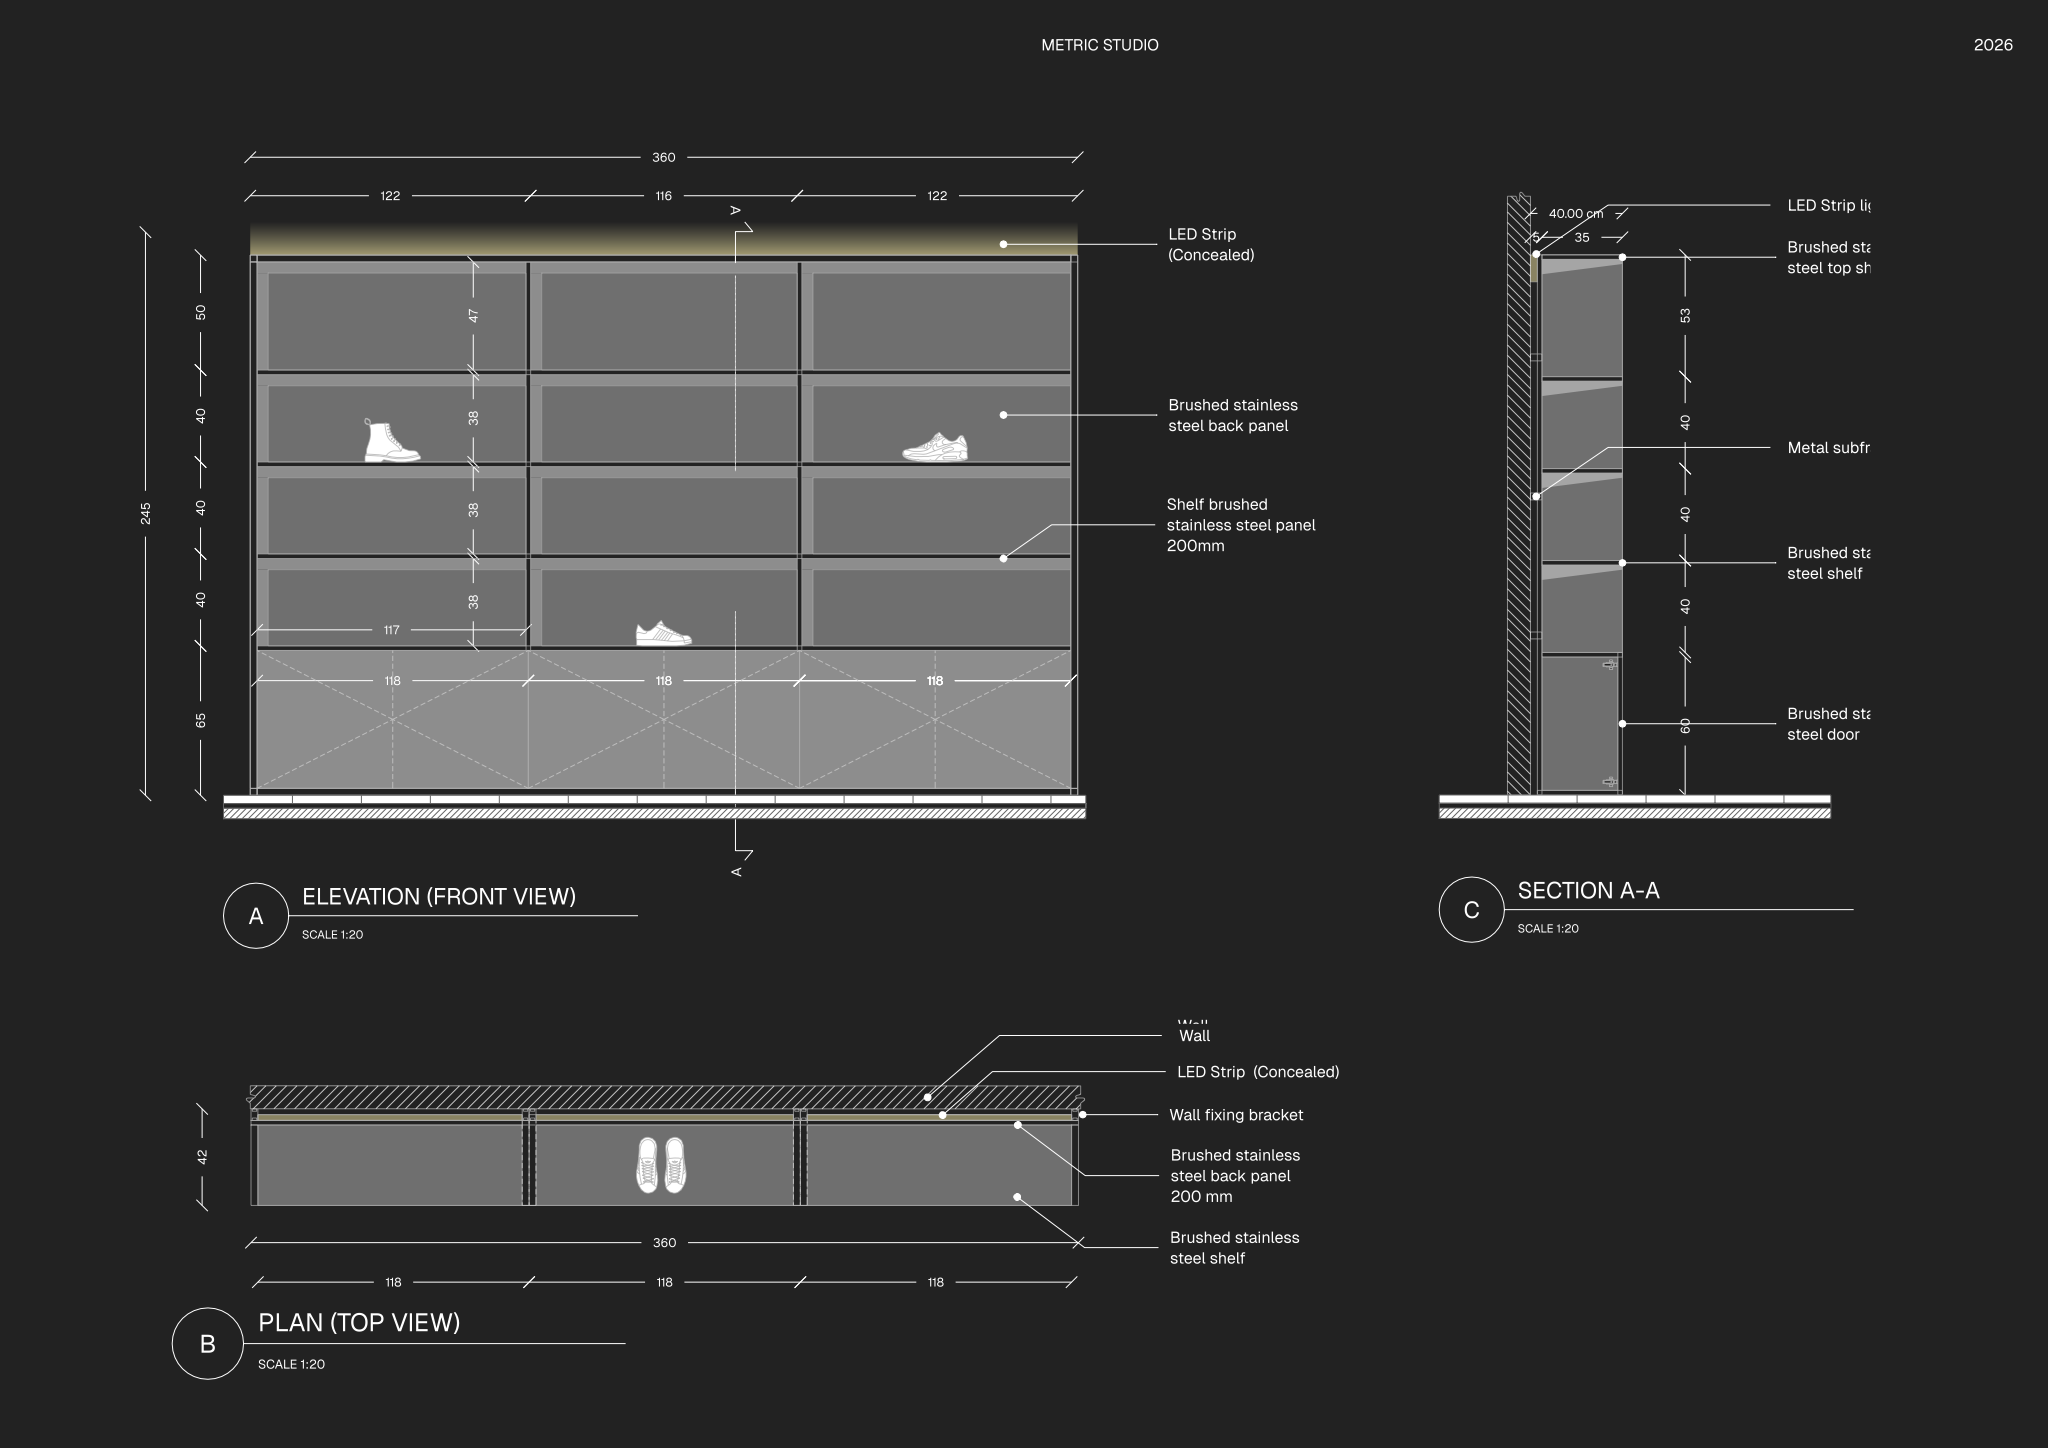
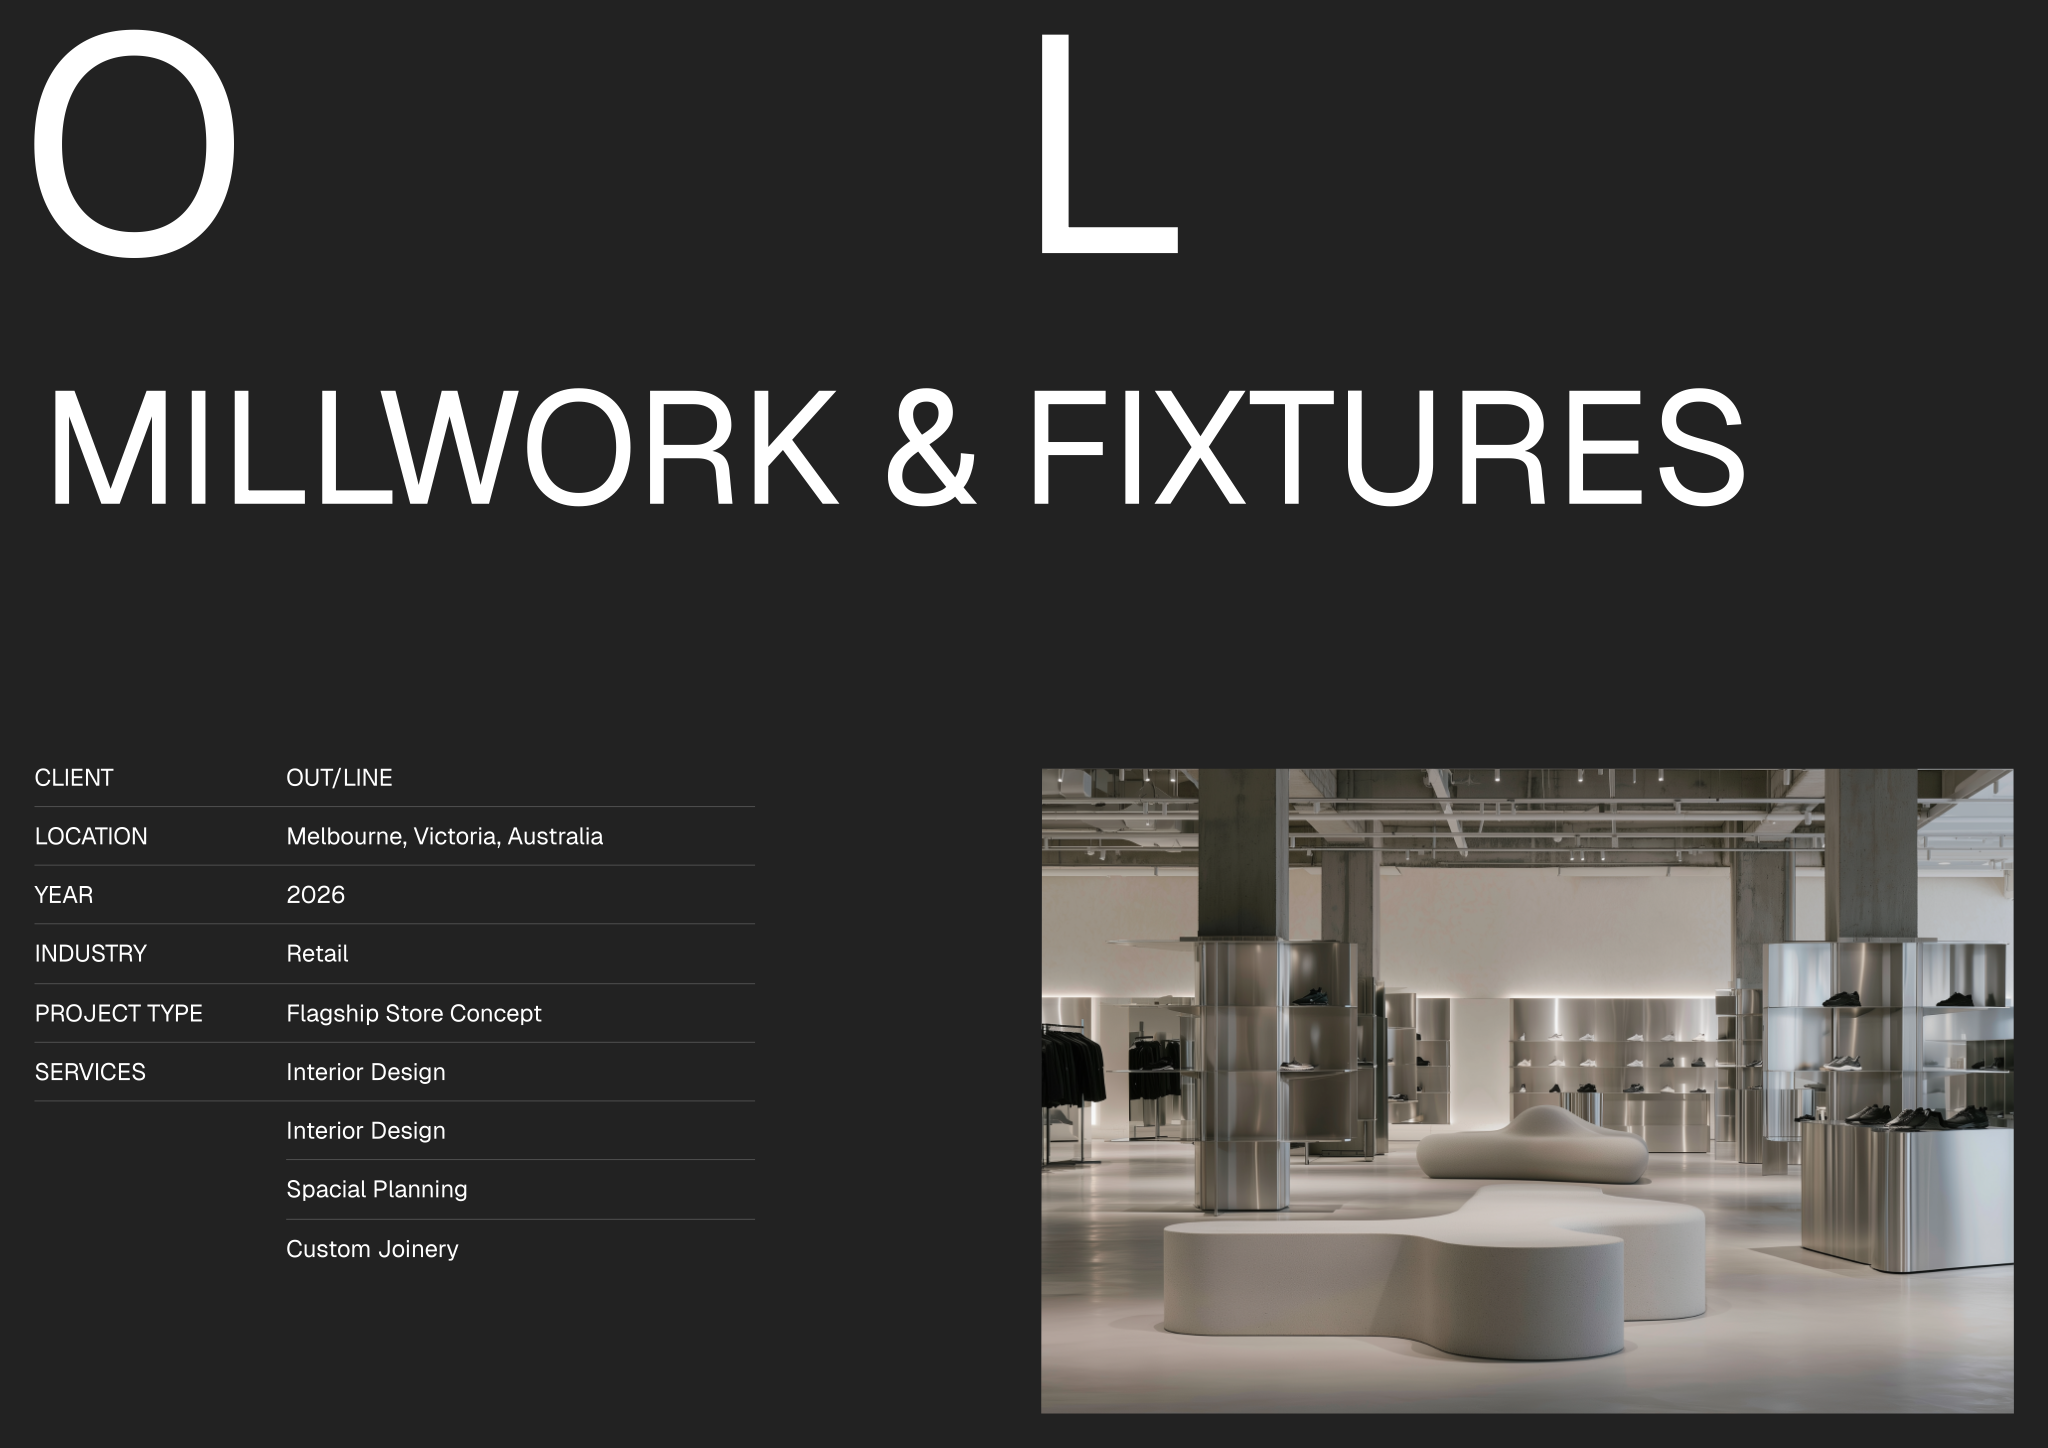
Fixtures do the selling. Present each type (wall bays, gondolas, tables, vitrines, cash desk) with plans, elevations, product capacity and shelf loads, integrated lighting, security and adjustability. Modular fixtures that can be reconfigured each season are worth showing as a system, with the standard components and the ways they combine.
| Fixture | What to state on the drawings |
|---|---|
| Wall bay | Bay width, shelf or rail system and pitch, load per shelf, lighting, signage zone |
| Gondola or island | Height (keep low for sightlines), access from all sides, storage below |
| Table | Top size and height, nesting or stacking, finish durability |
| Vitrine | Glass type, lock and security, internal lighting, access for staff |
| Cash desk | POS equipment, packing area, accessible counter section, storage, queue space |
Keep product at a reachable height. The zone roughly between waist and eye level is where product is easiest to see and pick up; very high and very low shelves suit stock, back-up sizes or display rather than key product. Agree with the visual merchandising team how each fixture will be filled before finalising its dimensions.
Lighting and materials
 Open template
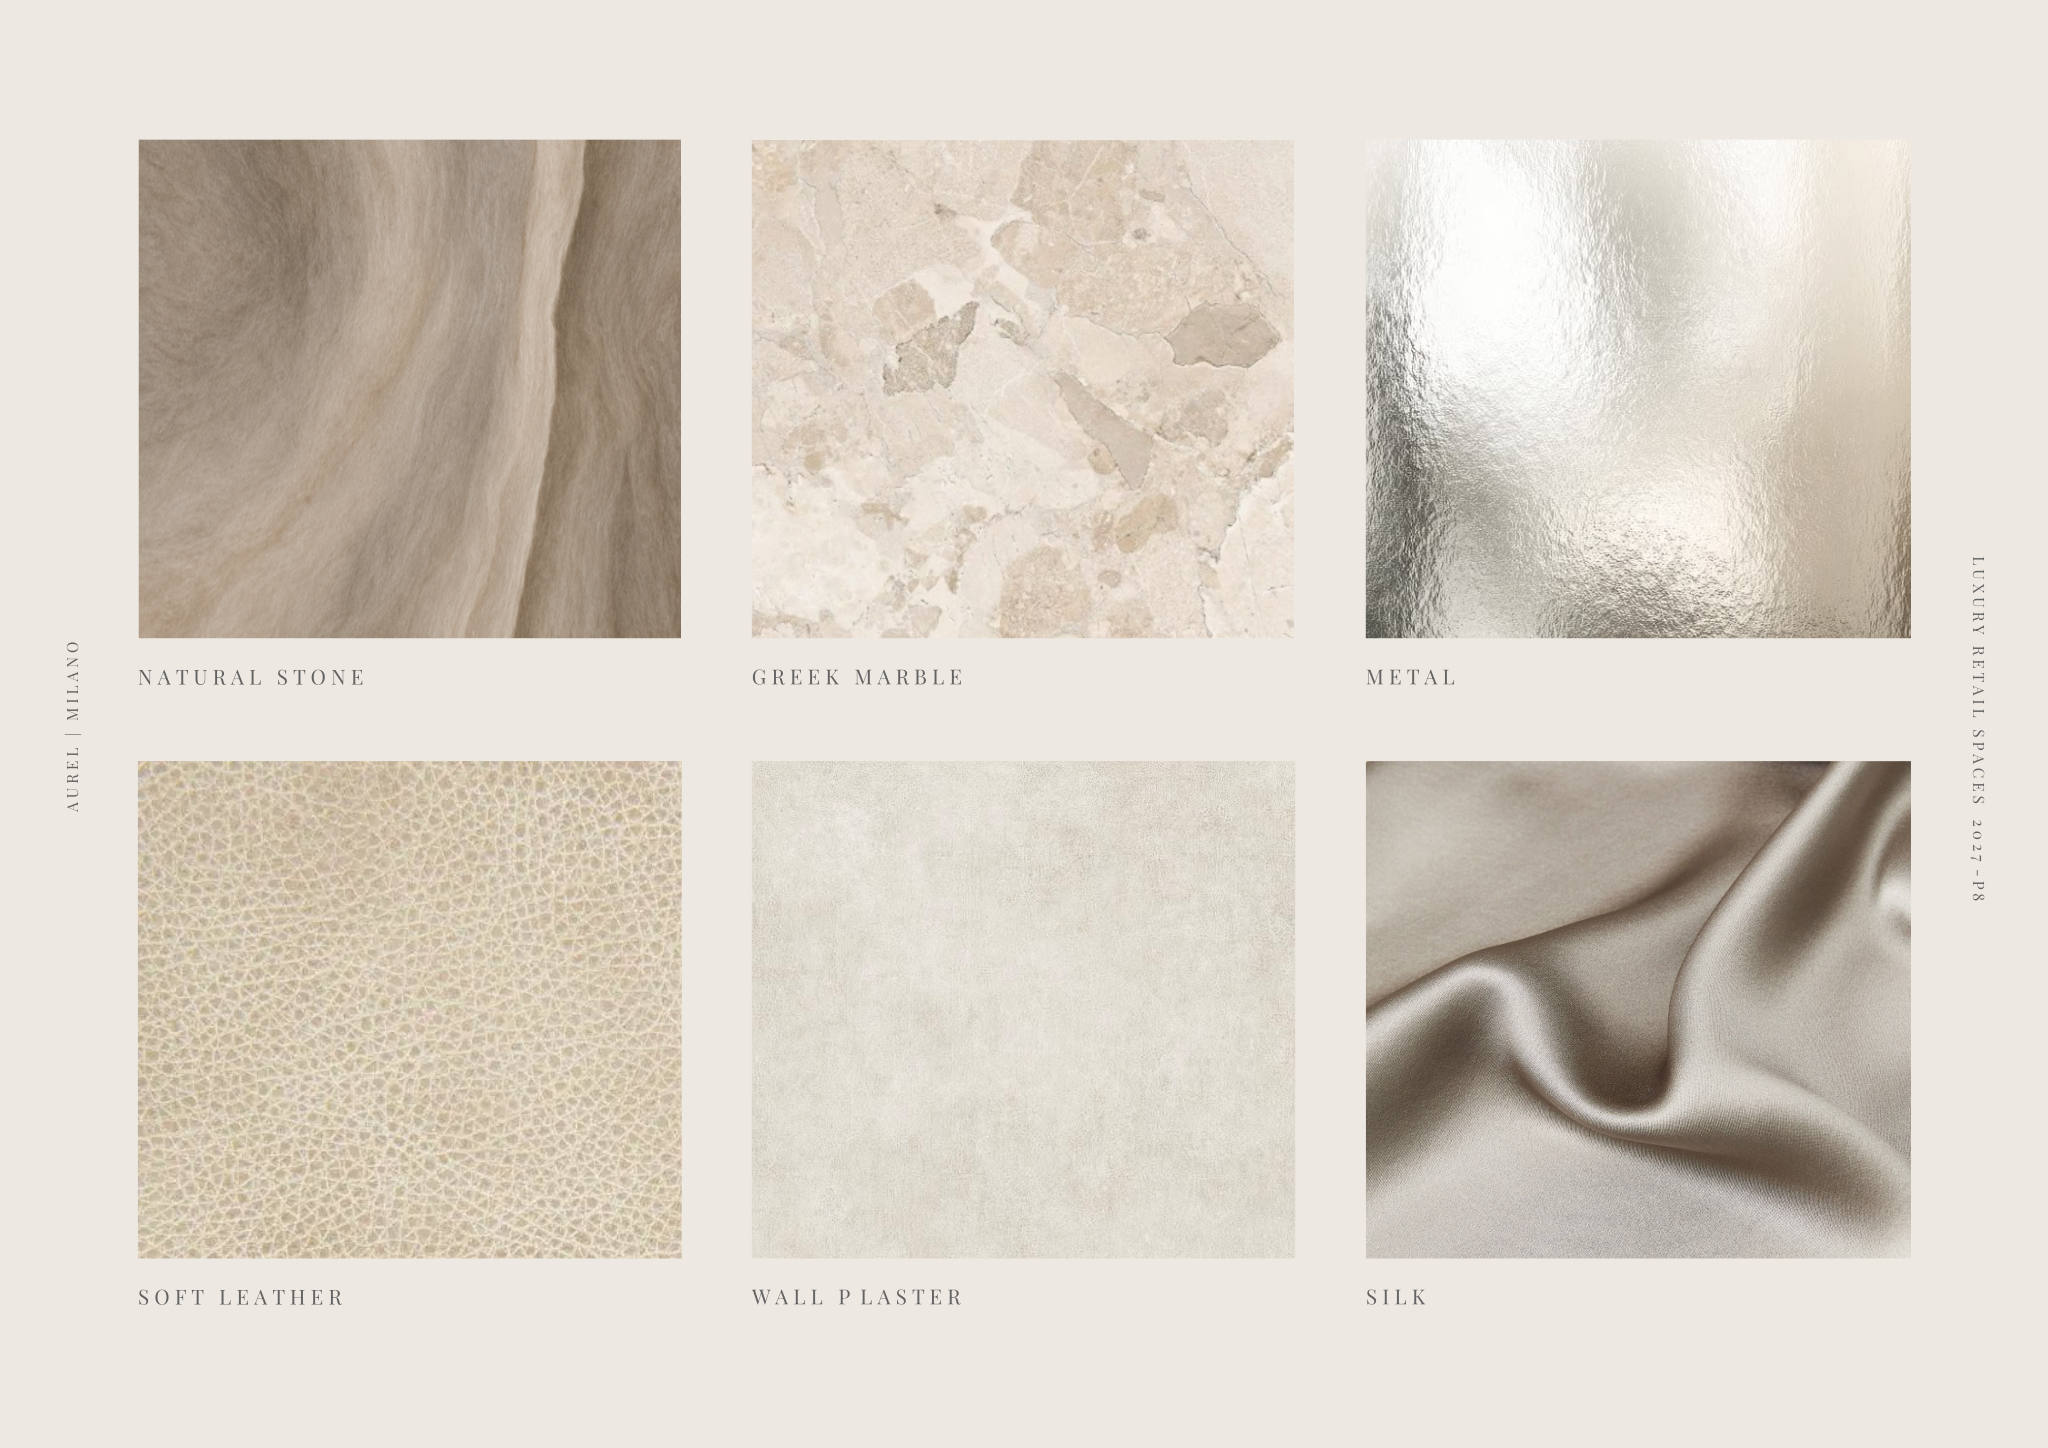
In retail, lighting and materials have a commercial job as well as an aesthetic one: lighting makes the product look its best and draws the eye where it should go, and materials have to stay looking good through heavy traffic and frequent changes. Present them as part of how the store sells, with these principles in mind.
- Accent-light product more than circulation; contrast between product and background draws the eye.
- Choose high colour rendering sources that flatter the product, especially for fashion, cosmetics, jewellery and food.
- Use adjustable track or recessed adjustable fittings so lighting can follow seasonal layouts.
- Light fitting rooms and mirrors from the front and sides, not only from above, to avoid shadows on faces.
- Pick durable floor finishes for high traffic, especially at the entrance, and materials that survive fixture changes and frequent cleaning.
- Check reaction-to-fire classification of wall finishes and display materials in public areas and escape routes.
The storefront deserves its own lighting plan. A window that is darker than the street by day disappears; one that glows at night sells after hours. Show the window by day and by night in the presentation, and coordinate signage, window graphics and any landlord or heritage rules on the facade.
Watch it on Rayon Academy
Common questions
What should a retail design presentation include?
Brand concept, customer journey, store layout and zoning, fixture and millwork designs, lighting and materials, and how the store will be merchandised and changed over time.
What is the decompression zone in retail design?
The first few metres inside the entrance where customers adjust to the store and tend not to notice product. Avoid placing key products, signage or obstacles there.
How do you design retail fixtures?
Start from the product: its size, quantity and how it is best shown. Then design fixtures with adjustable shelving, integrated lighting, security and loads stated on the drawings.
How tall should retail fixtures be?
Keep central floor fixtures low enough to preserve sightlines across the store, and use the perimeter walls for taller displays and stock.
Which lighting is best for retail?
Adjustable accent lighting with high colour rendering on product, a lower general level on circulation, and dedicated storefront and fitting room lighting.