The short answer
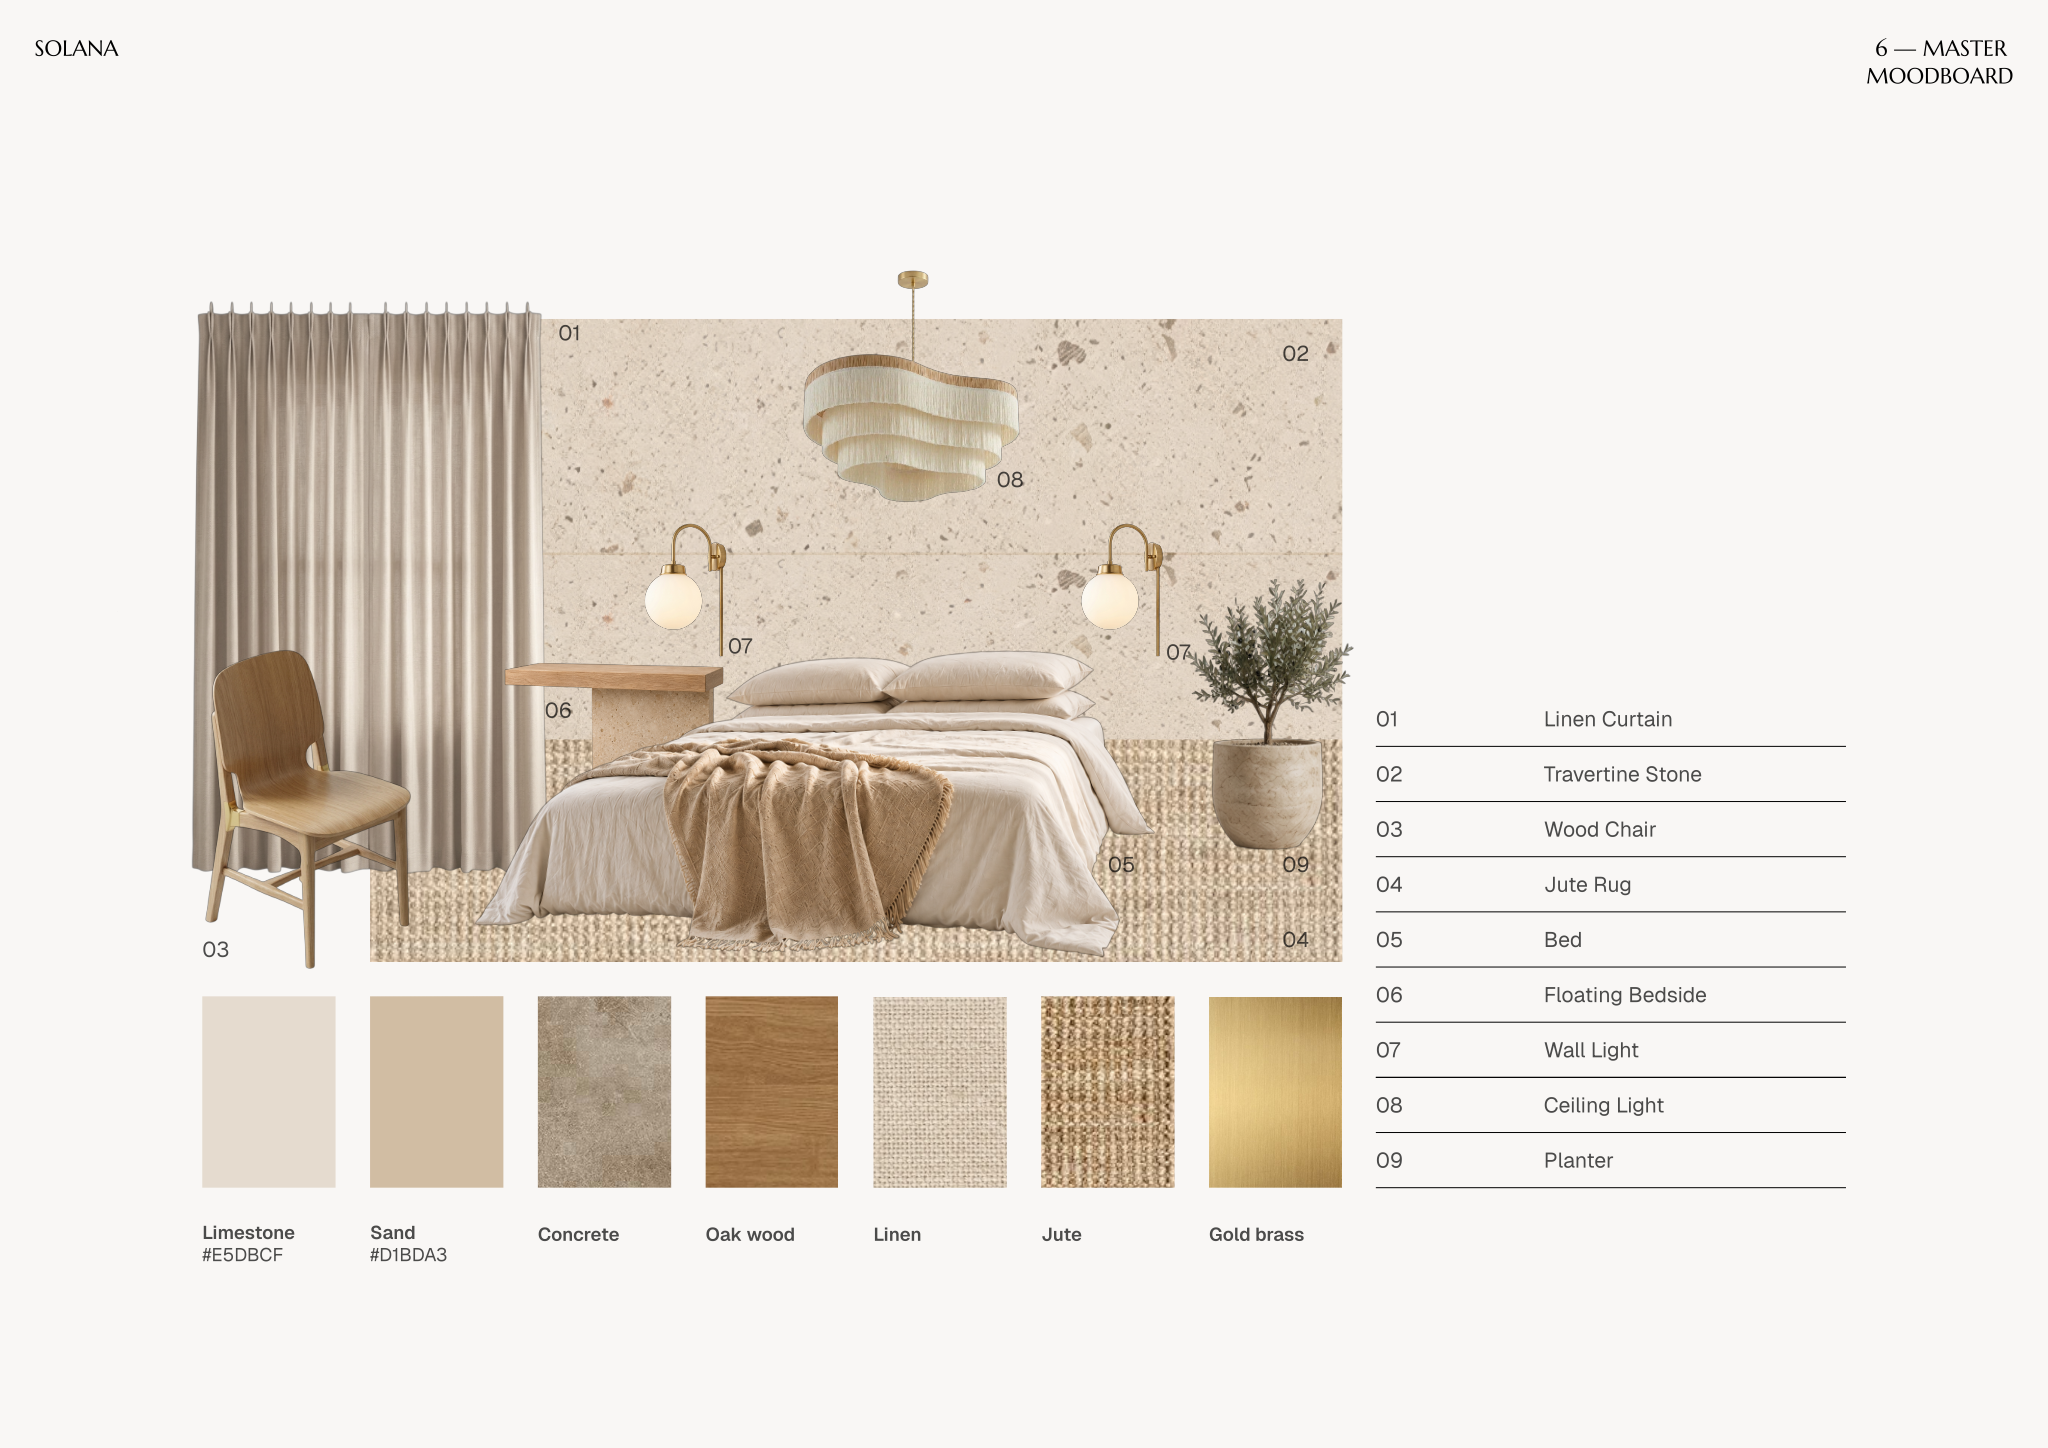
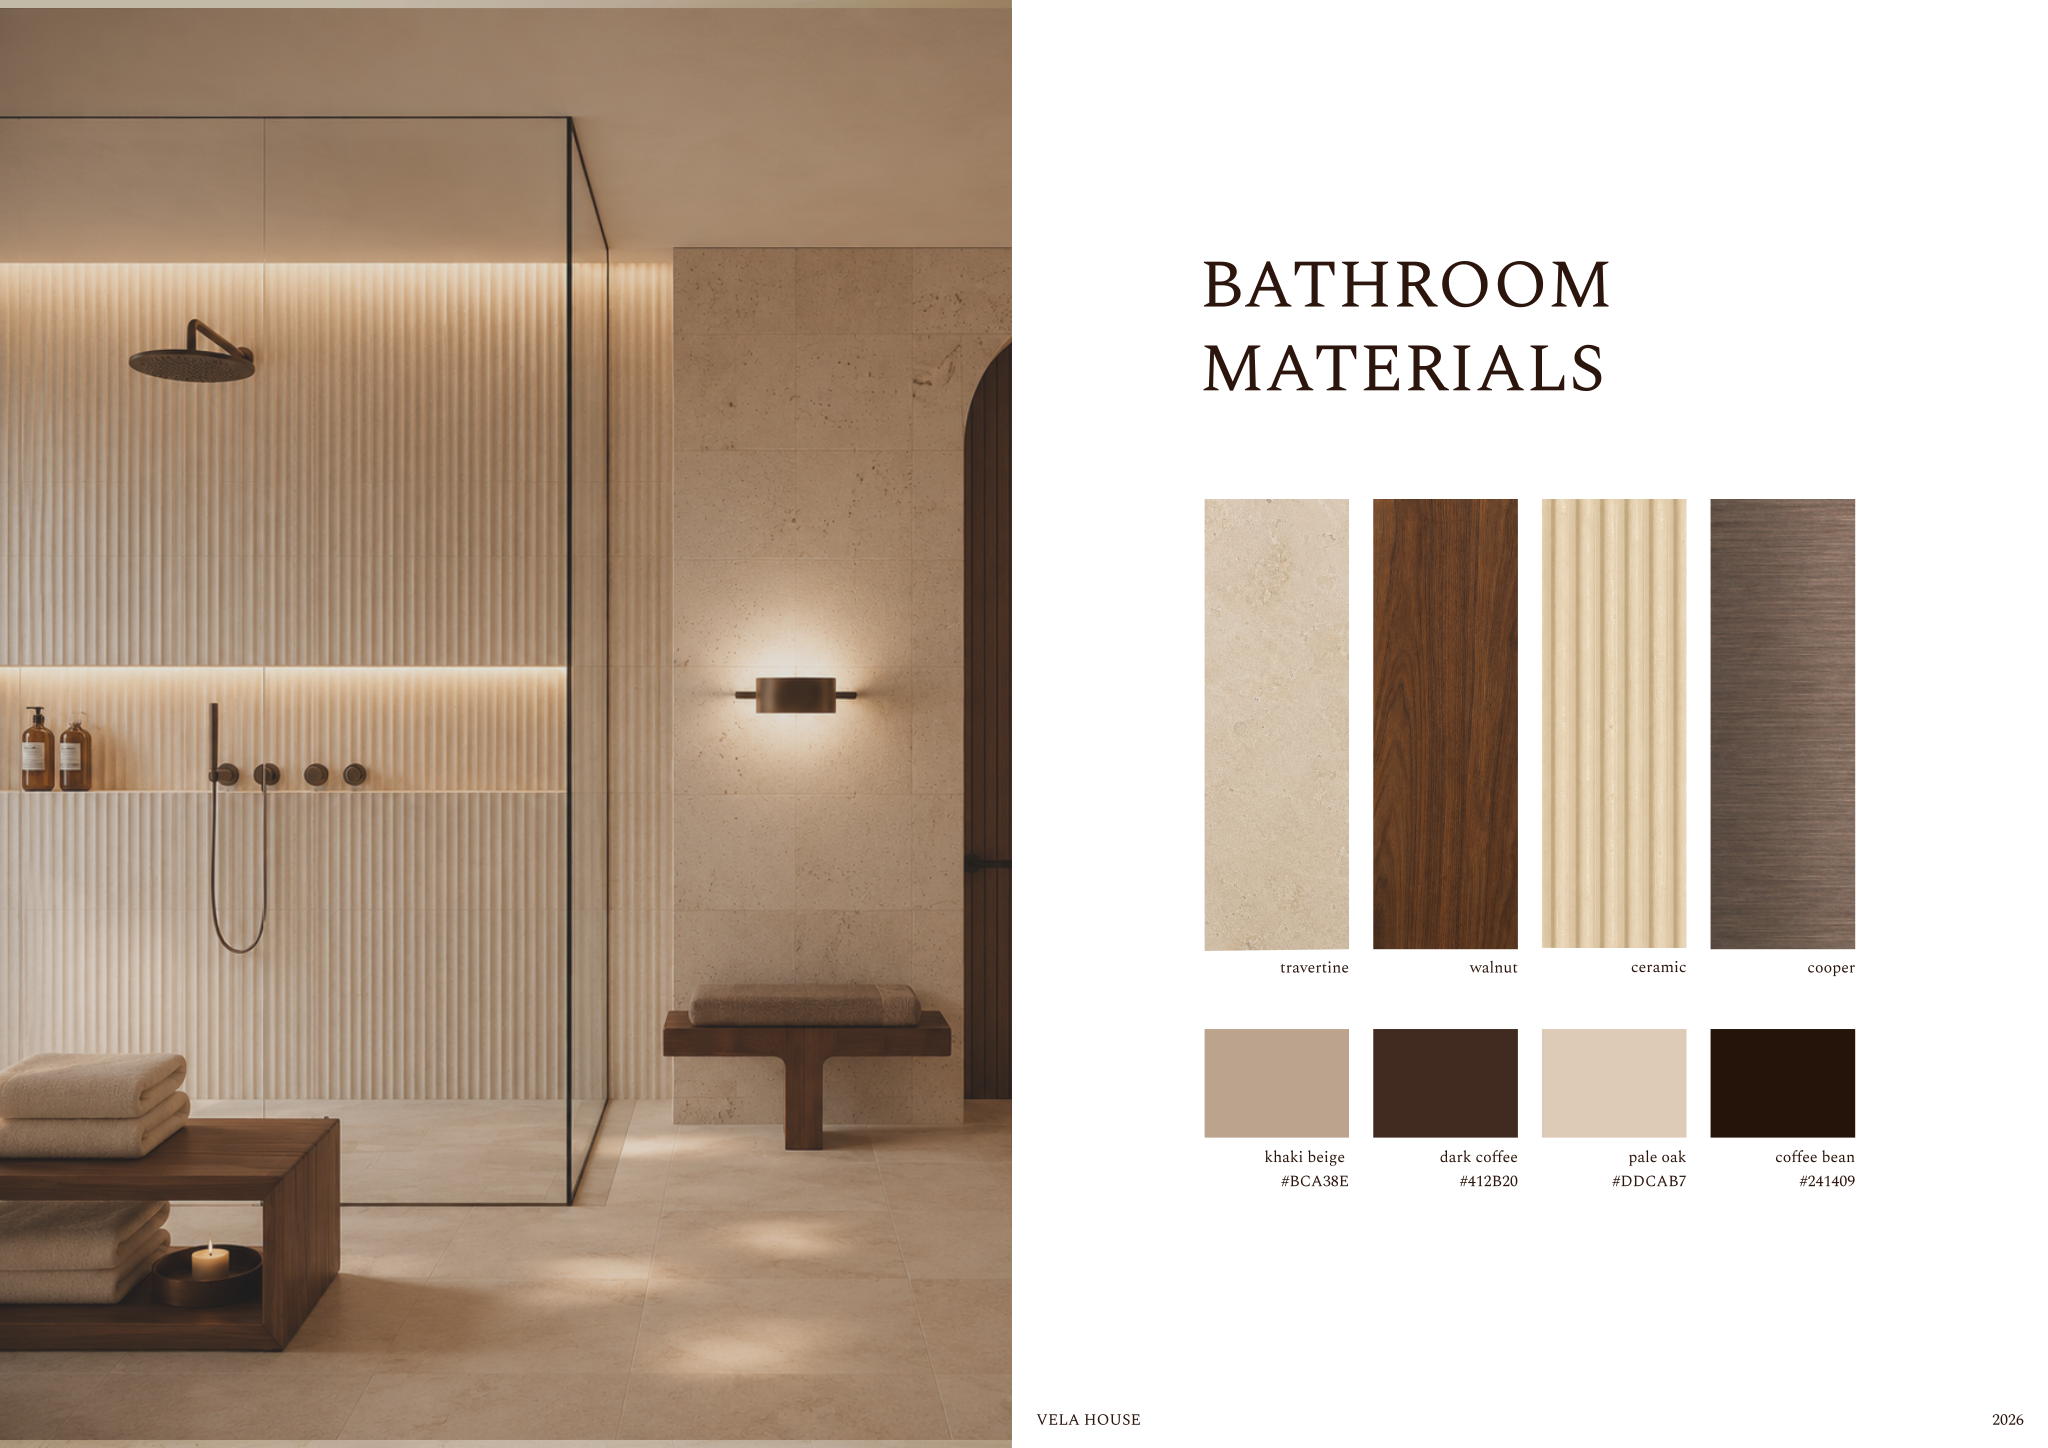
An interior design material board shows the actual finishes proposed for a space (floors, walls, joinery, stone, metal, fabric) as swatches or photos, each labelled with a code, name and finish, supplier and reference, and where it is used. Group materials by surface or by room, keep the palette tight at around 8 to 15 materials per board, show them at relative scale so large floor areas look larger than accent metals, and place materials that touch next to each other. For commercial work, add the performance data the space needs, and use the same codes on your drawings, finishes plans and schedules.
Material board vs mood board
 Open template
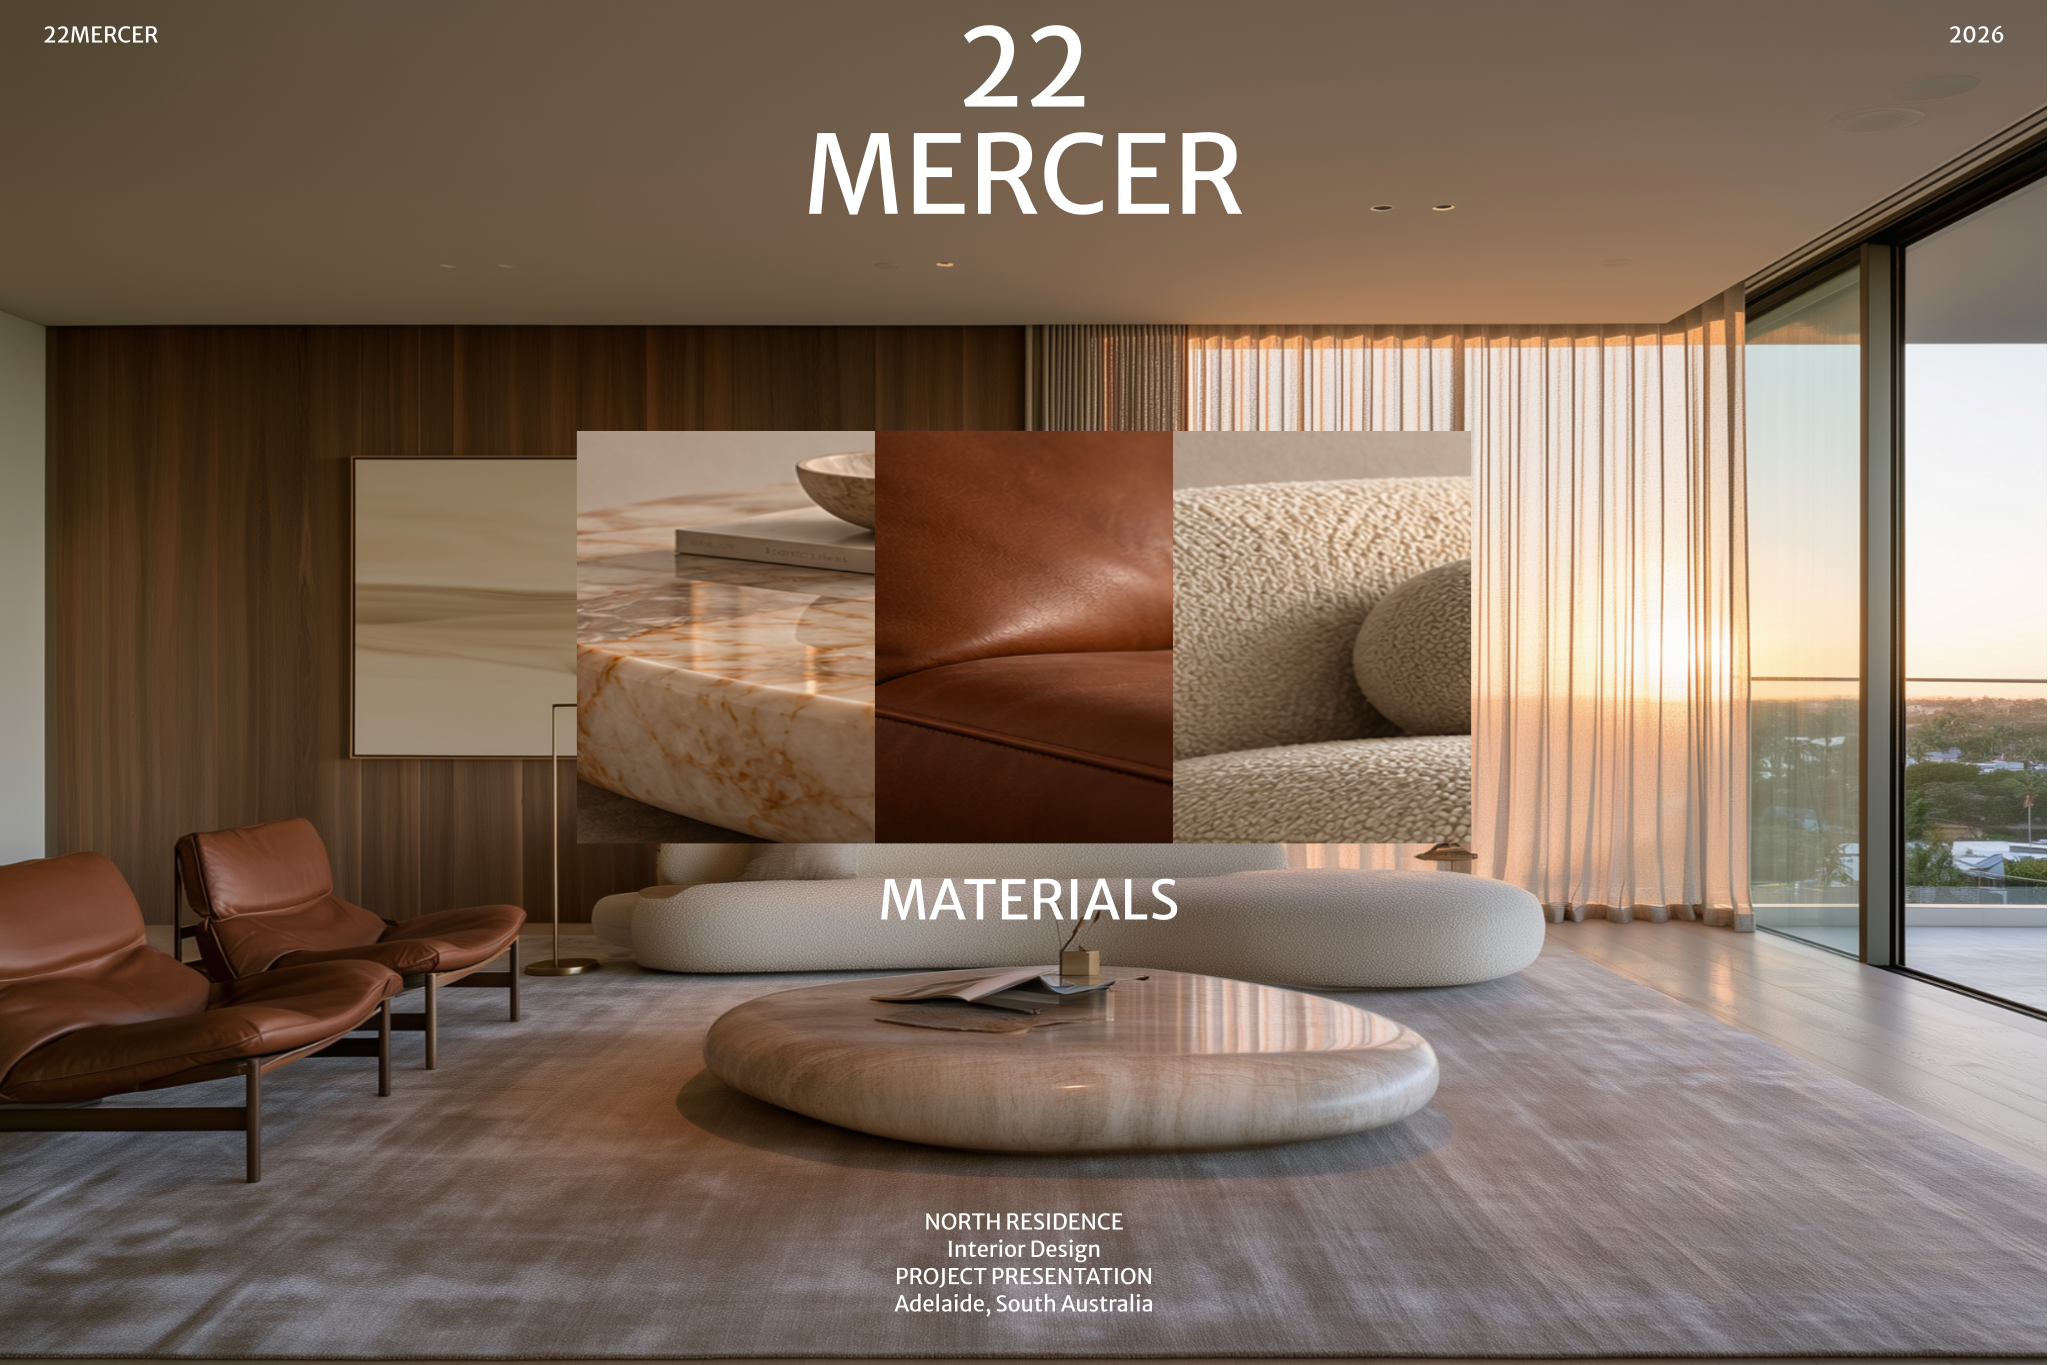
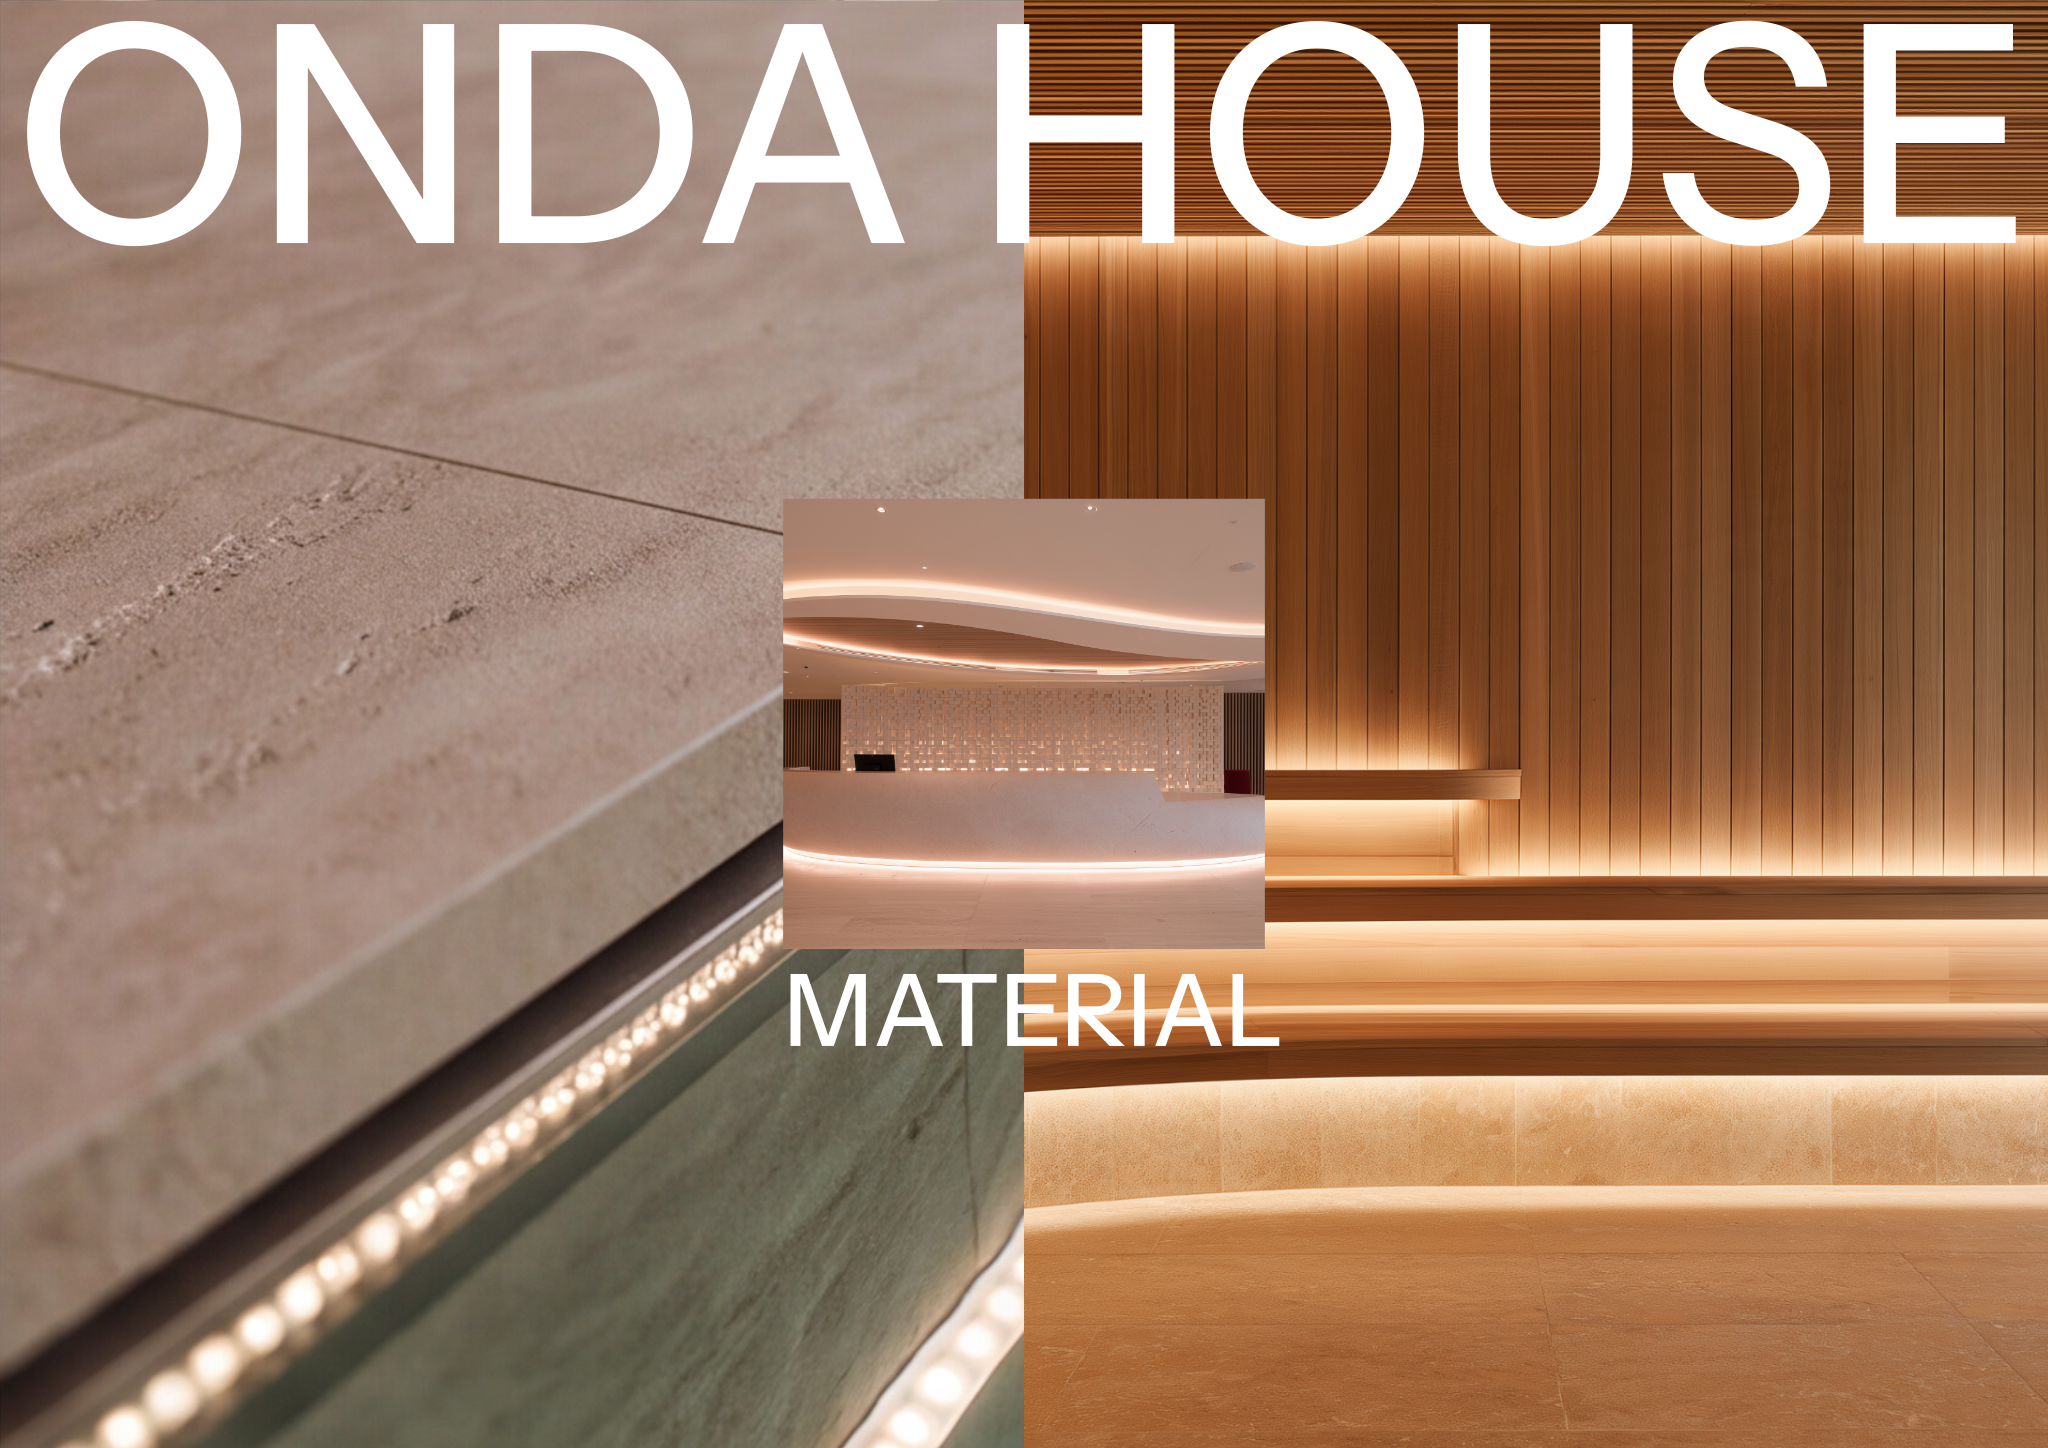
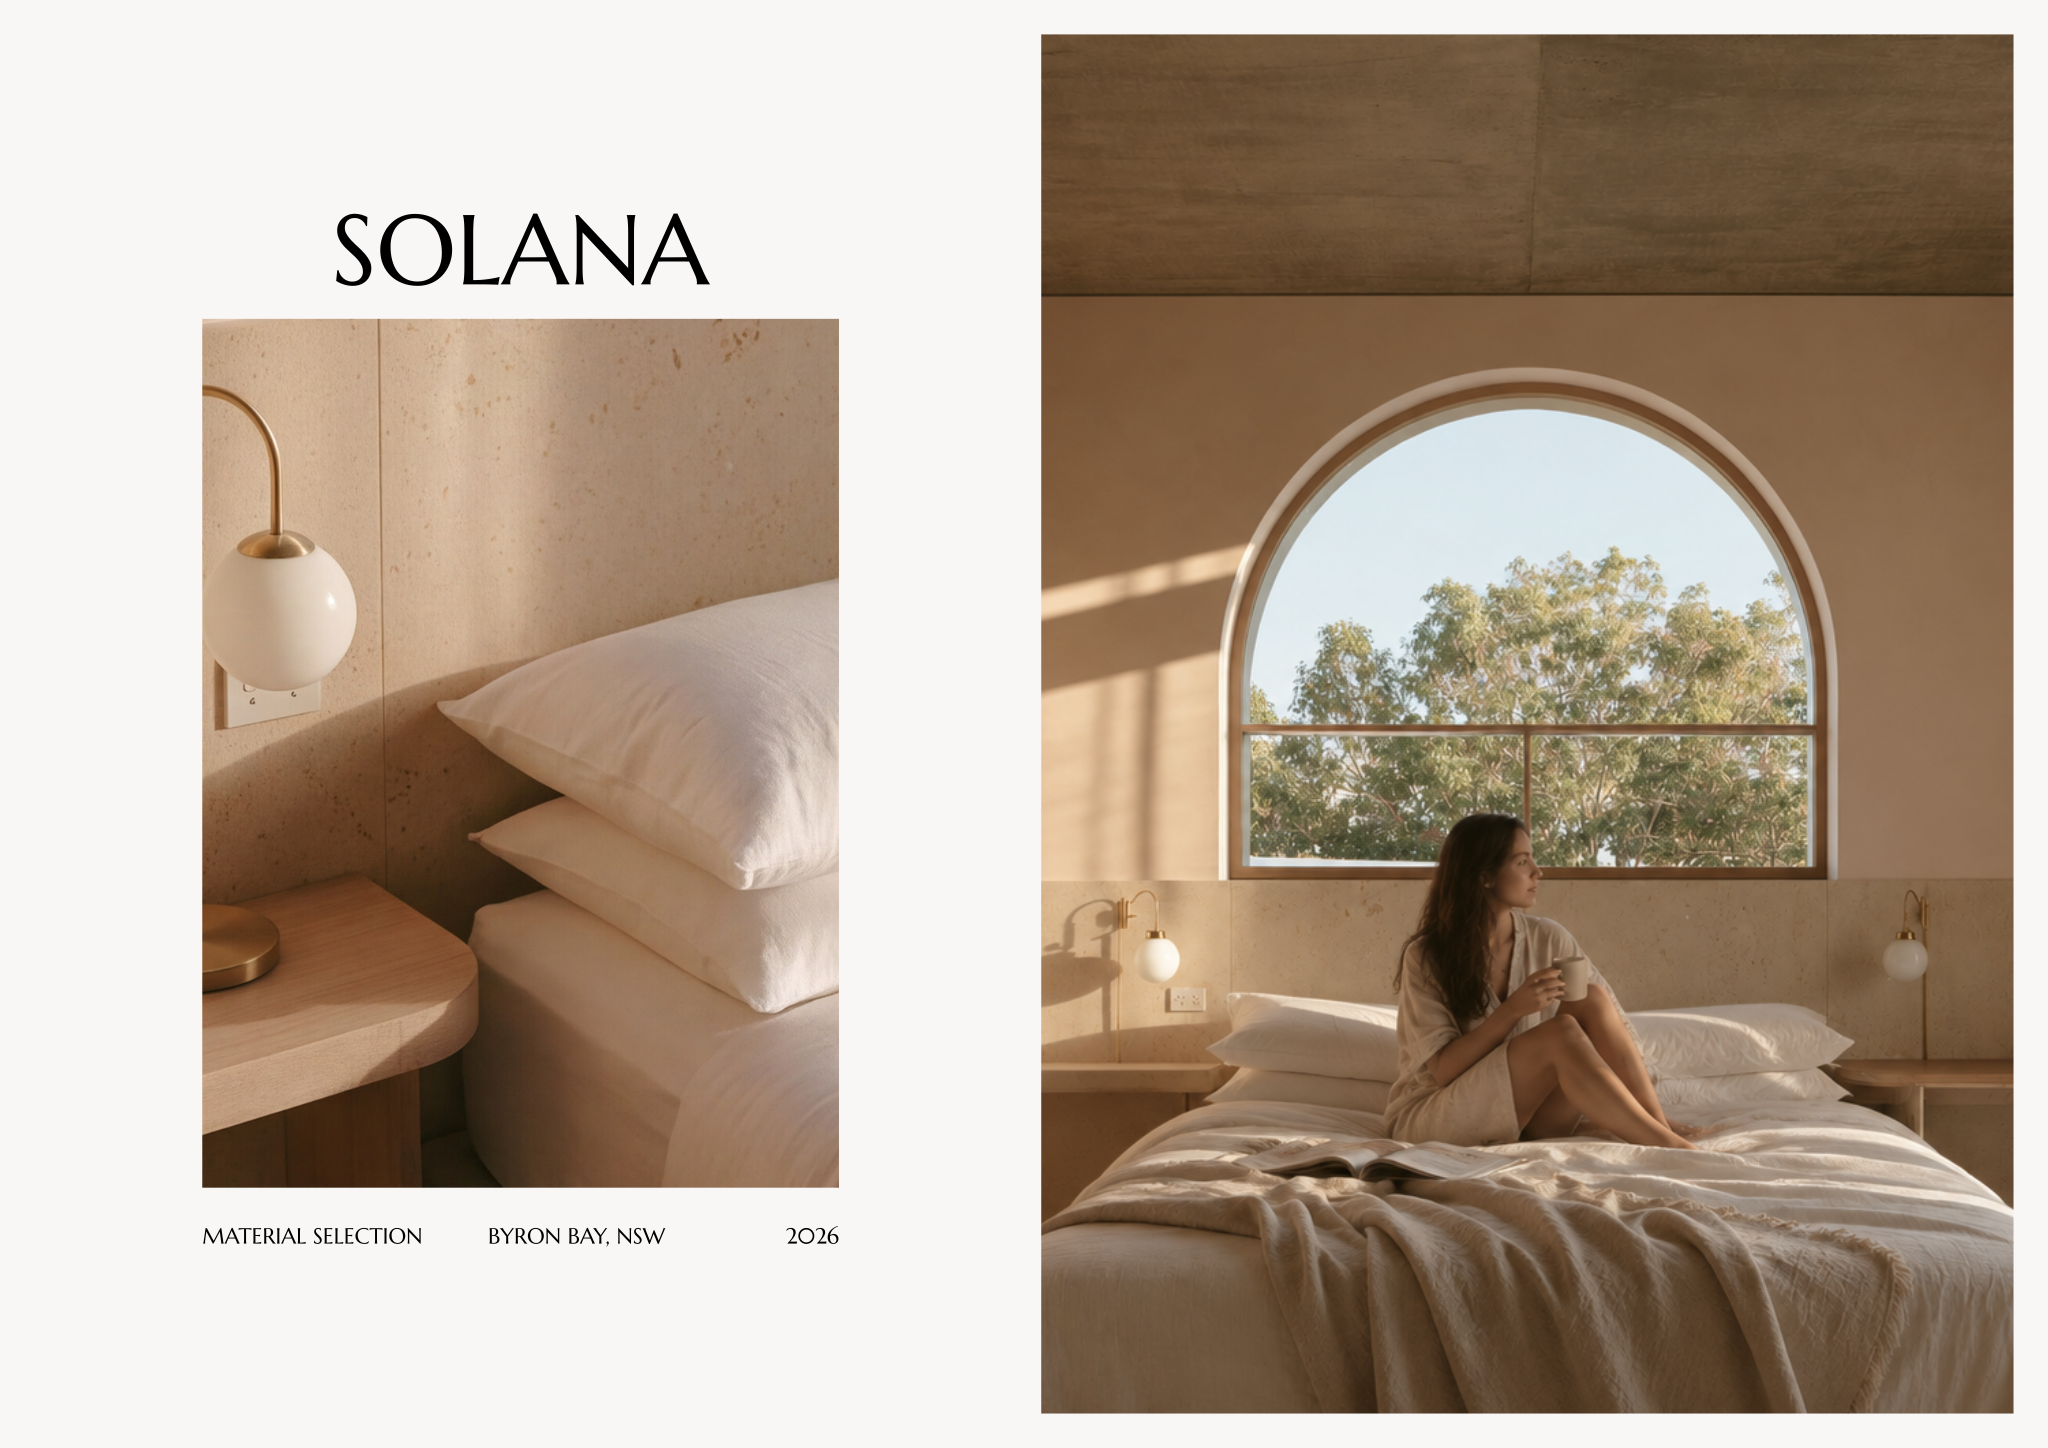
The mood board sells an atmosphere; the material board commits to products. Once a client has approved the mood, the material board turns “warm, mineral, soft” into a specific oak veneer, a honed limestone, a bouclé fabric and a brushed brass. It is the document the contractor and suppliers will price from, so it needs to be precise.
It is also the moment when appearance meets performance. Each material has to suit its location: a floor needs wear and slip resistance, a shower needs a waterproof build-up beneath the tile, a restaurant banquette needs a fabric that survives daily cleaning. A material board that only looks good will be redesigned by the contractor's substitutions; one that already answers performance questions survives the tender.
How to organise the board
 Open template
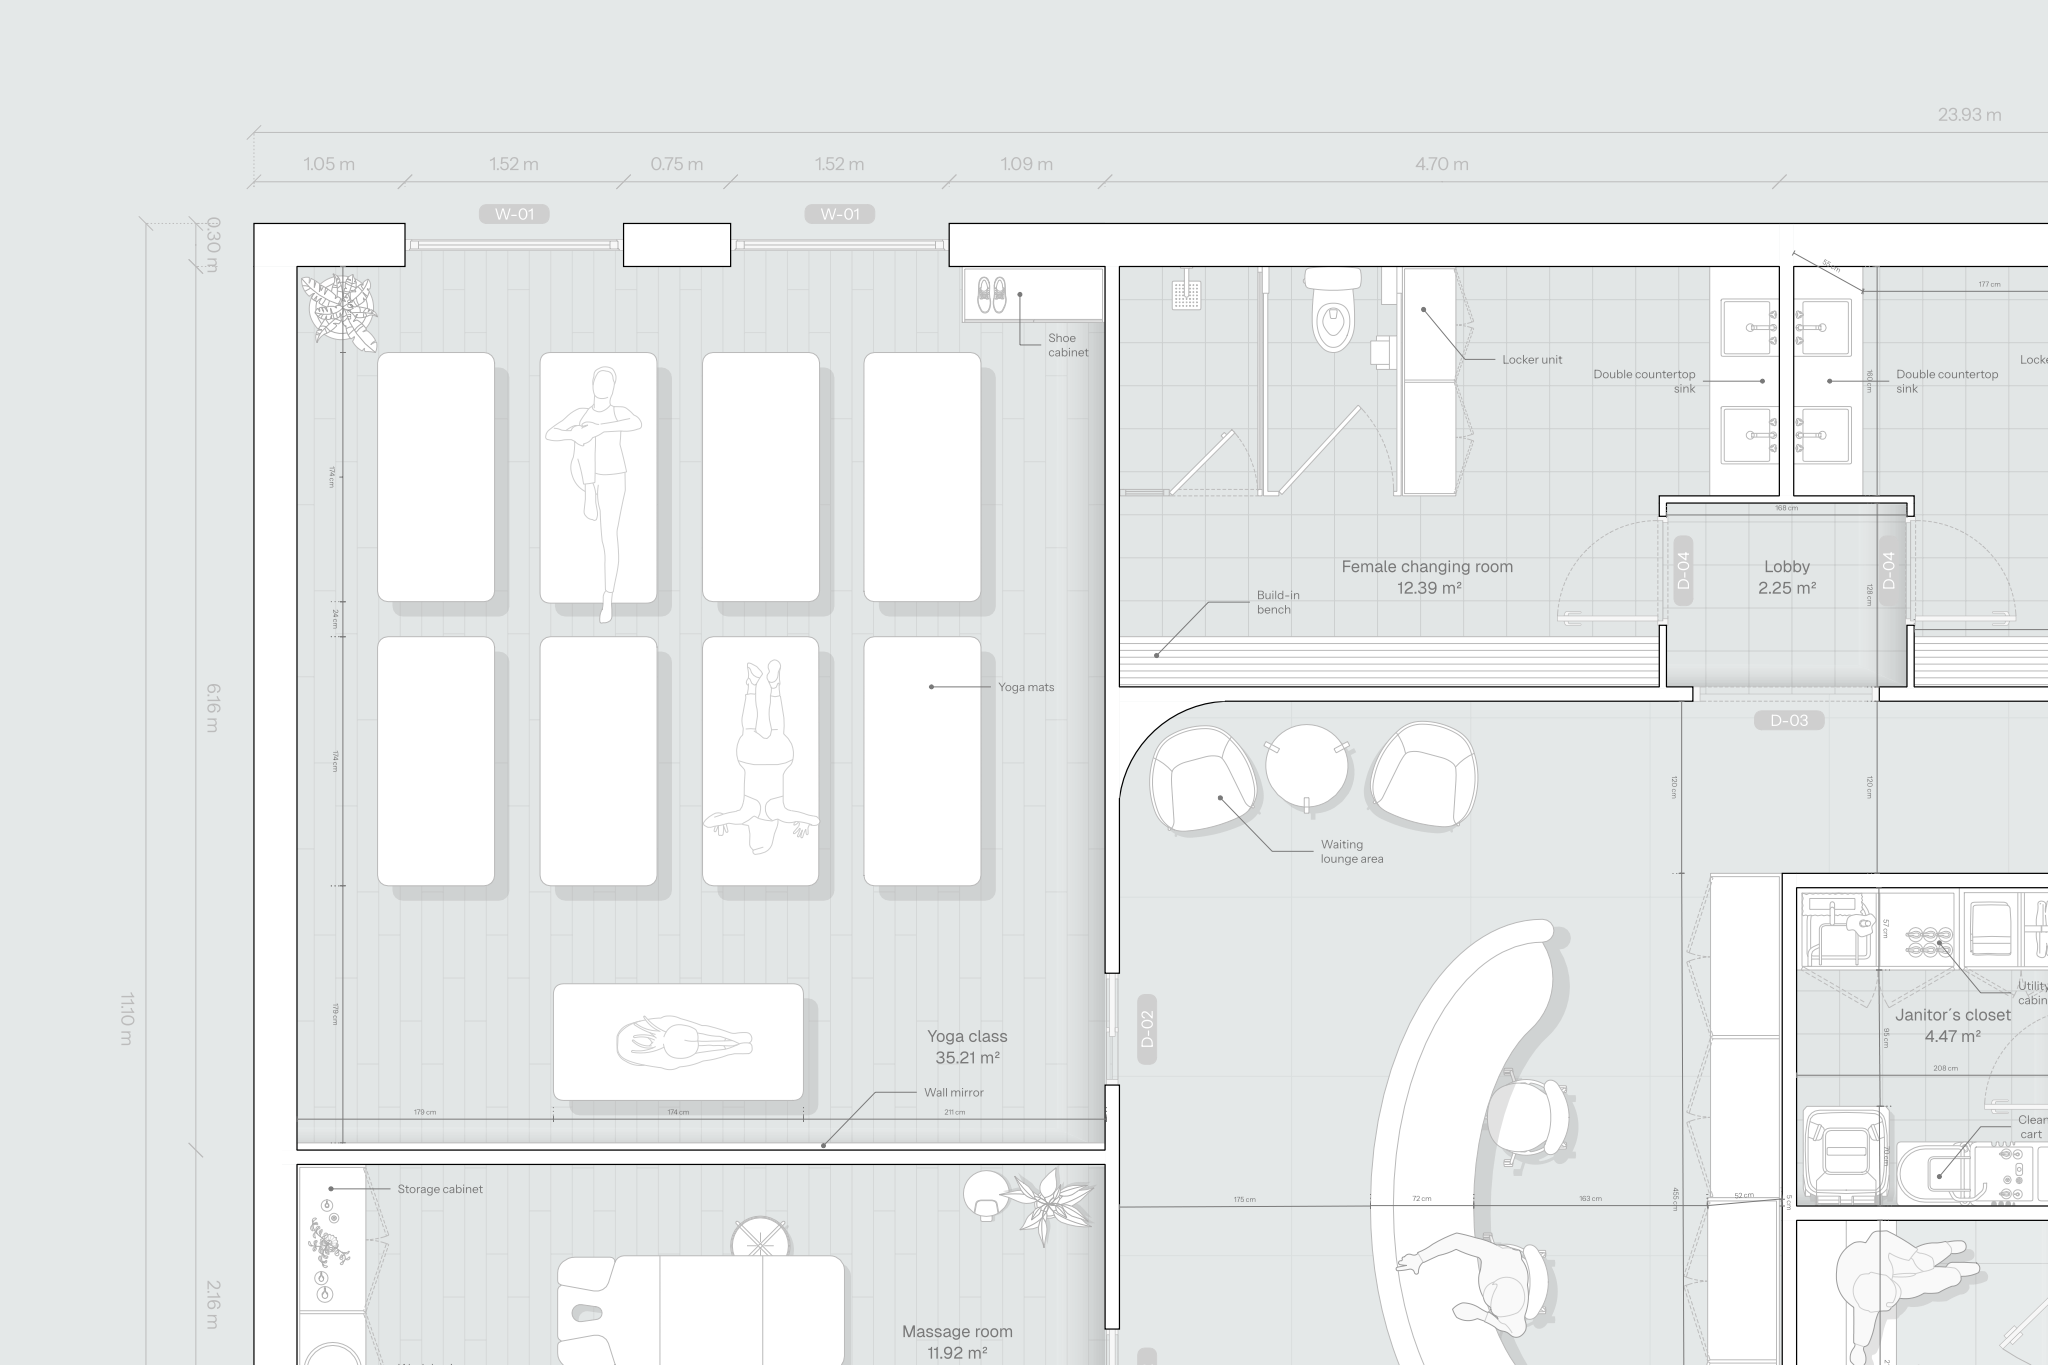
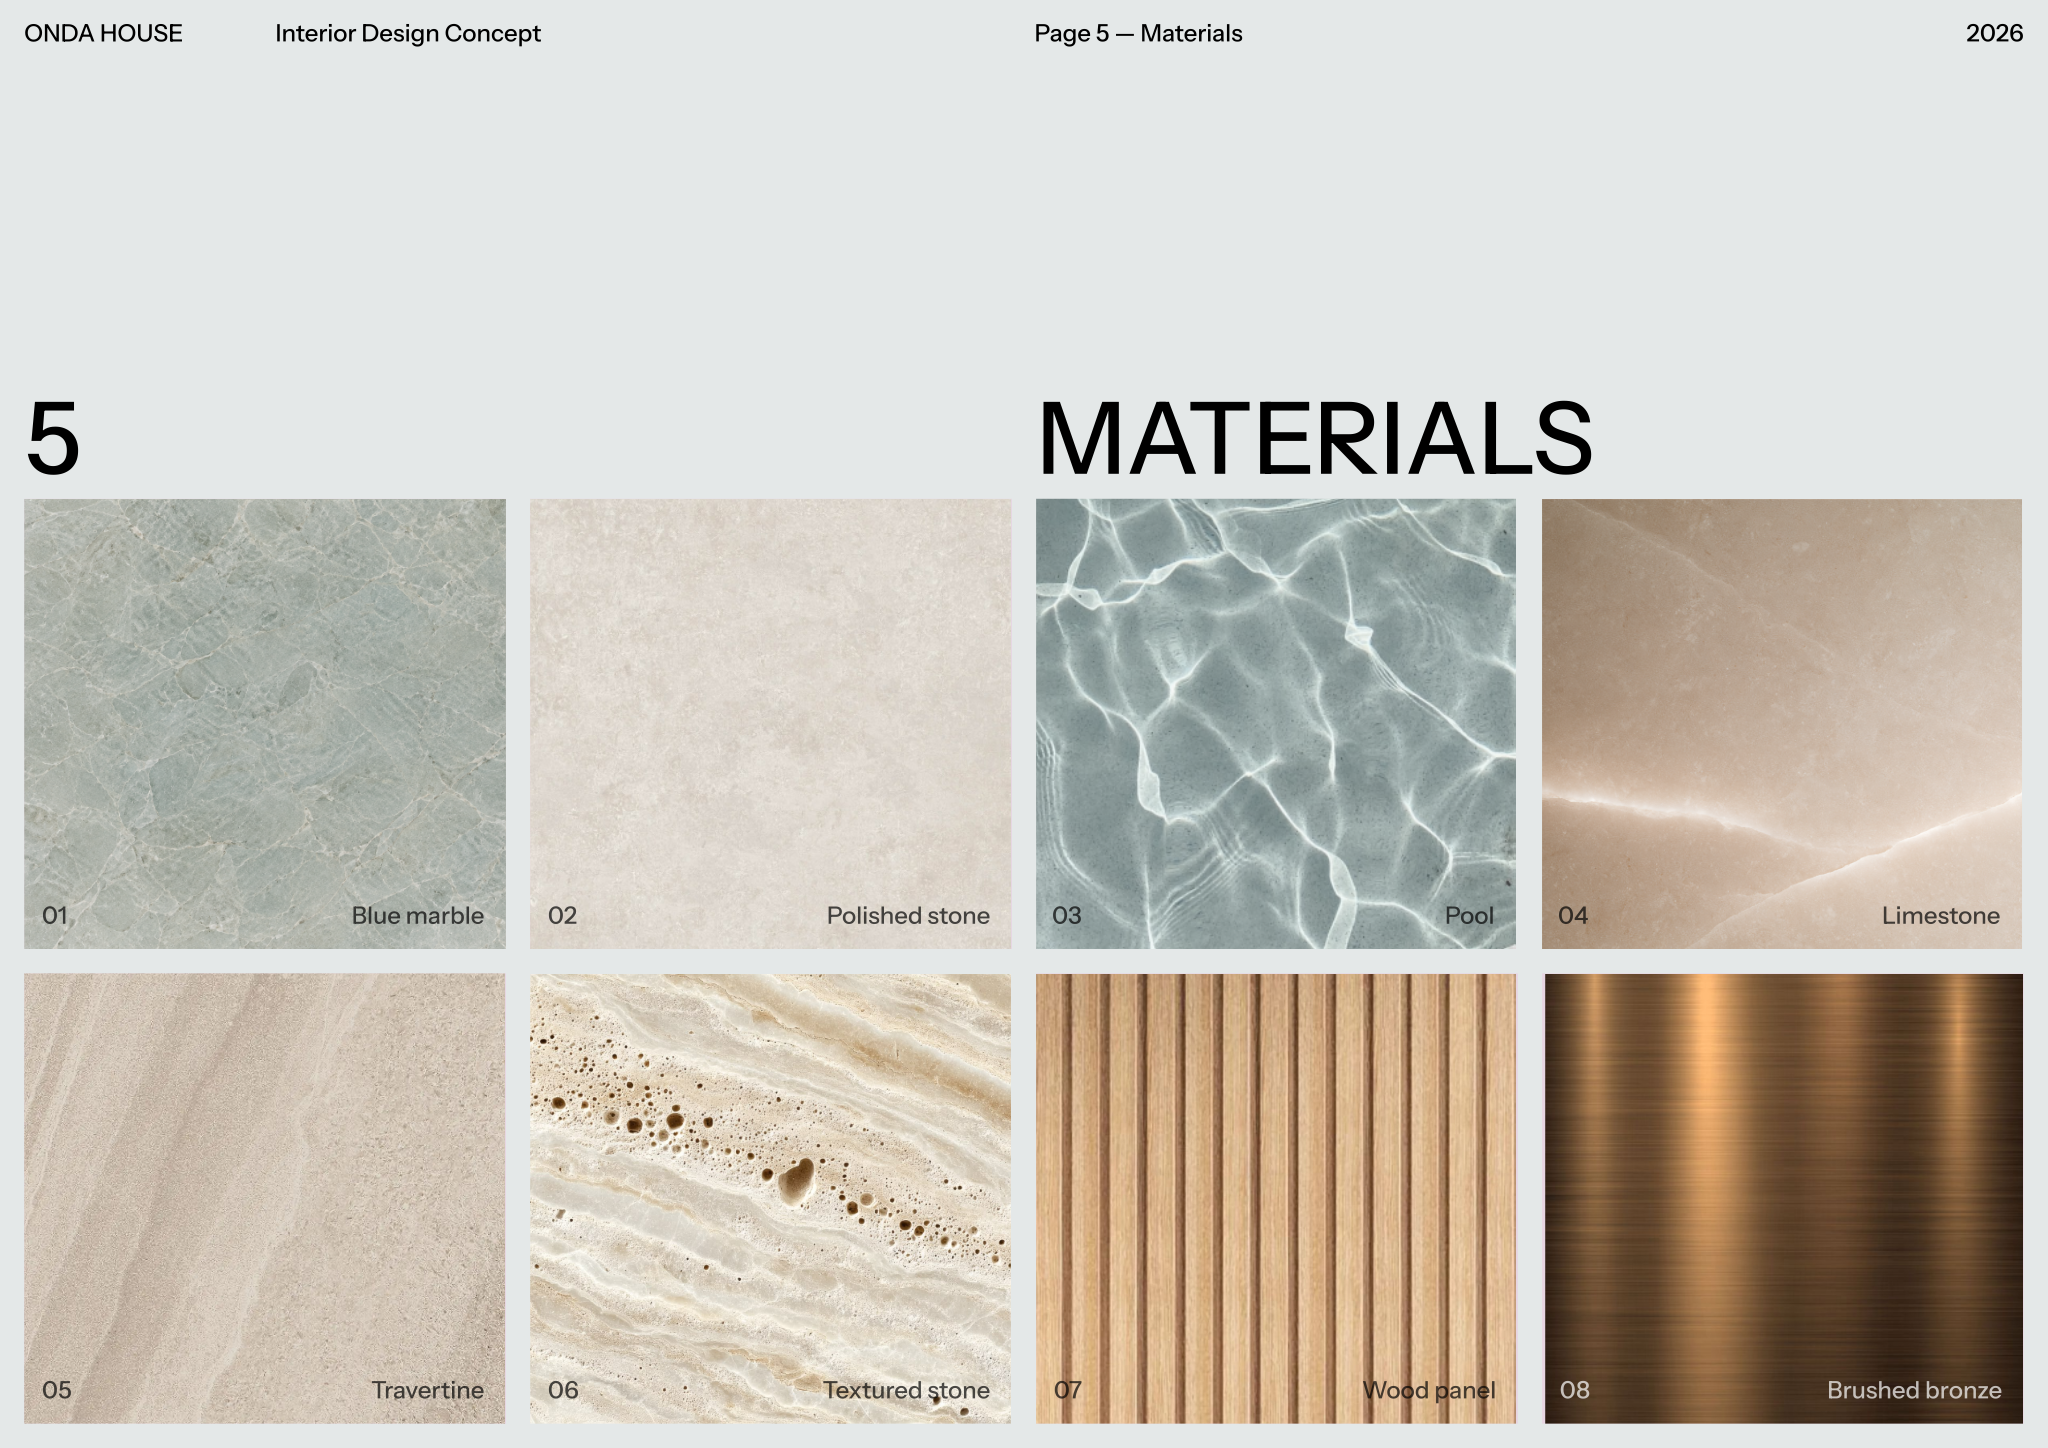
A material board has to be read in seconds and understood in detail, so its organisation matters as much as the materials on it. The goal is that the client sees how the finishes work together and where each one goes, not just a collection of beautiful samples. These rules keep the board clear and easy to approve.
- By surface: floor, wall, ceiling, joinery, worktops, metalwork, upholstery, window treatments.
- Or by room, when rooms have distinct palettes (guest rooms, lobby, spa).
- Show proportion: the main floor finish should take more space on the board than a brass accent.
- Place materials that touch each other next to each other: the junction is what the client needs to see.
- Keep it to 8 to 15 materials per board; split into several boards if needed.
- Use one consistent swatch size or a consistent proportional rule, so the board reads as a system.
Think in families. Most successful interiors use a small number of base materials repeated in different forms (oak as floor, joinery and furniture; one stone as worktop, vanity and threshold) plus one or two accents. If your board has five timbers and four stones, the client will feel it is busy even before they can say why.
Photograph physical samples together under daylight rather than using supplier renders: colours shift much less and the client sees real texture. Bring the samples to the approval meeting.
What to write next to each material
 Open template
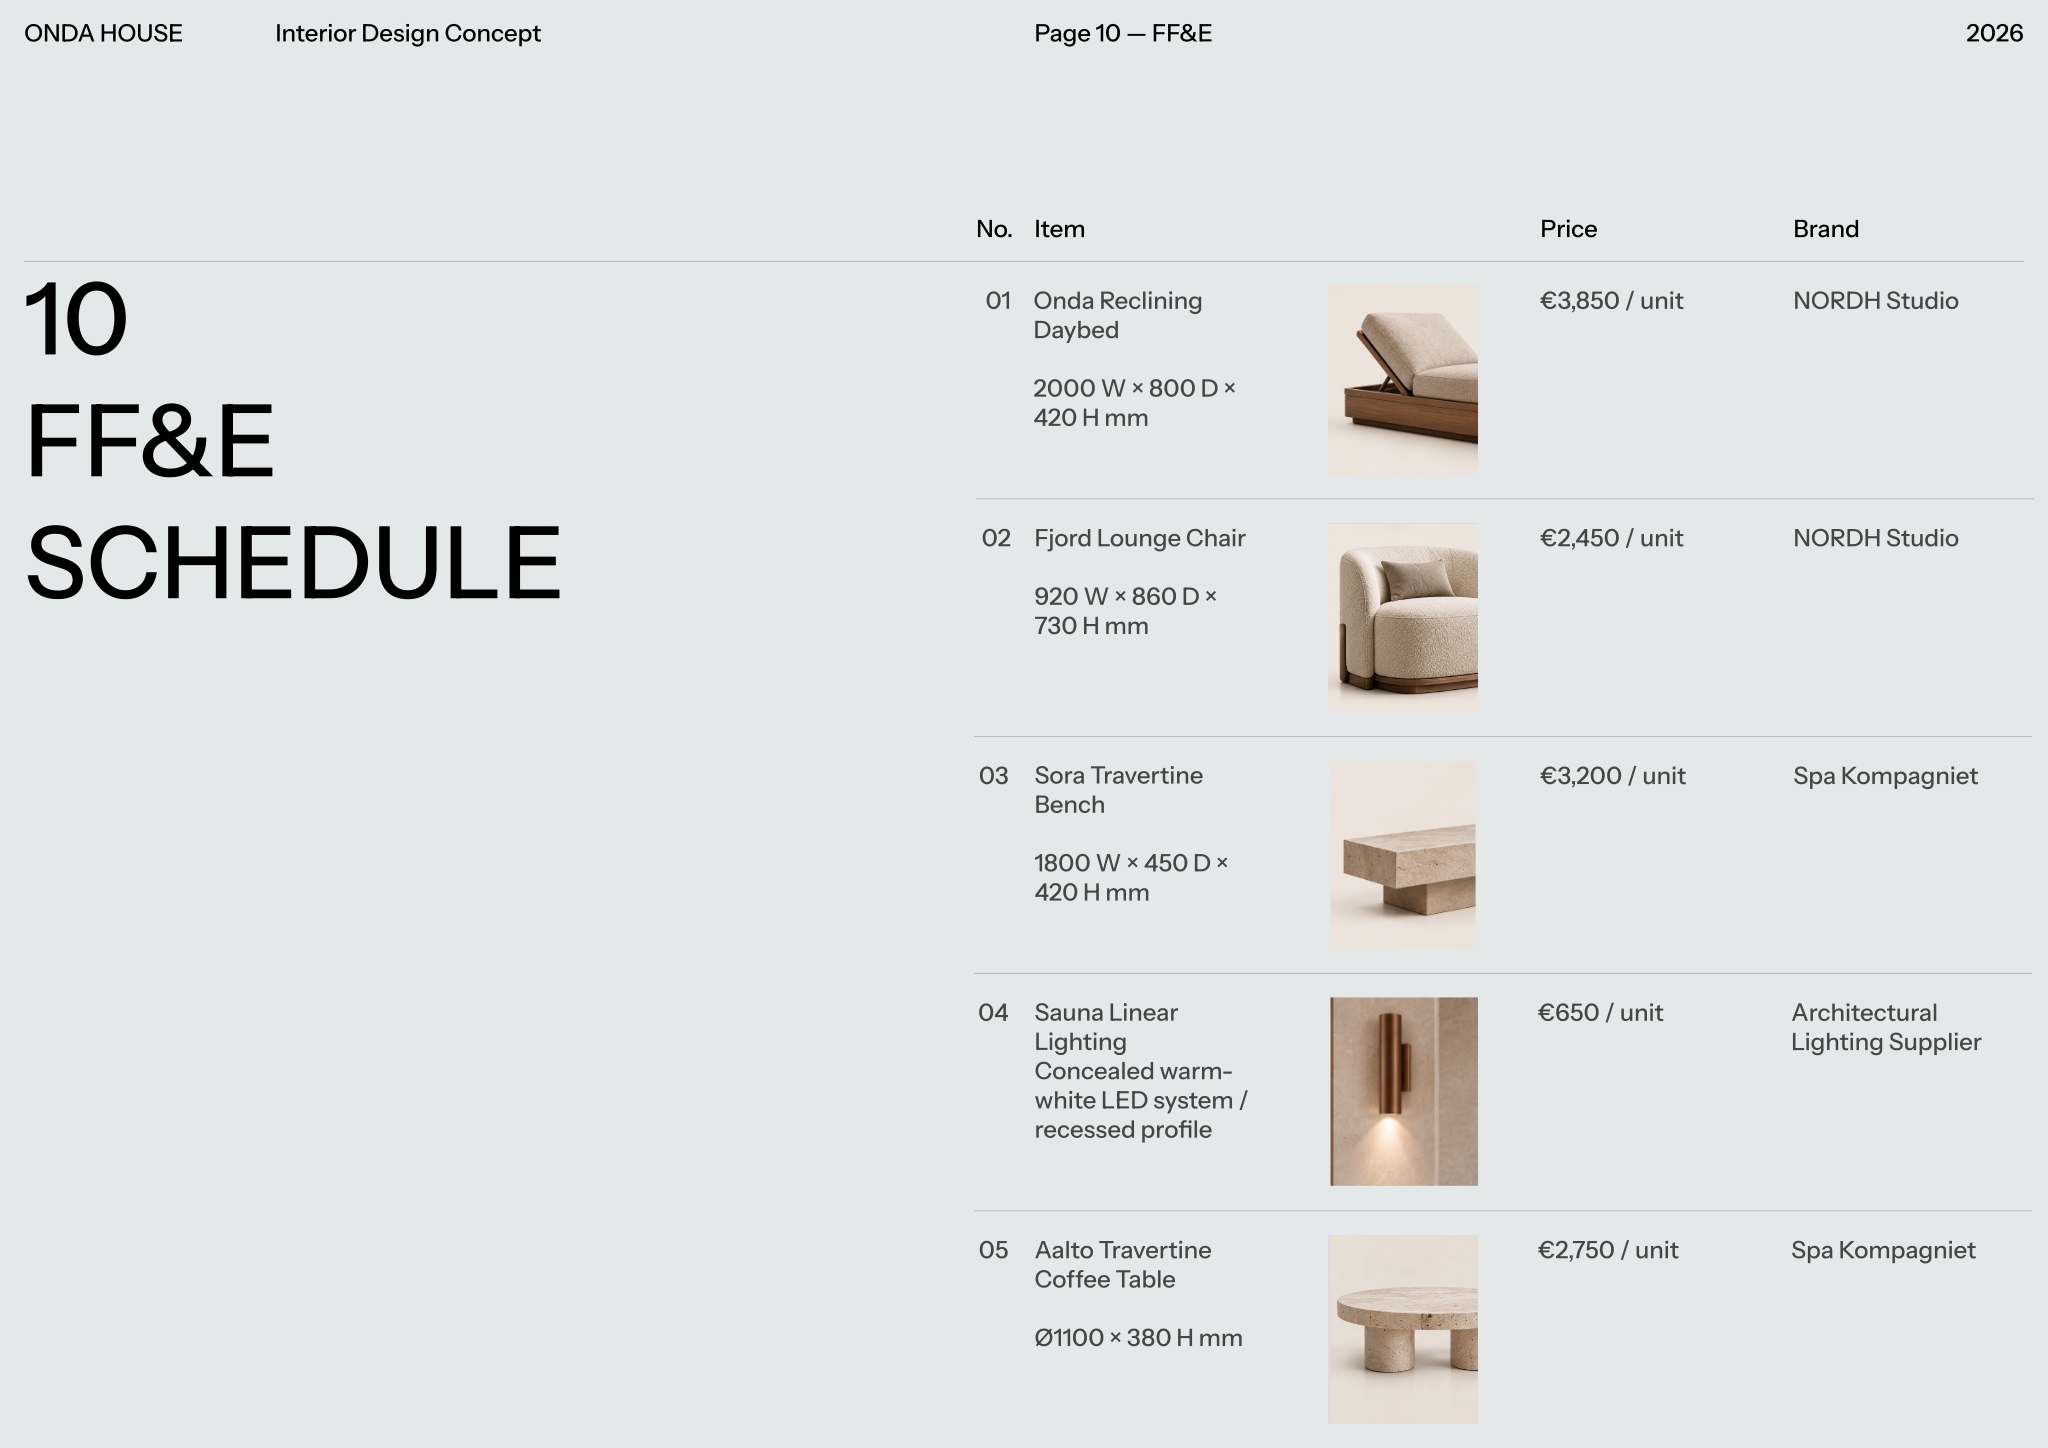
Each material on the board needs a short label that turns a beautiful sample into something a contractor can price and a supplier can deliver. Keep the labels consistent across every board in the project, so anyone can find the same information in the same place. These are the fields to include:
| Label | Example |
|---|---|
| Code | WD-01, ST-02, MT-01, FB-03, PT-04 |
| Name and finish | European oak veneer, matt lacquer; limestone, honed |
| Supplier and reference | Supplier name, product code, colourway, batch where it matters |
| Format and size | Plank 190 × 1900 mm, tile 600 × 600 mm, slab 20 mm |
| Location | Joinery fronts in guest rooms; bathroom floors |
| Notes | Slip rating, fire classification, abrasion rating, maintenance, lead time |
Use a stable prefix system and reuse it across projects: WD for wood, ST for stone, TL for tile, MT for metal, FB for fabric, PT for paint, WC for wallcovering, GL for glass, LM for laminate. Once the code exists, it should never point to a different product; if the selection changes, the old code is retired or revised and the change is logged.
For natural materials, note what the client should expect. Stone and timber vary from slab to slab and board to board; marble etches with acids; oiled timber needs re-oiling; unlacquered brass darkens. Writing this next to the sample avoids disappointment later and shows the client you have thought about how the space will age.
Commercial projects: durability first
 Open template
In retail, hospitality and workplace projects the board must also prove performance: slip resistance for wet and entrance areas, abrasion rating for upholstery, reaction to fire for wall and ceiling finishes and fabrics, and cleanability with the chemicals the operator will actually use. Add these notes to the material labels so the client and contractor see that the beautiful choice is also the right one.
| Property | How it is usually expressed | Where it matters |
|---|---|---|
| Slip resistance | Pendulum test value (PTV), R-rating (DIN 51130), or DCOF depending on the country | Entrances, bathrooms, spas, kitchens, pool areas |
| Abrasion of fabrics | Martindale rubs or Wyzenbeek double rubs; contract use typically asks for much higher values than domestic | Restaurant seating, hotel lobbies, offices |
| Reaction to fire | Euroclass under EN 13501-1 in Europe, or the local classification | Walls and ceilings in public areas and escape routes |
| Wear of floors | Wear layer thickness, use class or PEI rating for glazed tiles | Corridors, retail floors, lobbies |
| Cleanability | Stain resistance, sealer requirements, chemical resistance | Food service, healthcare, high-touch surfaces |
Requirements differ between countries and building types, so check the local code and the operator's own standards (many hotel brands and retailers have them) before finalising. Ask suppliers for test certificates, not just brochure claims, and keep them in the project file.

Linking the board to drawings and schedules
The material codes on the board should appear unchanged on your millwork drawings, finishes plans, elevations and FF&E schedule. When a client changes a selection, update the code's entry once and every document follows. This single habit prevents most specification errors on site.
- Approve the board and issue it with a revision number and date.
- Tag finishes on the plans and elevations with the same codes.
- List every code in a finishes schedule with full specification and quantities if required.
- Request samples from the contractor for approval and keep the approved sample set on site.
- Check installed finishes against the approved samples before handover.
Keep an approved control sample of each key material, signed and dated. When the delivered stone or fabric looks different, you have something objective to compare it with.
Watch it on Rayon Academy
Common questions
What goes on an interior design material board?
The proposed finishes (flooring, wall finishes, joinery materials, stone, metals, fabrics and paint) each with a code, name, finish, supplier and location.
How many materials should a material board have?
Usually 8 to 15. A tight palette reads as intentional; split larger projects into a board per area.
Digital or physical material board?
A digital board is easier to share and keep up to date. Bring physical samples to approval meetings so the client can see and touch them.
What is a good Martindale rating for commercial upholstery?
Contract seating commonly asks for several tens of thousands of rubs, far more than domestic use. Check the operator's standard and the supplier's test certificate for the actual fabric.
How do I show material quantities on a board?
Show proportion visually by swatch size, and keep actual quantities in the finishes schedule or bill of quantities rather than on the presentation board.